

2023 is now upon us and it's time to start the new season of ASL. I enter each new year full of hope and excitement for the year's contests. And sometimes, I experience a bit of disappointment. This past weekend would bring some game pain. Dan and I would play three games on Friday, Saturday, and Sunday. By any measure, a great weekend. And certainly, it really was...but the game experience would be on the rough side for me. This happens and you just have to roll with it, but having to concede games at the midway or sooner point of a scenario is never a good thing. Games that are over in 1-1/2 hours are a sign of an uneven and less than great contest.

Yep, you set up that scenario and it looks like it will be a great time...and then like most battle plans...it turn to pooh after first contact. Attacking in ASL is one of the most difficult things to do in any board game out there. And the scenario itself will often make it even exponentially more difficult and sometimes to the point...that barring fantastic luck..you can't really pull off a win. Certainly not with average dice or game play. And...I rarely enjoy those scenarios.
.png)
Our first game of the weekend, played on Friday evening would be Q29 Como Ridge from another of Lone Canuck's excellent Quick 6 packs. I'm a huge fan of George's Quick 6 packs. Dan and I enjoy playing these. But small, quick playing scenarios can be very unforgiving of bad rolls, bad choices and just plain bad luck. You often can't recover from those things in a small, short playing session.
I would have the Australians and would have to advance across a 10 Hex front, over hilly jungle to try and cross a shallow stream protected by Japanese in trenches and pillboxes with wire strewn liberally about. I had two Matilda tanks...but they are fairly worthless in this kind of scenario. They are slow, heavy, no HE and otherwise not too useful.
I would not have the luck required to hurt the Japanese and my attempts to cross the stream were disastrous. After 3 turns, I threw in the towel and conceded. I wasn't going to overcome Dan's excellent defense that night. It was disappointing as I failed to provide Dan with a competitive game. My dice and his dice were pretty much average. It just came down to the combination of terrain and good solid defensive tactics. I was just not able to get it done and had no interest in pushing on with a game that would only result in more losses for me. I try not to force a game to continue when the outcome has been decided.

"Grumble Jones!!! You attack...ATTACK!!!"

"Sir, I refuse your order....I cannot send my men back into that stream to be shot down!"
Conceding a game is always self-demoralizing. I hate to do it and I hate for my opponent to choose that option during a game. Losing is just part of the deal and just because you are losing a game at a particular moment doesn't mean you're defeated. Defeat often infects your mental outlook long before it becomes a reality or a self-fulfilling prophecy. Losing your personal ELR can make you overreact at times. I had a very strong player concede a tournament game after my sniper killed his best leader. His personal ELR had gone negative. But had he not conceded, I believe he would have more likely gone on to win the game.
Dan and I tend to concede a game...almost as a courtesy to each other, when it becomes very evident that the game is irretrievably lost to one side or the other. For myself, frustration with dice rolling and an inability to make anything happen, while getting my backside kicked in...tends to open the door to conceding. I would concede both my Friday and Saturday games after three full turns. Not what I like to do, but in Como Ridge, I was just bashing my head into a wall trying to cross a stream with fortified Japanese positions blasting me the entire time. It just wasn't fun, and I wasn't interested in watching my boys be gunned down in a futile attempt. In Unhorsed...oh man...I was trapped in a connudrum of poor dice rolls on my end and great rolls from my opponent. In three turns I would lose a quarter of my force dead on the field, along with two of my 3 AVF's and my best officer and oh my 50 CAL was destroyed by a KIA effect. So, yeah...I conceded as my ability to 1) make anything happen and 2) achieve the victory conditions was really no longer possible.
In both of our first two games, Dan's excellent defenses trumped my poorly executed attacks. In those two instances, conceding was what I needed to do. Of course, there have been many games, where I was able to pull victory out of the jaws of defeat. So, conceding a game isn't always the right choice. If you still have a chance to achieve the victory conditions, you owe it to yourself and your opponent to make that effort. Cause you know....

I suppose, the key in ASL is to keep your personal ELR intact...because the worm can turn at any time.

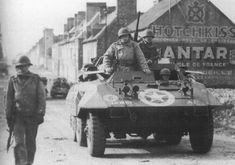
Our Saturday game would be ASL Scenario J207 Unhorsed. Designed by Scott Cochran, this Normandy scenario pits a US Cavalry force against 17th SS Panzer Grenadiers hidden in the bocage with fausts aplenty. Normandy is my absolute favorite theater of operations...but they can be very tough scenarios for the attacker. Such would be my fate as my Americans would be pounded on hard by the Goetz von Berlichingen Panzer grenadiers. The scenario title would aptly describe my fate...as I was unhorsed in this game.

ASL Scenario J207 Unhorsed is in the latest ASL Journal 13. Like its 12 predecessors, Journal 13 is fairly outstanding. The scenarios all look great and of course Board 77's arrival helps relieve the collective OCD of the ASL community.
This journal did elicit some opinions from me and they are little on the snark side, although are not in any way intended to be disrespectful or otherwise dismissive of the ideas and thoughts of others.
I really enjoyed the Advanced Nuggets 2 article. We all can benefit from some rules clarifications or just simple reminders. Dropping off passengers in bypass was one I enjoyed learning. So much goodness here.
So, what might have tweeked my snark impulse you ask?? Well, 14 pages on OBA draw piles seems a little "intense". Our game lends itself (much like baseball) to really deep dives into the esoteric math of dice rolls, sniper activations, critical hits, boxcars, and all manner of probabilities of this or that occurring. OBA card draws represent the relative availability of offboard artillery in a given scenario utilizing it. We have all watched our radios break, our spotter planes fail, and then drawn the dreaded back to back Red Cards, all of which remove your OBA from play. I have played many scenarios where my OBA wasn't available despite how important it was to the scenario. So, while I applaud the detailed look at this card draw process and ways to improve it...I'd like to simply say that it shouldn't be used at all. Heresy...no doubt...but as many already know, I'm very much a closeted ASL heretic.


So, now, a scenario gives you OBA, then makes it subject to random radio contact DR's and random card draws to see if you will be blessed with an asset that the scenario designer really expects you to not only have but be able to use. The design is counting on you having OBA. My personal opinion is that we do not need the card draw. We only need the Radio Contact DR. And modifying the Radio Contact DR by nationality (more than it currently is) to reflect Battery Availability would replace card draw and ensure that the OBA is always possible. These are of course just my thoughts. But at the end of the day, if I'm meant to have OBA...then let me have it. Because...

Okay...enough with my cheeky monkey behavior! On with the AAR's!

As the defending Germans, Dan would command the panzergrenadiers of SS-Regiment 38, SS Panzergrenadier Divison 17 "Goetz von Berlichingen". His force would consist of 8 x 6-5-8's and a 2-2-8 led by a 9-1 and 8-0 with an MMG, 3 x LMG's, a Panzerschreck and a Pak40.
As the attacking Americans, I would command elements of Troop A, 125th Cavalry Regiment, 113th Cavalry Group. My force would consist of 5 x 6-6-7's, and 8 x 6-6-6's led by a 9-1, 8-1, and 8-0 with a 50 CAL, 2 x MMG's, 2 x BAZ 44's, a 60 MTR, 2 x M8 Greyhounds and a Stuart Tank.

A quick inspection of my forces should have been a red flag...

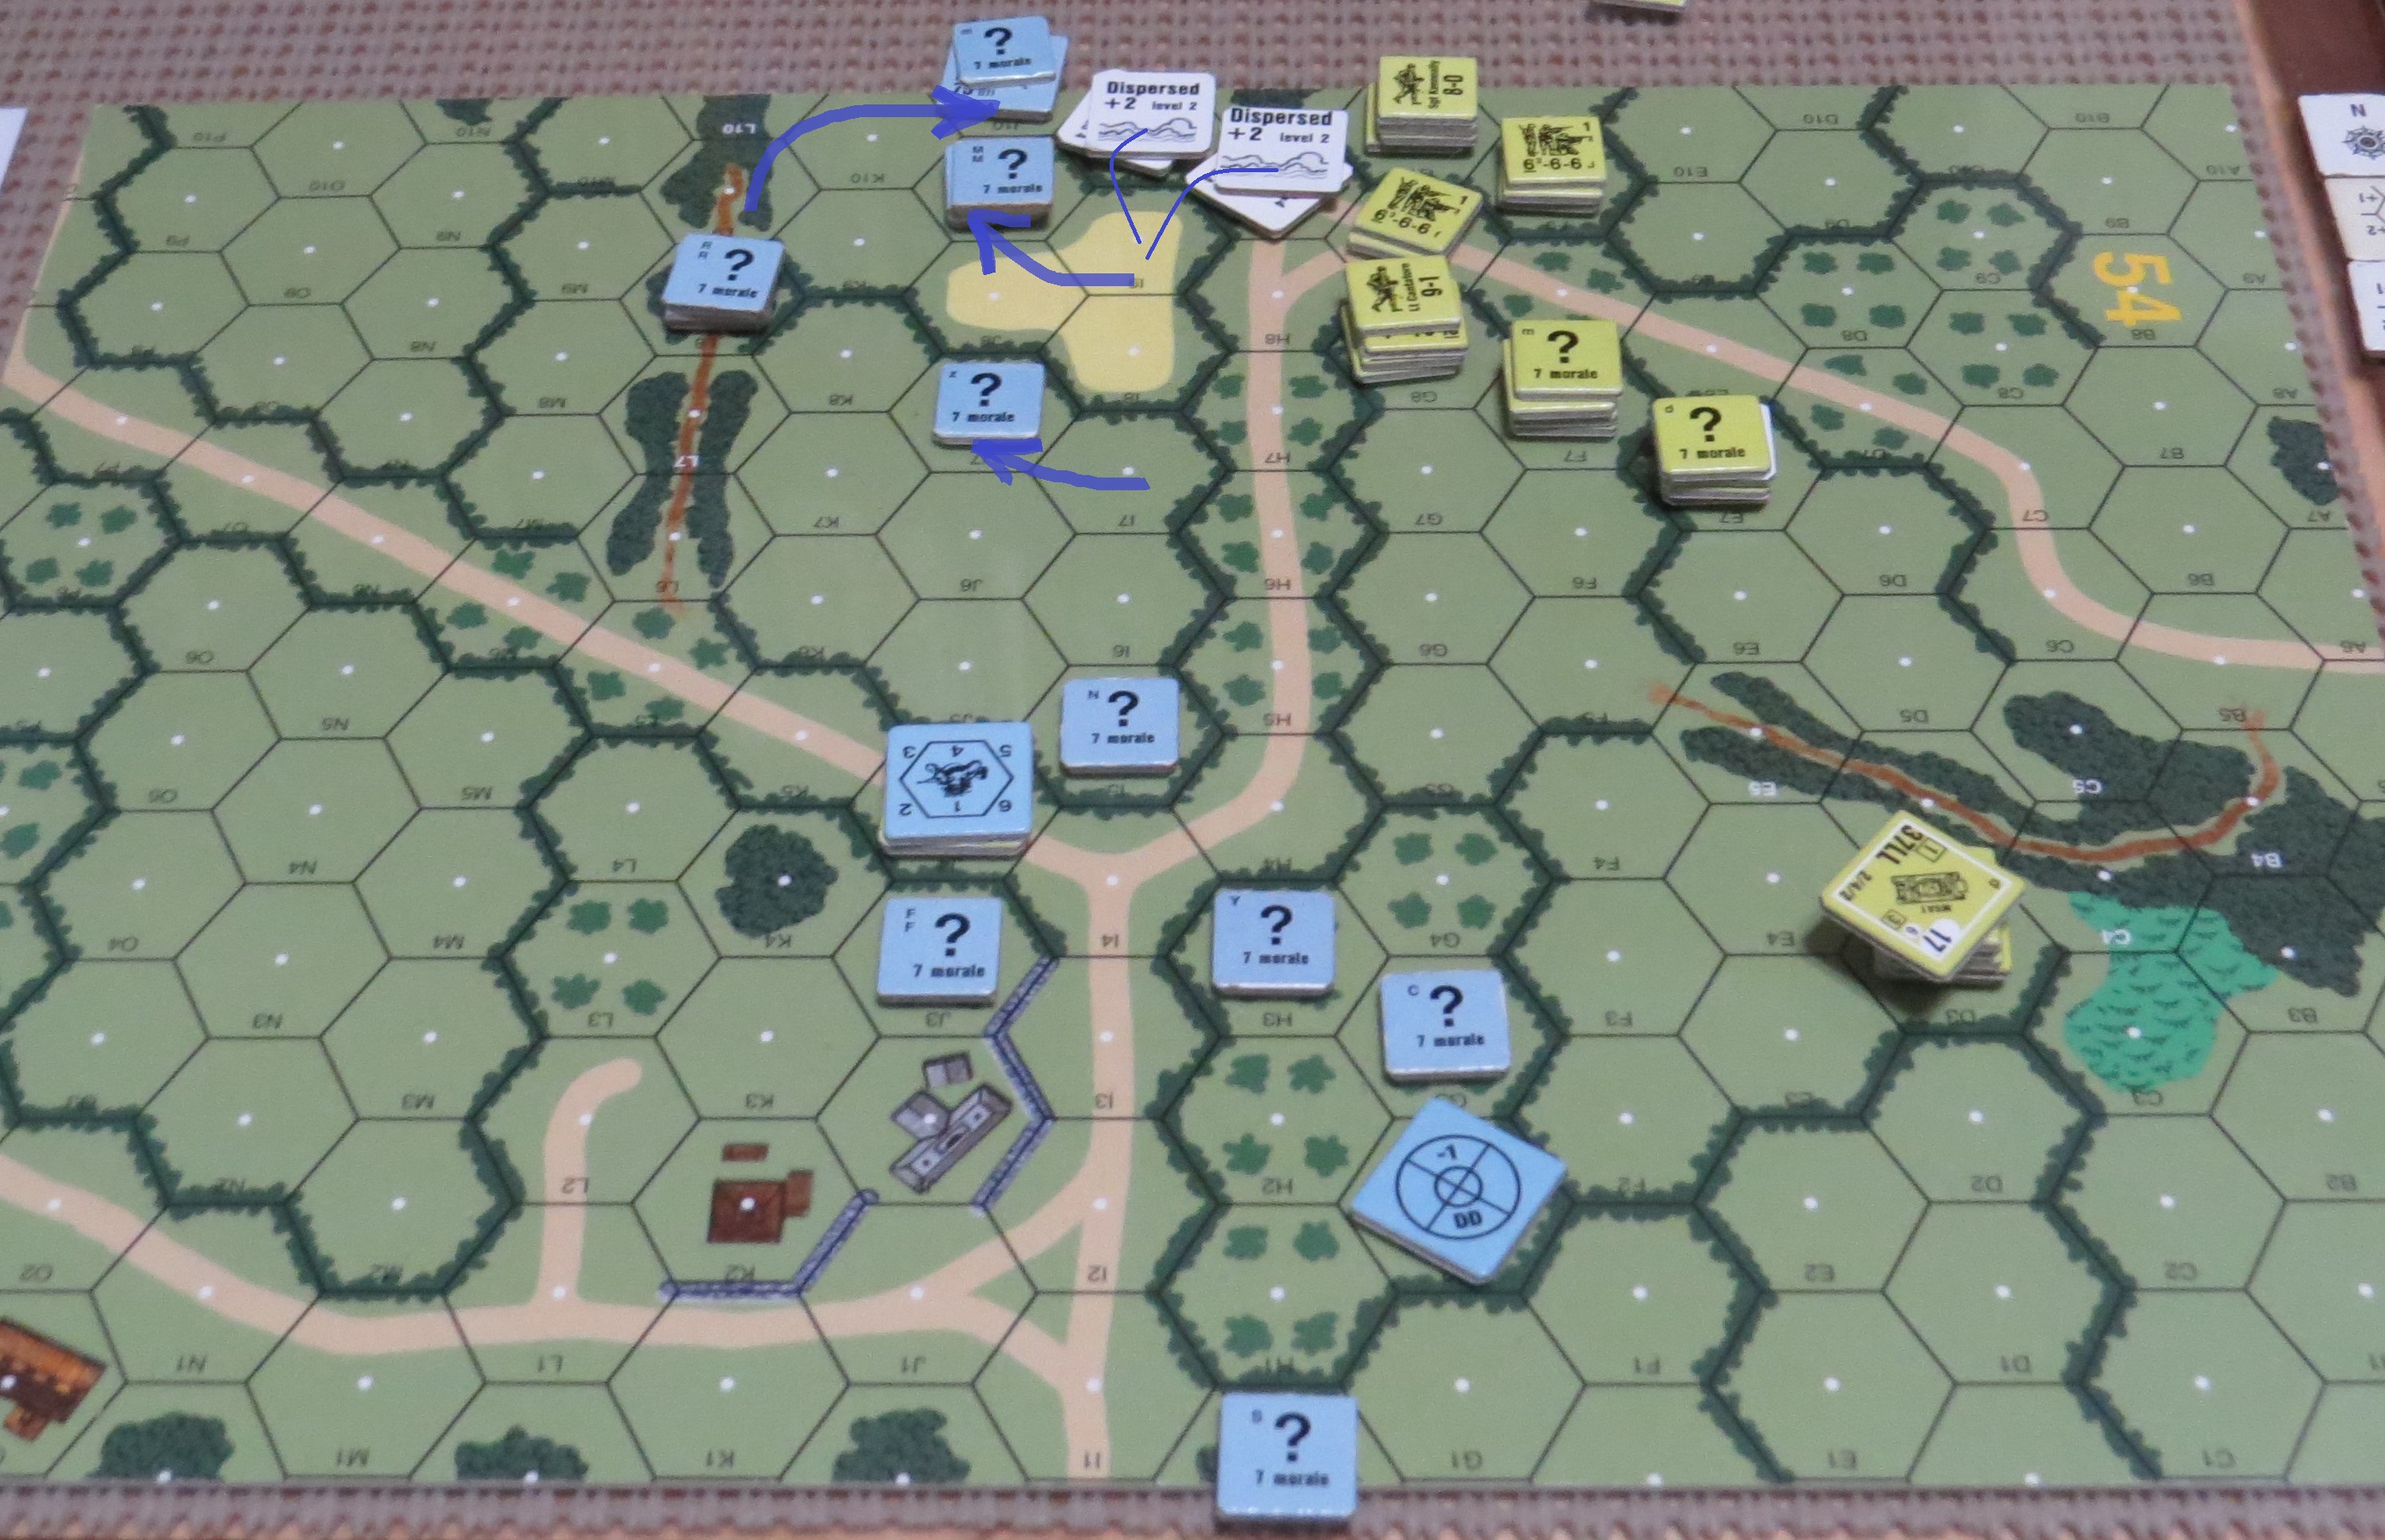
A look at the battlespace shows the tough terrain ahead for my cavalry. Bocage is not the friend of such a force. The Americans win the scenario by exiting 10 or more EVP off the west edge. This doesn't necessarily look that daunting, but the German player has 8 very good squads hiding in the Concealment friendly bocage and they have Panzerfausts. And the road is really the only suitable terrain for the M8's to exit...if they manage to get down the first road without the Pak 40 in Hex J10 knocking them out. George Kelln's Winpak #2 Scenario WP15, Burnt, Blue and Gray is very similar to this scenario with the Germans attacking the Americans and trying to exit. The big difference is the Americans had only two Bazookas...and of course no Panzerfausts. After missing all my Bazooka shots, the Germans exited stuff with no problem and had a commanding win. I would suffer the same fate in this game. Guess Board 54 is kryponite for me.

And now for Dan's Pre-Game Comments.
"The Germans must defend the bocage and prevent the Americans from exiting. The plan will be to set up and defense in depth and use the bocage to slow the Americans and keep them from exiting. The 9-1 squads and MMG will set up in G4 and move to H3. The AT gun will set up in J10. A squad and LMG will set up in G2, J3, and I9. The squad and PSK will set up in I5. The 8-0 and squad will set up in I7. A squad will set up in J2 and the last squad will deploy with on HS in H0 and the other in L9. The dummy units will be in H3, G8 and H10. Hopefully the AT assets can hit and the American infantry can be contained."

My plan was to go over the north edge. I successfully guessed that the AT Gun was in J10, which is where I put similar in Burnt, Blue & Gray. My mortar would set up in the road and make that gun its target. My 9-1 would move up the middle and support the north assault group. The 8-1 and both MMG's and Stuart would focus on holding the south flank and pushing forward as the opportunity presented itself. Plans are fun...too bad they don't usually work.

I would need Crom's assistance for this game.

Well...as it turns out giving Crom attitude isn't the way to go!!!

Turn 1 American - I move forward according to my plan and Dan's boys watch without giving up their coveted concealment.


At the end of Turn 1 - I was happy with my dispositions. My Mortar was in position and my boys were concealed behind the bocage.

Turn 2 American - My shots on the south side would only eliminate dummy stacks. I never hit a real unit on that flank. In the north, my Mortar would get a critical hit on the German PAK 40. Crew would be Pinned on the first shot and the second shot would be a snakes, which KIA'd the crew. Things were looking good, but I would make a fatal mistake. My infantry was moving up but couldn't get to a Pinned and Final Fired German 6-5-8 and LMG. So, I sent both M8's adjacent to him. they would fail to do anything in Advancing Fire. I had hoped that Dan would voluntarily break and fall back. He didn't...

"Heinz...we should fall back!" "Nein Otto...I'm going to get two Panzerfausts and blow up both of the Ami armored cars!!" "Heinz...how do you know!?!" "Dan won't let me down. This will win the game...watch and see!!!"

So there I was thinking I was in control...I wasn't...

"Time for the Ami to meet Herr Panzerfaust!!"
Turn 2 German - Dan's 6-5-8 would get two Panzerfausts and destroy both of my M8's is fireballs of smoke and death. He would send a 3-4-8 to recrew the PAK 40 and with that my personal ELR suffered a heavy blow. Dan's Sniper would also hit my Sniper and drop it from a 4 to a 3. Dan would roll several crucial 4's and No Sniper for me. Crom was angry with me...


Turn 3 American - I try to keep going. My 9-1 and 50 CAL assault move onto the road. Dan's MMG opens up killing my 9-1 and 1-1/2 of two squads.

Yep...I was just being tossed around by Thoth Amon's...errr Dan's Panzer grenadiers.

Turn 3 German would seal the deal for Dan. Dan's MMG would KIA a 6-6-6 that had recovered my 50 CAL and also destroy the 50 with that KIA. His other shots including his non-qualified use PAK 40 would devastate me as Dan's dice gave him good results and my MC rolls were in the toilet. So the damage at that point was one German 2-2-8 and 4 x American squads, a 9-1 officer, a 50 CAL, and 2 x M8's with three squad equivalents broken. My broken squads would have to rout into the H10 woods, where they would be surrounded and eliminated by Dan's grenadiers. I was done and didn't see any potential path to victory...so gave the dreaded concession and would lose my second of two Games in 2023.

Contemplate this loss on the Tree of WOE!!!

As for the scenario itself, I think it's a fine scenario and rated it so on the ASL Archive. My game was plagued by a couple poor tactical choices and an inability to damage Dan's forces even with a 39 factor shot. Doesn't matter what scenario you play...if you can't execute...you ain't going to win. And when my dice and/or Crom smile on me...I usually do very well...funny how that works.

I will admit that our first game Como Ridge struck me as extremely challenging for the attacker. When the terrain funnels you into a killing ground, it makes for some unsatisfying game play. Just ramming your head into a wall is not as much fun for me. Other folks really enjoy those challenges, but for me they are a Gordian Knot too far. As a result, I didn't rate Como Ridge very high. Scenarios like Como Ridge require you to accept the fate that you will lose squads. If you can't work out that math, then you won't get across that stream.

And now for Dan's Post Game Comments:
"The plan worked. Mostly because of terrible rolls by Grumble Jones. The I9 squad gets the biggest credit for withstanding an armored attack and getting two PF shots killing both American armored cars. The 9-1 stack maintained moved to H3 and got a shot to kill the American 9-1 and squad with 50 cal HMG. The Germans were generally able to maintain concealment and this negated the American firepower. After the American attack was broken up with the loss of 4 squads and the 9-1 to only the German AT gun crew, the Americans conceded at the end of turn 3. This game appears hard on the Americans especially since the armored cars are road bound. My thanks to Grumble Jones for another great game of ASL!"

True dat...the real boogeyman is Dan Best hiding in the Bocage with a Panzerfaust!!!
_in_1946.jpg)
Our third and final game of the weekend would be ASL Scenario PK4 Forest Brothers, which is also from the ASL Journal 13. This is one of four scenario card games where the map and all scenario details are on the card. It's a great concept and probably long overdue. In fact, an entire module of fast play ASL could be put together in this fashion and create travel kit ASL for play anywhere anytime. (Yes, I know VASL already does that.) Anyway, I love it and want more of it!!! PK4 Forest Brothers, (designed by Tom Morin) covers actions in postwar Lithuania as the Lithuanian Partisans attempt to defy Soviet occupation and rule over the Baltic States.

The Baltic States, much like Poland have historically found themselves caught in the middle between Germany and Russia. Aggression from those two nations seemed always to find purchase in the Baltic States. Occupation by Nazi Germany would be followed by decades of Soviet Occupation. The ordinary people of Estonia, Lithuania and Latvia would find their own desires for national identity and self-determination held hostage by the aggression of their more powerful neighbors. The resistance to Soviet Occupation would last many years, but ultimately prove unsuccessful. But today, the Baltic States thrive independently from their historical antagonists. Let us all hope that remains the case in our increasing volatile and unpredictable world.

A look at the battle space for this scenario. All woods are pine forest and the Partisans only pay 1 MF to move through these hexes.
.jpg)
As the defending Lithuanians, I would command the Partisan Company Lakunas. My force would consist of (Finnish counters utilized) 2 x 5-3-8's and 7 x 4-4-7's led by a 9-1 and 8-0 with an HMG, 2 x LMG's and a 50 MTR.


And now for Dan's Pre-Game Comments:
"The Russians must assault the forested hill and take the three level 4 hill hexes without losing more than the Partisans. The plan is to assault from all three sides to keep the Partisans from exiting. The tank will enter F10 and advance up hill. The MTR will enter the woods in E10 with a HS. One squad and MMG will enter the building in B7 to hold that flank. While a squad and HS enter in I10 and H10. The main assault will be in the woods and brush around B1 to B4 with the 9-0 squad and MMG entering B4 and squad LMG in B3. The 10-0 and two squads with LMG will enter H0 and attack from that flank with the rest of the squads and HS moving up hill through the wood and brush. Hopefully the NKVD 8 morale will hold up."

As the Partisans, you get concealment and can set up entrenched. Of course those foxholes are just prepared graves for the most part. After two games of beatings, I was hopeful that this one would go the distance and not be @## whipping. I was wrong...it would be the worst @## whipping of the three games. The Russians get to attack from three sides and the Woods are Pine Woods and and 1.5 MP to enter...so the Russians can move up hill retaining concealment in Advance Phase and not being CX when they come into the Partisan Hex to cut people down.


Turn 1 Russian - Dan moved up. I manage to break a single half-squad...nothing more.


On my part of Turn 1 - I would send a 4-4-7 into Close Combat with a CX and Pinned 3-2-8. I would get the ambush and then roll an 8...no effect. I would ultimately be killed after Dan reinforced the MELEE. So, I made what was a smart game move. I would get ambush and should have been by all rights able to kill the half-squad (a 7 or less) and retain concealment. I would then have potentially opened up the escape route to the south. But no...Random Dice Rolls dictate the situation irregardless of good or bad tactics. To some extent this failure was the end of the game for me.


Turn 2 Russian - Dan presses his attack and I basically do nothing except against his 10-0 and a 6-2-8. The 10-0 would break and a 12 would casualty reduce the 6-2-8. They would rout away and Rally first time in the next Rally Phase...cause Commissars with NKVD...11 or less right!!? Gimme a break...


The Close Combats were going dreadfully for me. Being LAX did nothing to Dan. I couldn't get any ambush and then went down in all but one of the CC's. Just miserable...


Final shot at the end of Turn 3 as I gave the concession. I had hoped to take this one further than three turns, but I was down to just 2 good order squads. So it was game over and a devastating defeat. Dan lost two squad to go with his Crew on Saturday and his half squad on Friday. I had been beaten badly for three games in a row.

It was off to the Gulag for my survivors...

And now for Dan's Post Game Comments:
"The plan worked. Again Grumble Jones rolled badly and did not succeed in CC. The Russians closed from all sides. If the Partisans roll well, this scenario looks to be great fun. My thanks to Grumble Jones for giving it a try."

My thanks to Dan for a great weekend of ASL and congrats on three commanding wins. I wish I had been harder to beat, but maybe next weekend.

That's all for the first weekend in 2023!
Dan and I will be back in the saddle for more ASL action next weekend!
We will see you then!
No comments:
Post a Comment