

Okay...what follows here will be a solo play through of the four scenarios that makeup Where the Half-Squads Dare. Now I'll be completely honest...the play is a bit klunky. Trying to adapt a movie into ASL is never quite as easy as one thinks it should be. In fact, it's pretty dang difficult. So what I'm saying up front is that you will find more than a few gaps in the playing of these scenarios and the German Player may spend much of the game not doing too much. But the German Player will have to make the most of what few opportunities he gets to shape the course of the game. The SSR's will handicap you...but that one lucky die roll can quickly steal the victory for you...so be vigilant for that opportunity.
All that said, I think the scenarios do capture just a little bit of the movie and hopefully that will be just enough fun to make this project worth the many hours put into it. And regardless of the scenarios....Rick Reinesch's beautiful maps will be available for a host of other scenario creations. The maps are on VASL now and ready for your projects, whatever they might be. NOTE: the maps used for this walkthrough were printed out as 8-1/2 by 11 sheets and assembled and then glued to foam board.
So here now is the walk-through to give you a hint of how this quirky ASL experience plays out. May we always go Where the Half-Squads Dare!

Map 1 - depicting Schloss Hohenwerfen and the Village of werfen.

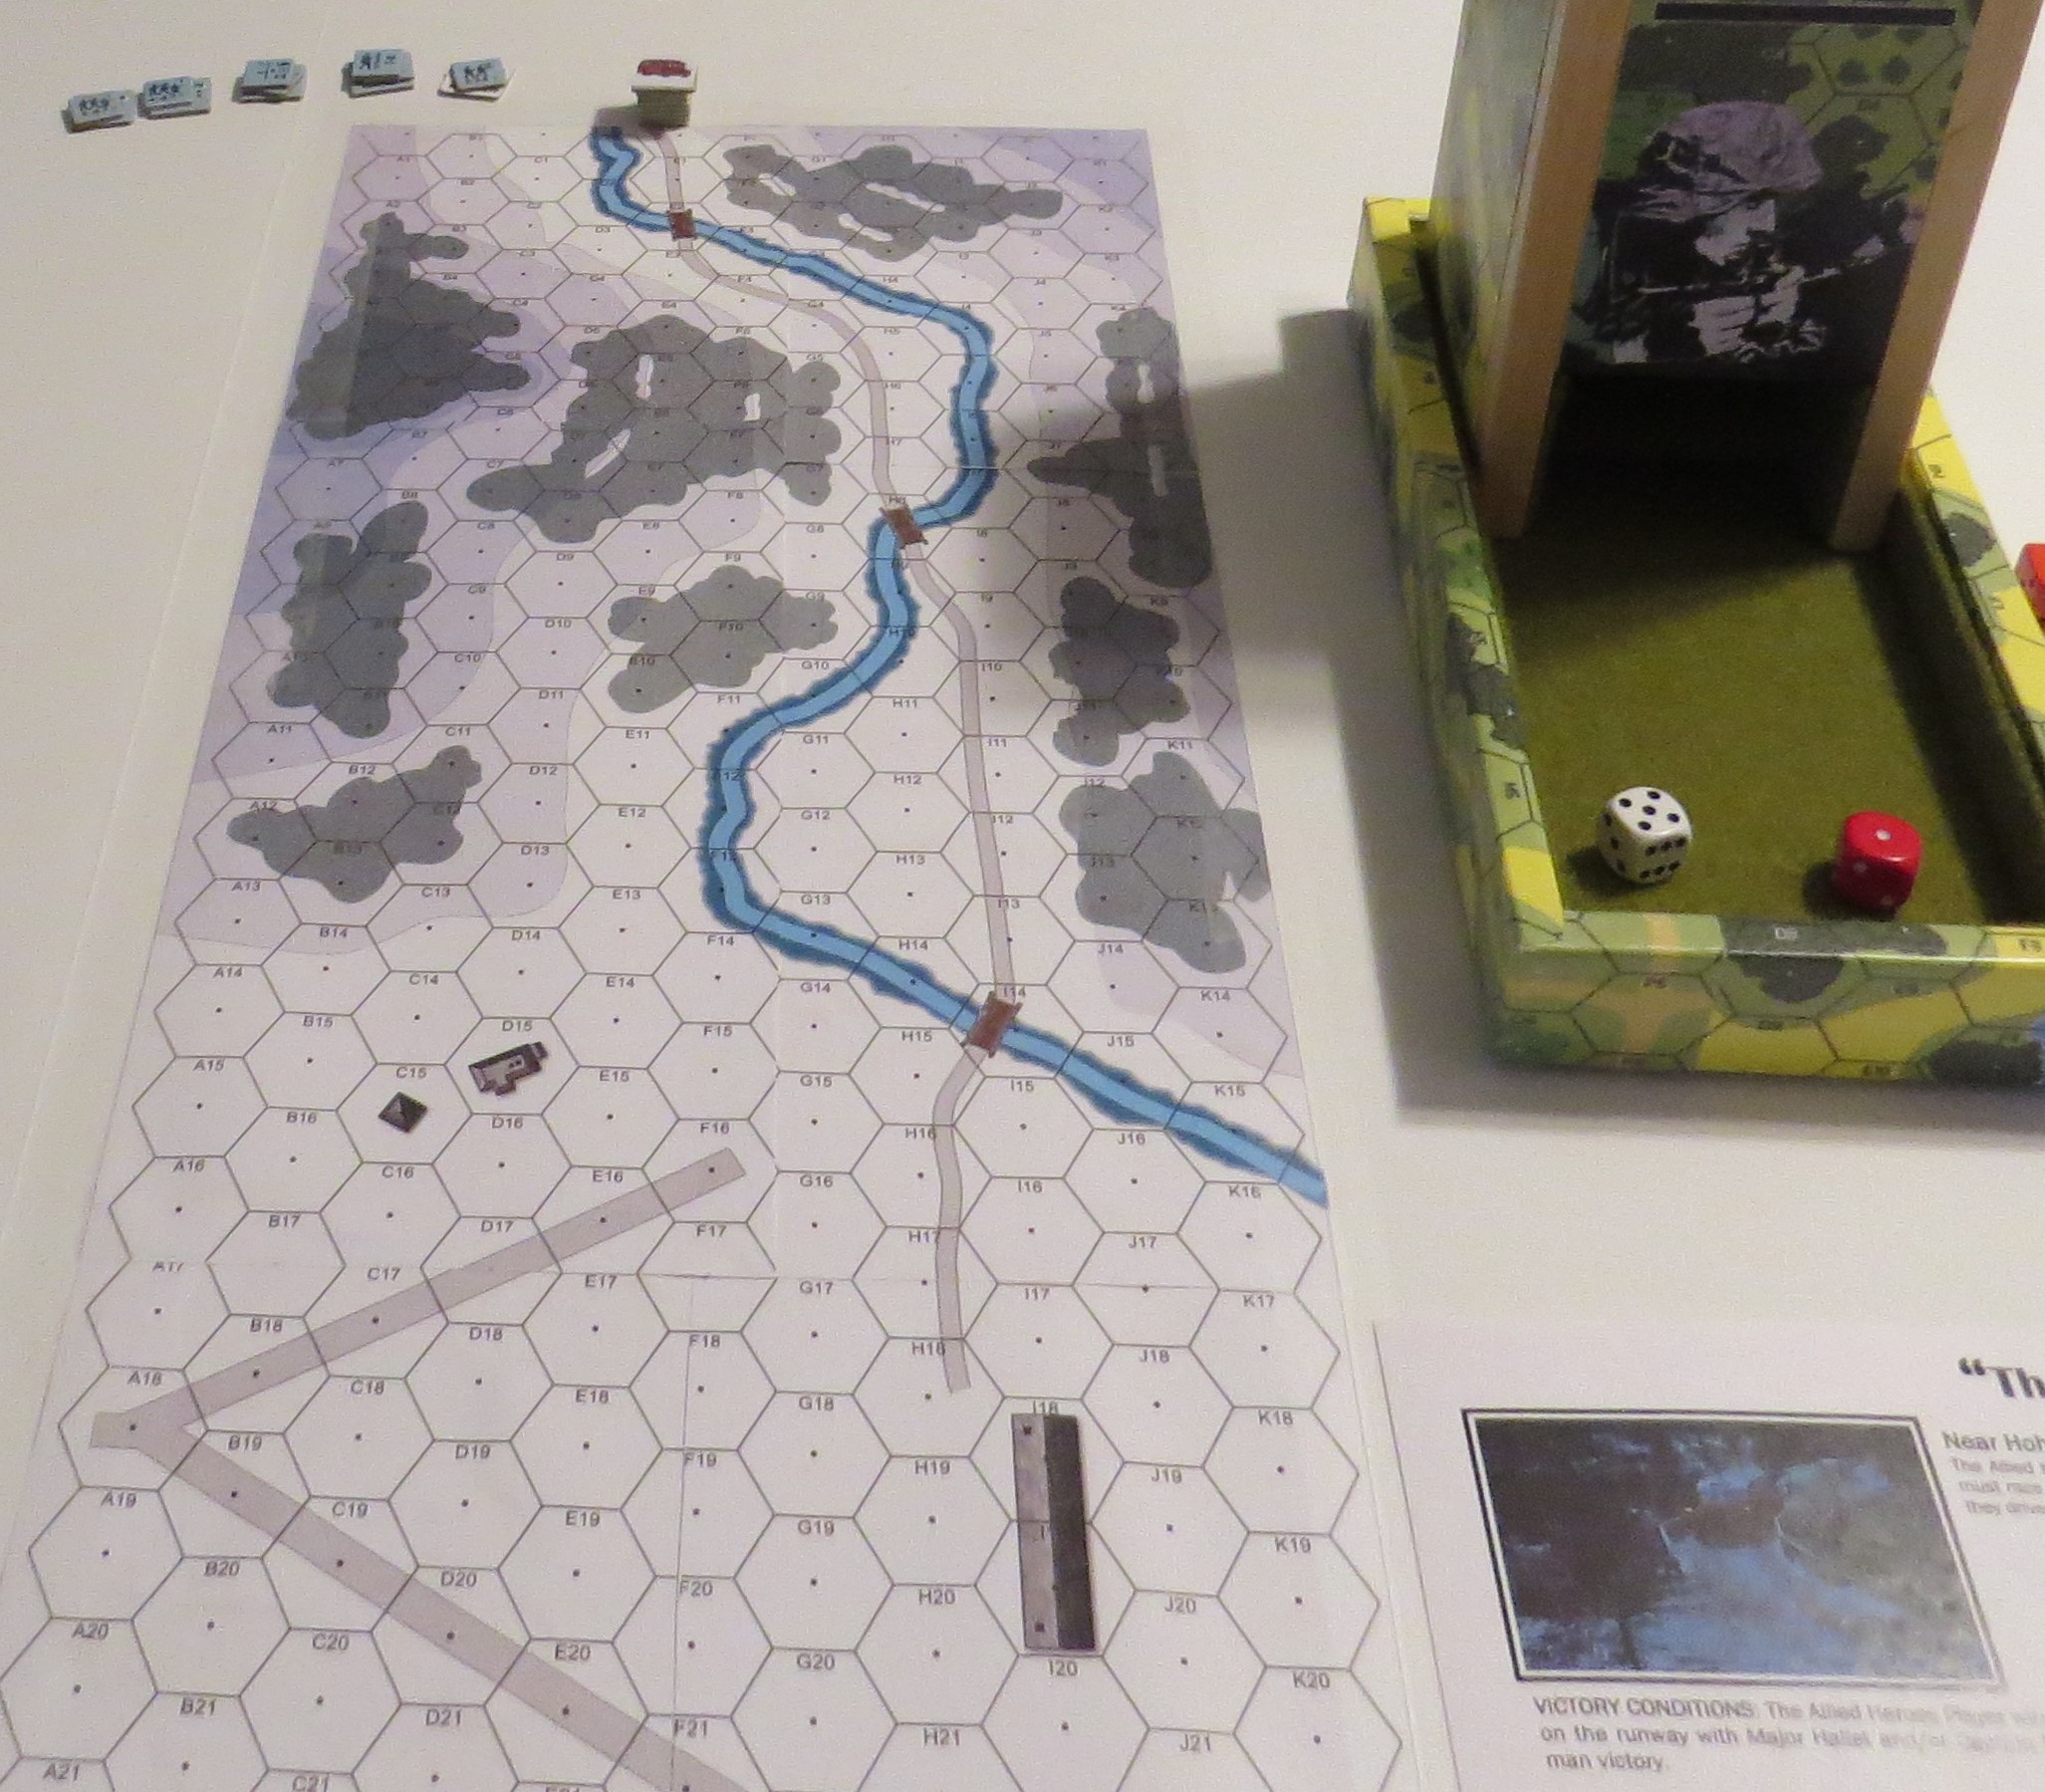
Map 2 depicting the road from Werfen to the German airfield.

Map 3 - the interior of Schloss Hohenwerfen.

A look at the awesome detail of the maps produced by Rick Reinesch. The large table, rug, fireplace, and pillars are depicted in the Grand Hall.

Ready to begin Scenario 1 - The Castle.

Setup for Scenario 1 - The Germans are placed in their various locations. NOTE: The Germans do not have freedom of movement until the Allied Heroes are in their area and revealed as not German. It may not be a lot of fun to be the German Player, but there'll be chances to mess up the Allied Player so don't despair.

Mary heads towards the Armory. she will hang out in this area until Smith and Schaeffer take down the Radio and Grand Hall. She will then head back towards A and use a Stealth Point to lock the door. This is critical to slowing down the German reinforcements. She waits to spend the Stealth Point to make sure that Smith and Schaeffer have enough Stealth Points to gain access to the Radio Room and Grand Hall.


Stealth Roll as Smith and Schaeffer enter the Radio Room. At this point, the Allied Player has 5 Stealth Points so a roll of 1-5 guarantees successful entry and automatic Close Combat Ambush. And now the Allied Stealth Total is 4 Points.

Close Combat goes as planned. The Radio Man is toast. Smith rolls for Radio Contact and is successful. The JU-52 will be waiting at the airfield.


4 Stealth Points left.

Smith and Schaeffer enter the Grand Hall and pass their Stealth Roll (3 Stealth Points left). They take up positions for Advancing Fire.


The Advancing Fire shots went awry which forced Close Combat. Smith takes down the Secretary while Schaeffer takes down the Guard. Kleinschmidt takes Christiansen, Berkeley, and Thomas prisoner. Hallet attacks General Rosemeyer and ends up in Melee. The failure to eliminate the Germans at the conclusion of Close Combat automatically sounds the Castle Alarm. The German Reinforcements will enter the very next turn.


Mary successfully locked the door from A to the C hallway. The German reinforcements move from the courtyard into ground level A and will move up the staircase.


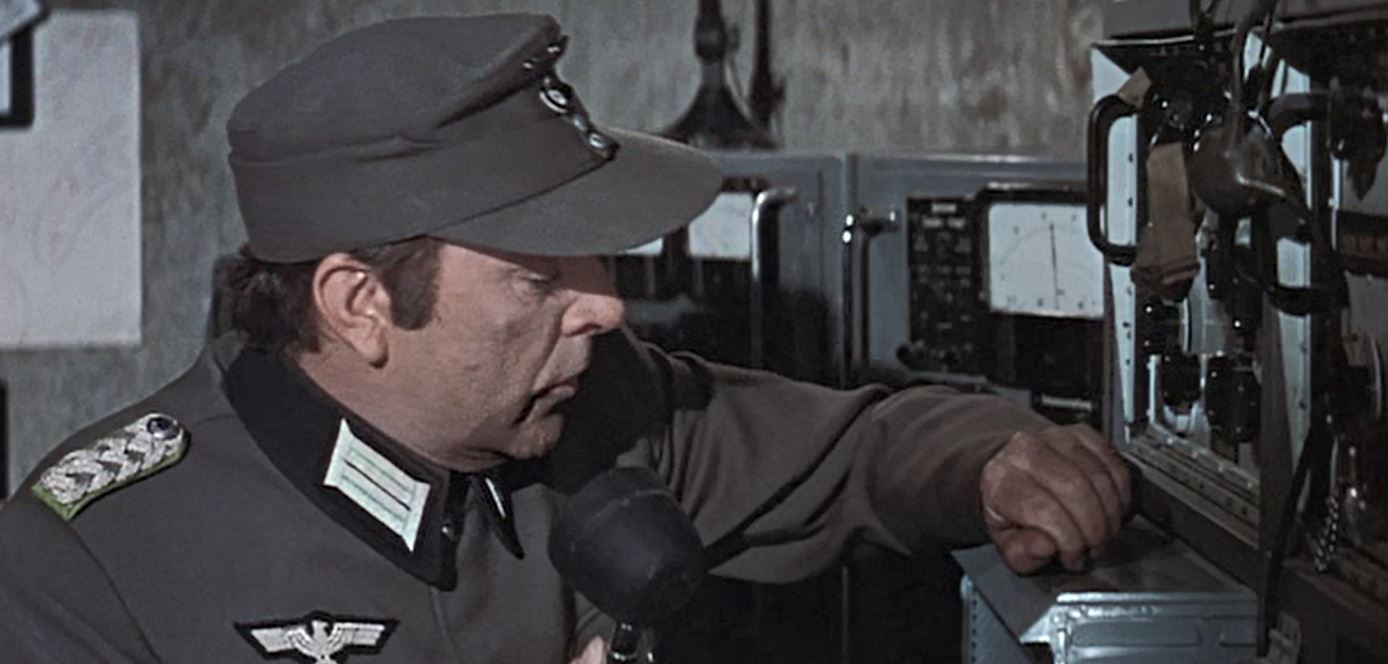
Yes...I have the movie on...gotta get in the right frame of mind....

After clearing out the Grand Hall, Smith sends Thomas out the proverbial window. This restores the Stealth Point total back to 5. Bye Thomas...


The German reinforcements send two half-squads to batter down the locked door, while the others go the long route towards the Grand Hall. Major von Hapen also appears. The German secret dr was a 5, so Major von Hapen would appear on Turn 5, but the Heroes had already moved towards the Cable Car Room.


Things don't go well for von Hapen as Schaeffer rolls snakes with 2 factors -4. He's dead JIM!!


Mary and Schaeffer take down the German guards in the Armory while Smith, Hallet and Kleinschmidt clear the Cable Car Room. Both Stealth Rolls were successful...so the Germans didn't have a chance.

Scenario completed on the 7-1/2 Turn.

The Allied Heroes had earned all the points necessary and won the game. You will note the DC's in the Radio Room, Grand Hall and Armory. These are placed and detonate at Scenario End.

Setting up for Scenario 2 - the Cable Cars.

Scenario 2 begins after Christiansen and Berkeley have knocked out Schaeffer and are attempting to escape in a cable car. Smith will jump on top of it to place a DC and blow up the traitors.

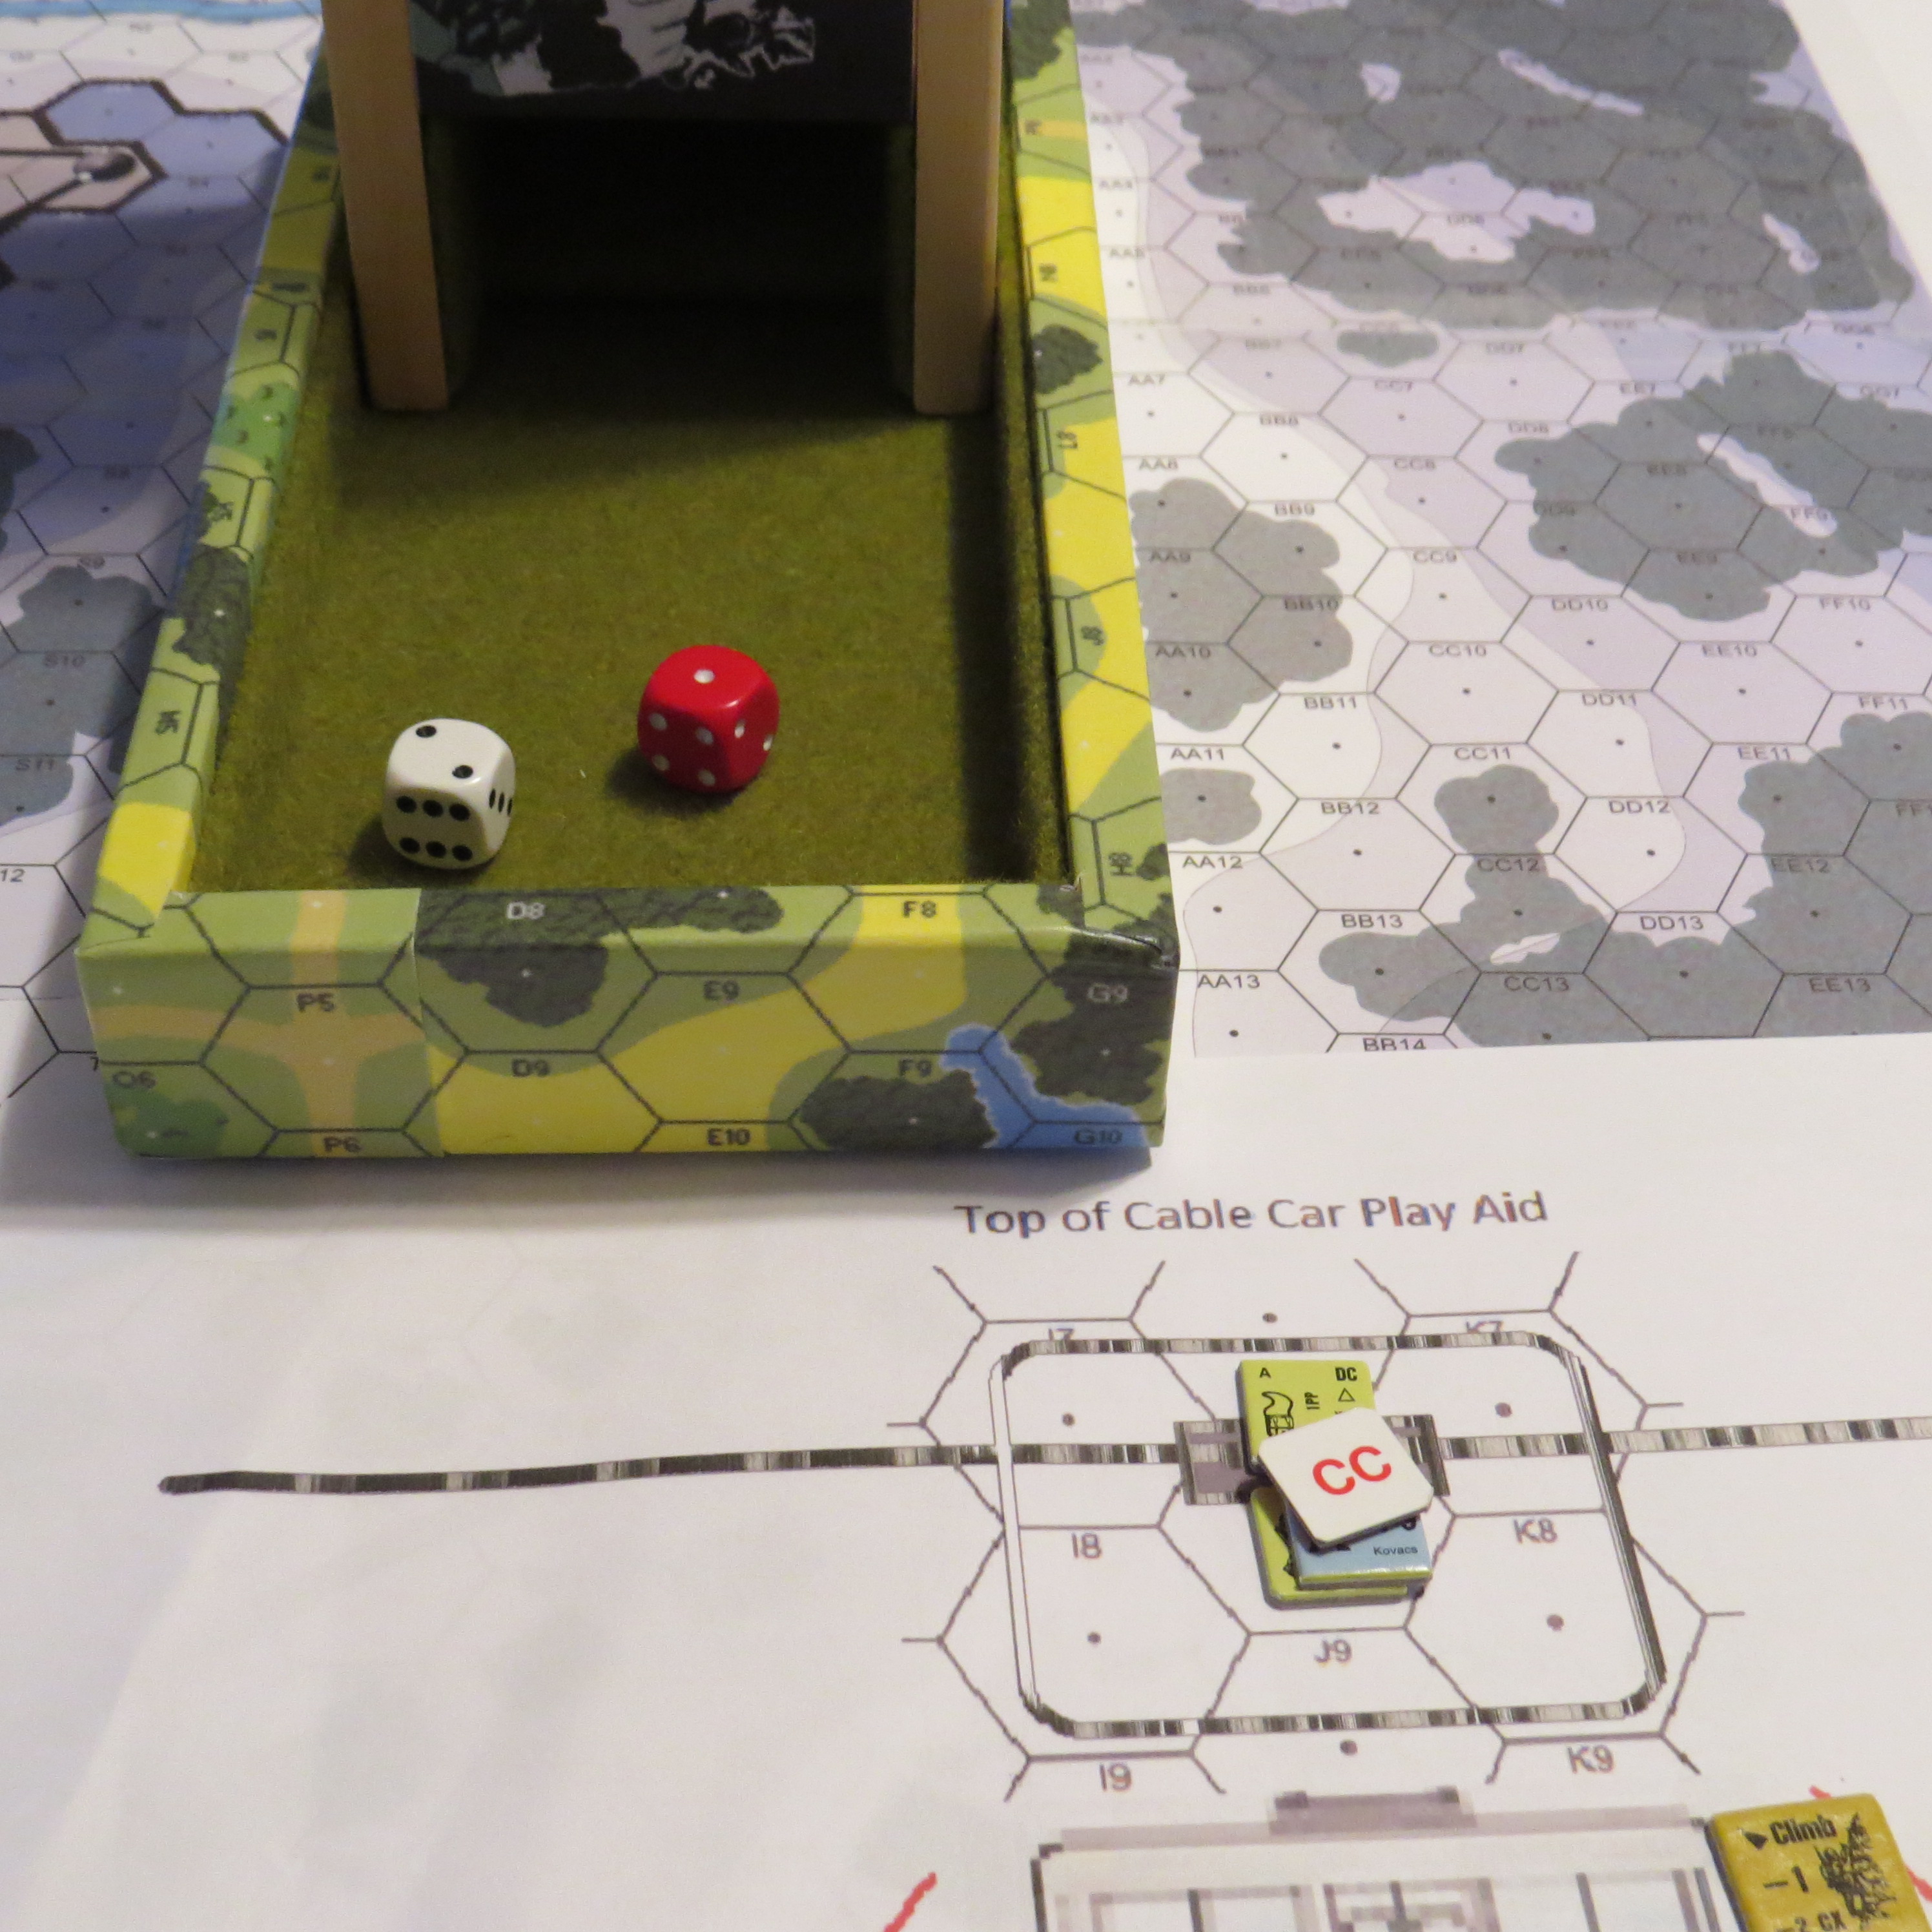
The play aid in use. I had an ink shortage issue when I printed up my copy.


I printed out my own cable cars and put them on old GI Anvil of Victory smoke counters.

Christiansen and Berkeley begin climbing up the side of the Cable Car. Christiansen rolls a 12...good grief...he falls to his death.


Berkeley makes his roll.

Smith places the DC and waits for Berkeley to get up on top.


Berkeley gets on top of the Cable Car.

Close Combat!
Smith easily dispatches Berkeley.

Now time for the jump. NOTE: once the Germans are out of the picture, All phases are Allied. So as the Cable Cars align, Smith goes for his jump!

Smith rolls a 5 and makes the jump!


Smith travels back up to the Cable Room to join up with the group.
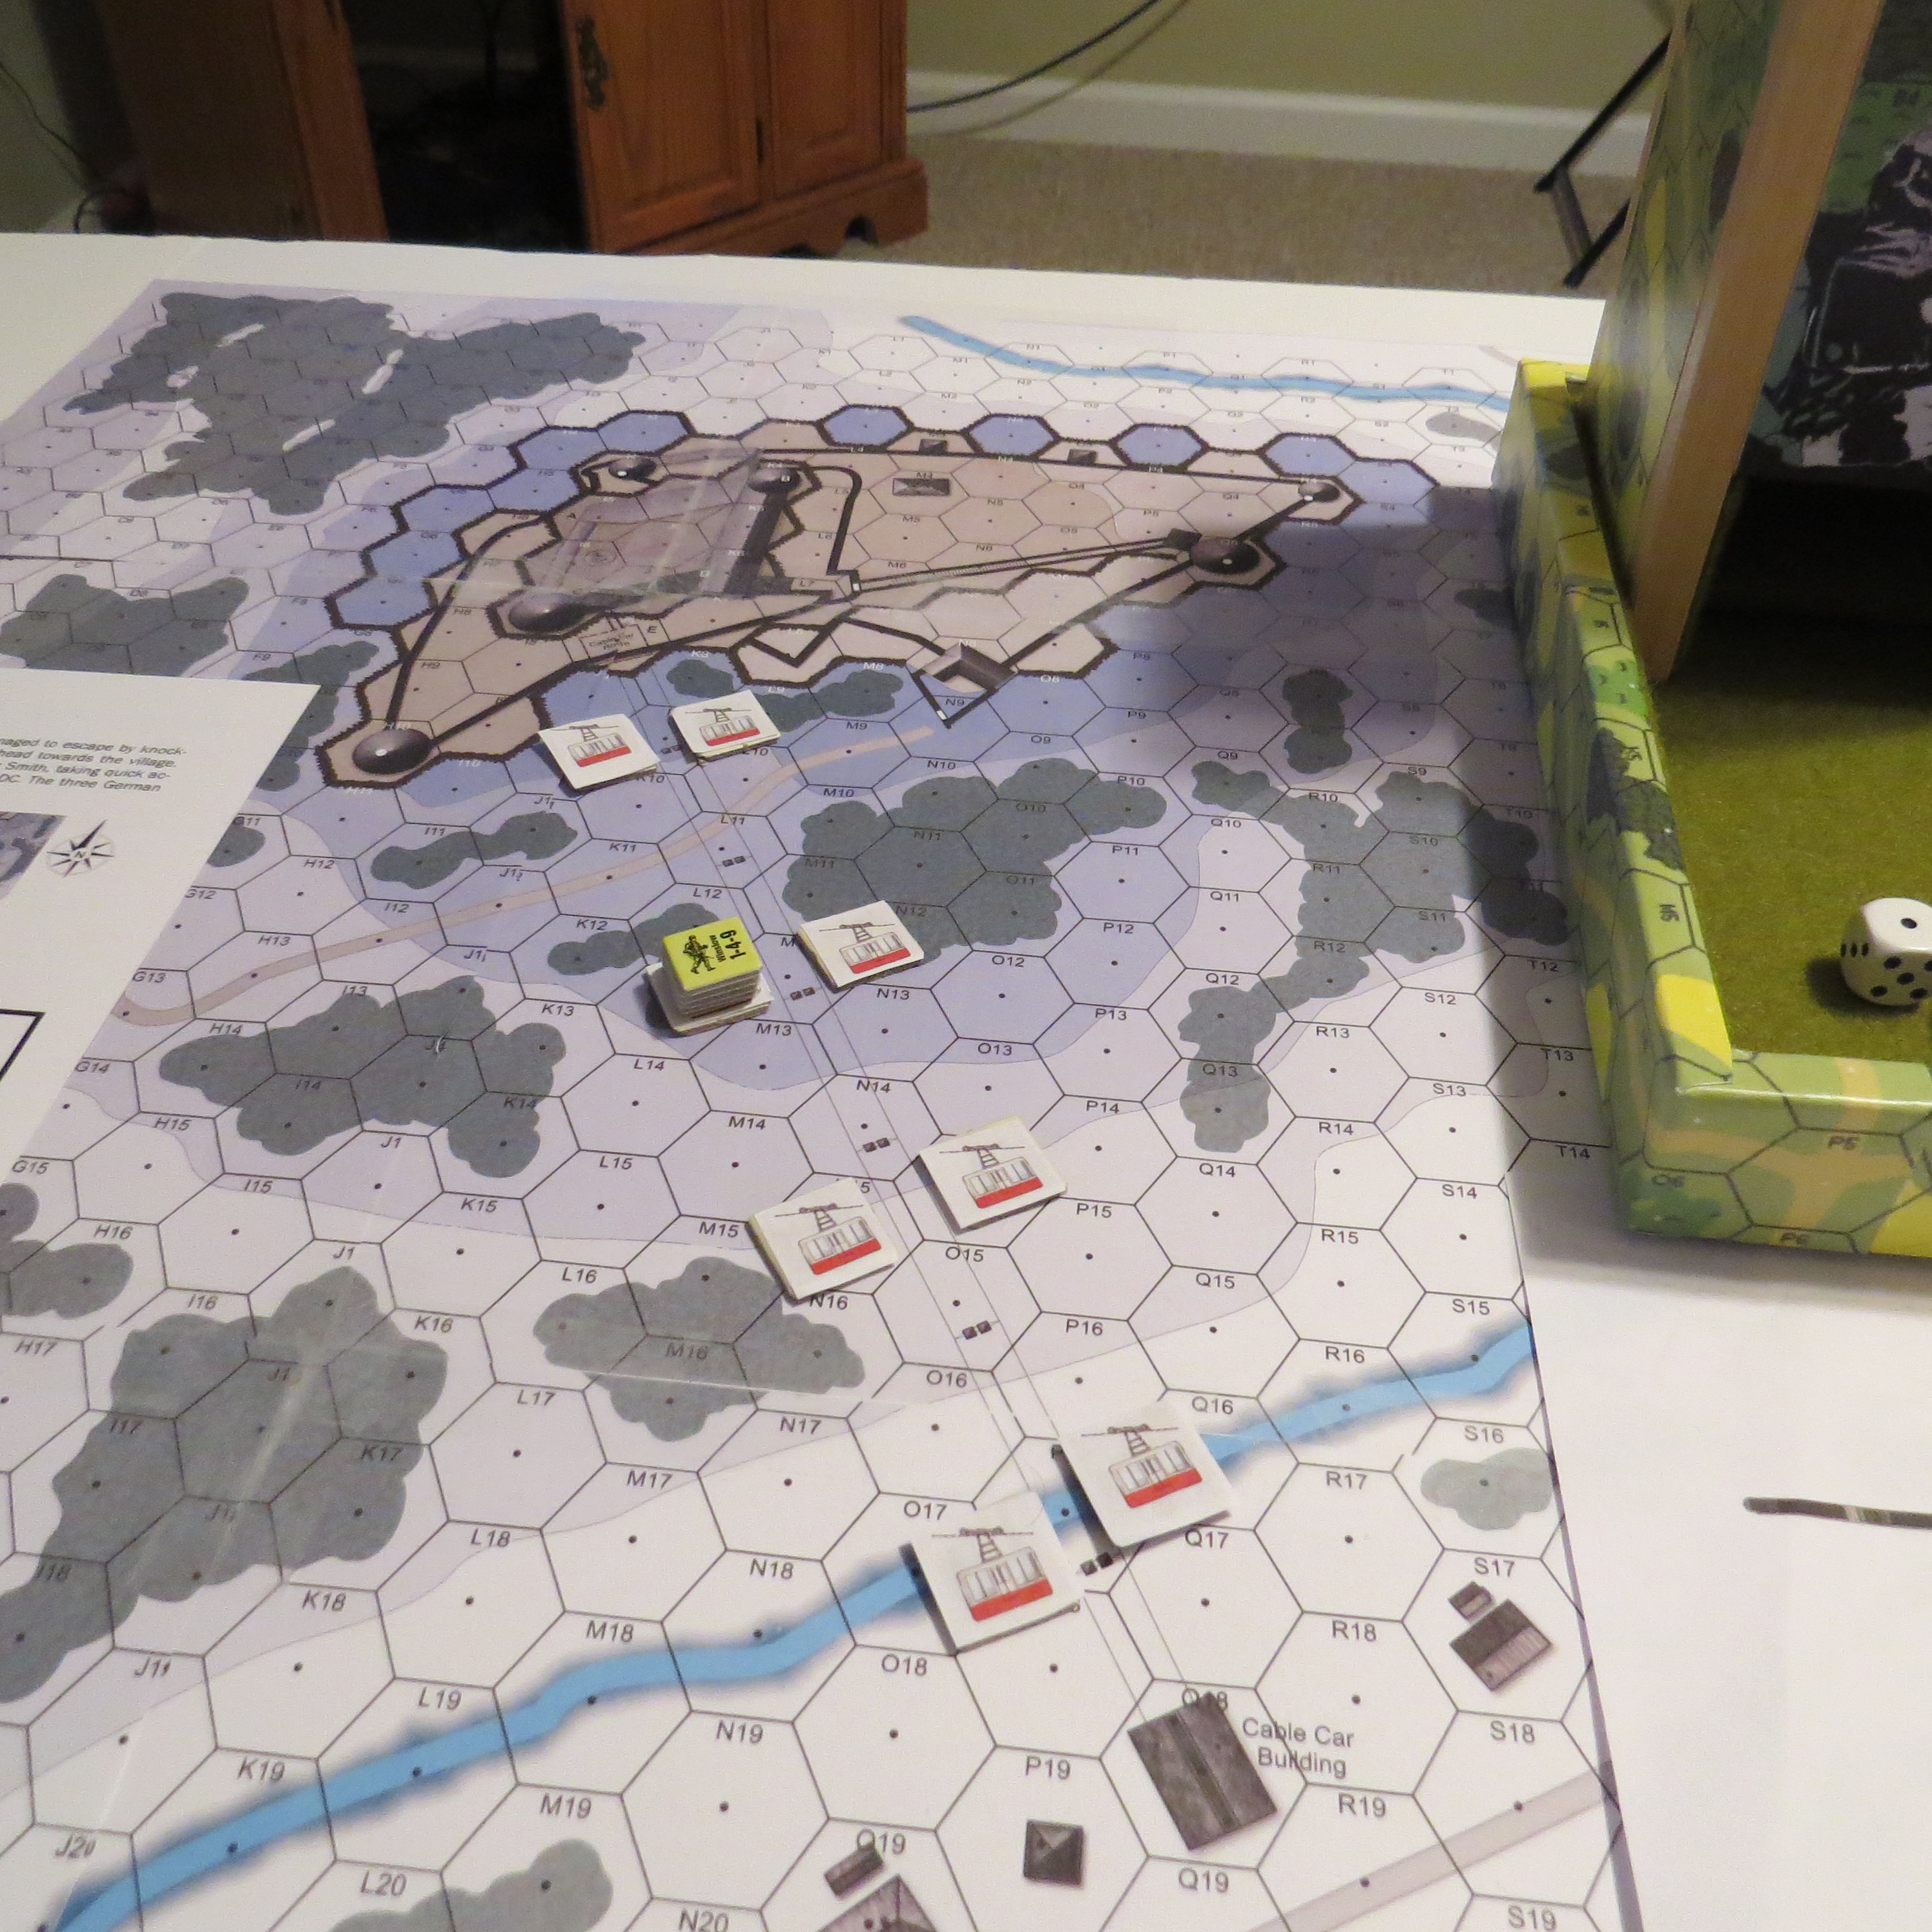
Everyone boards the cable car and heads towards Werfen.

Once over the River...everyone drops!

Everyone makes their roll and lands successfully in the river. Scenario 2 ends as an Allied victory.


Scenario 3 - the Bus Shed . The Allied Heroes (now including Heidi) head begin the scenario in the woods by the river. Night Rules are in effect, so the Germans once again do not have freedom of movement.

Using some bypass, the Allied Heroes are able to move unseen to the back of the shed.

Everyone boards the bus and the bus makes its exit. I chose to go through the open ground rather than the road, which would have been suicidal since the HMG was waiting for the Bus. The bus takes a lot of fire from the Germans. Both Heidi and Mary are wounded.


This is the scenario where the Germans have the greatest chance to inflict damage on the Allies. The Germans would get a lot of shots off, but no effects.

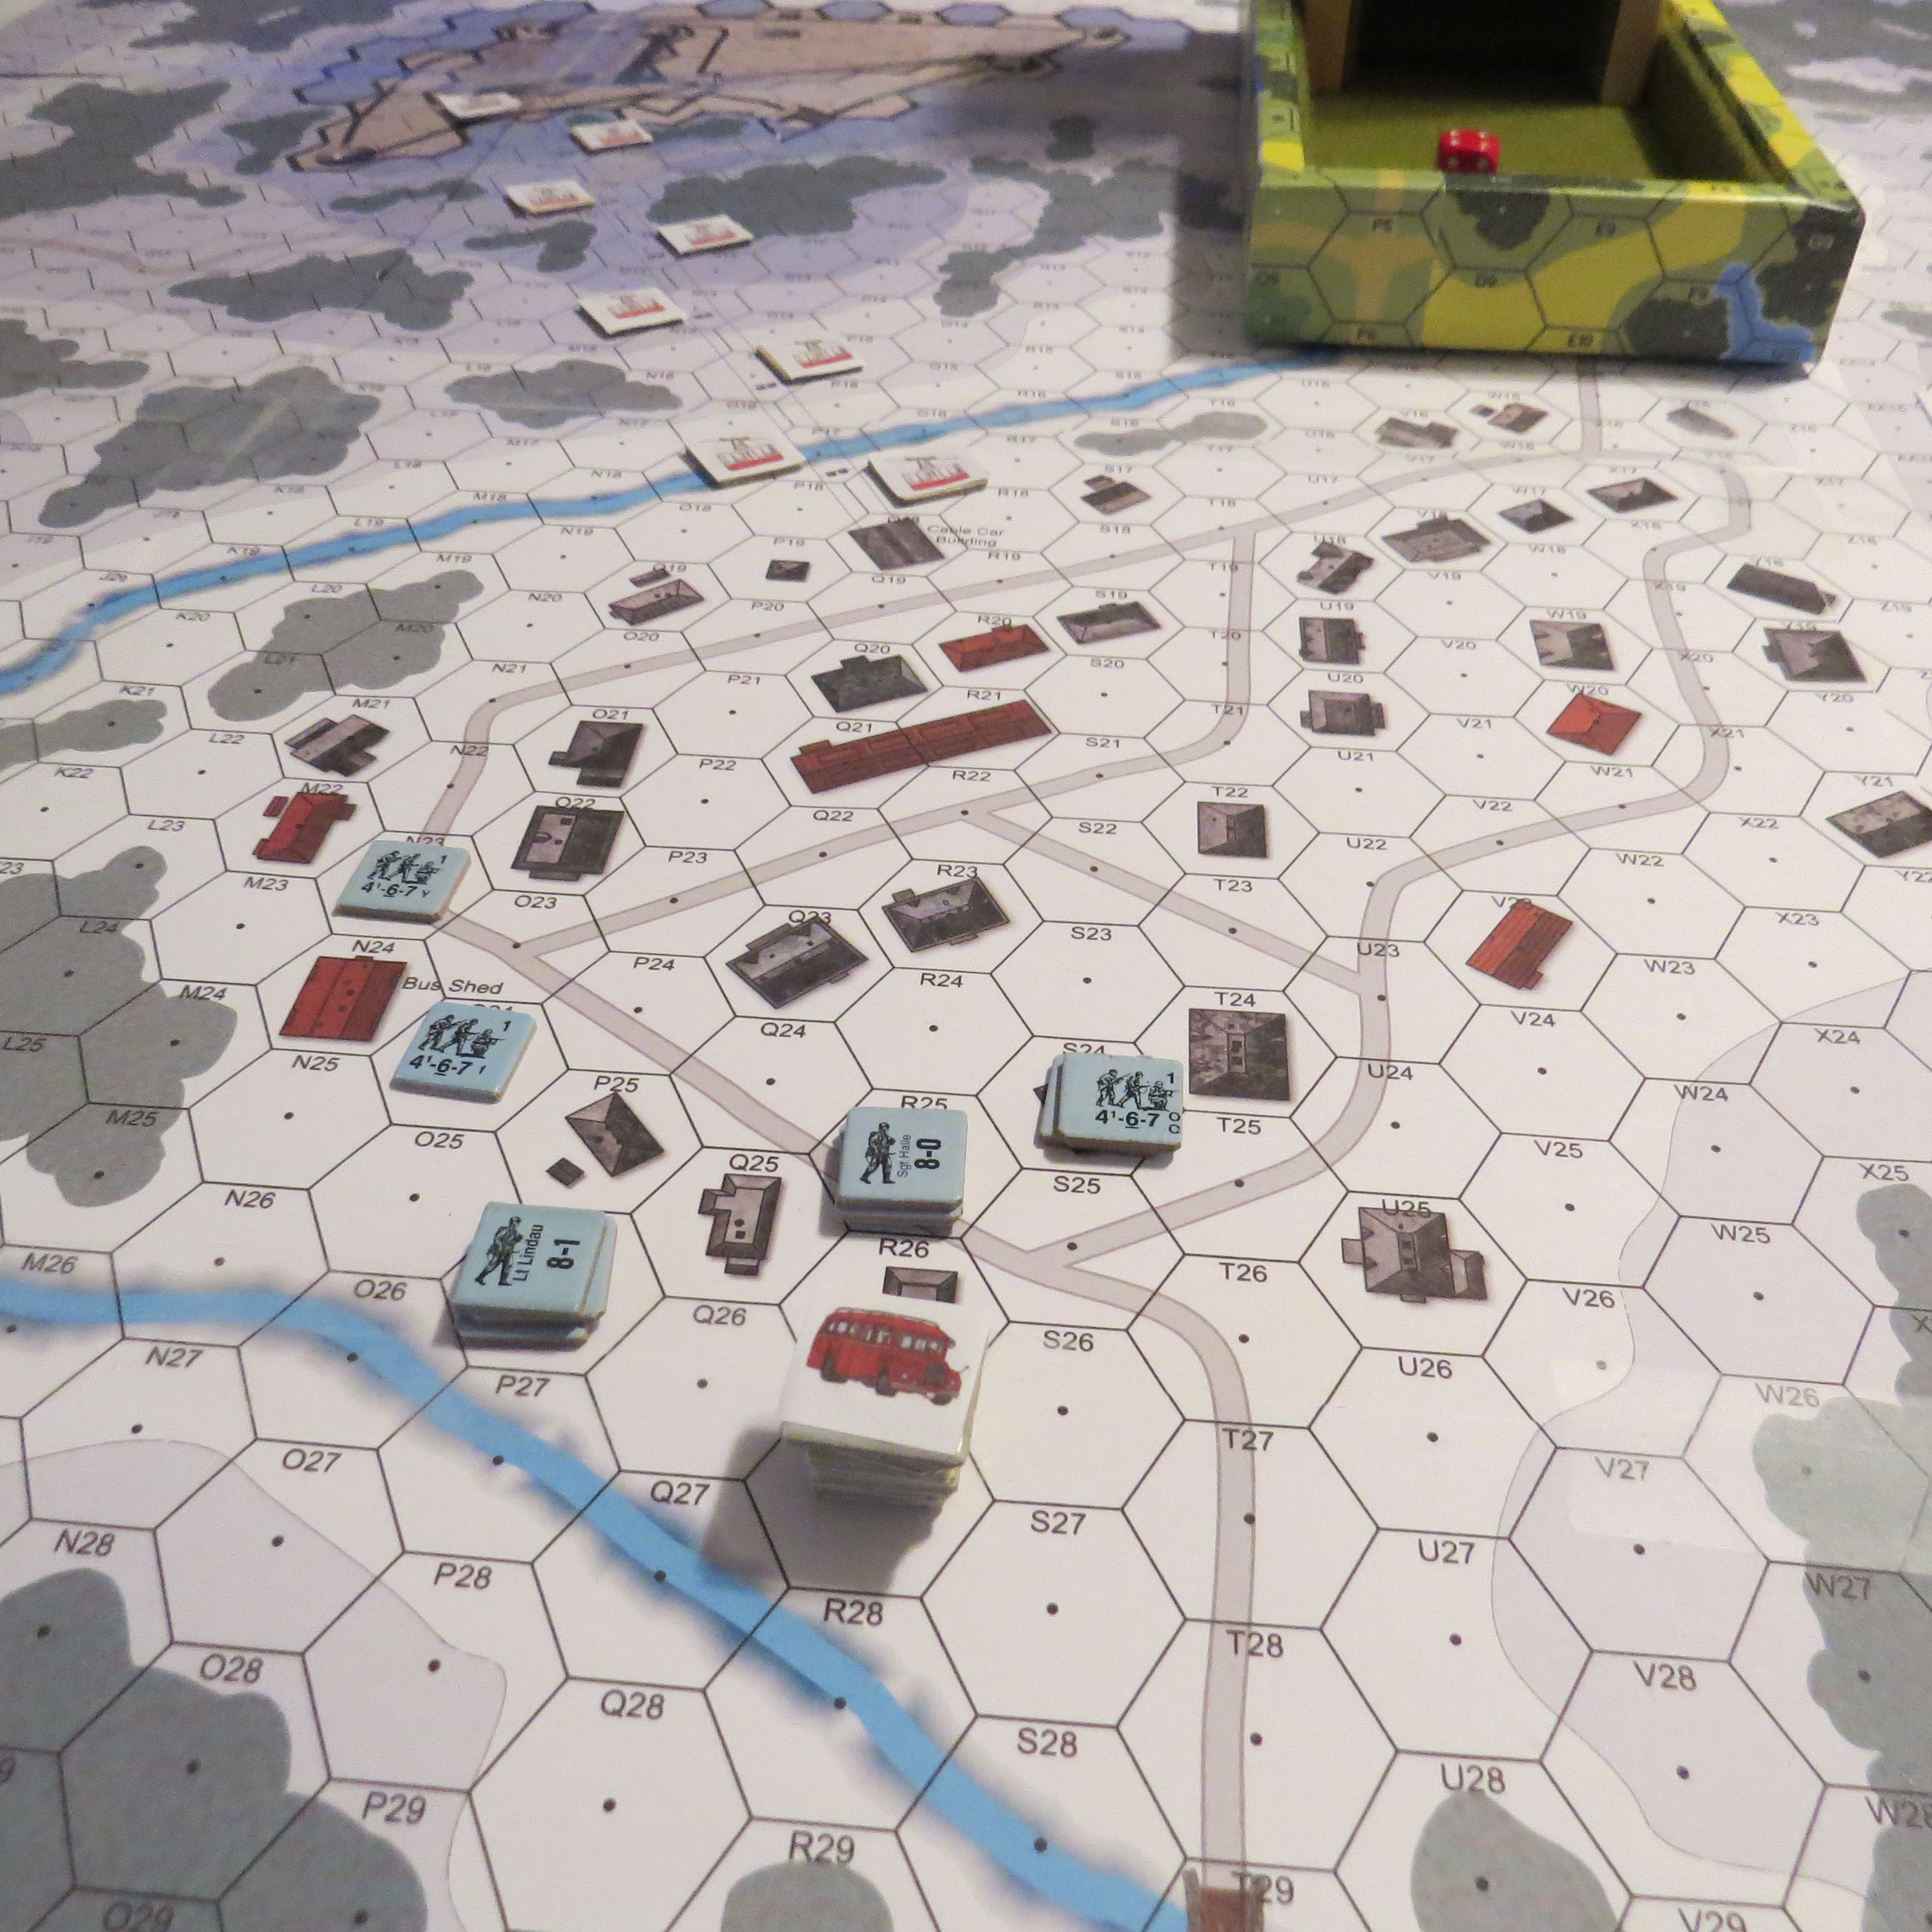
With freedom of movement established, the Germans move forward to put down more fire.

The German 8-1 and HMG squad move recklessly and Shaeffer and Mary shoot them down. KIA'd....


The Germans give it their best shot...but circumstances are against them.

The Bus heads for the exit. It successfully runs through a fire lane and exits the map. Allied Victory in Scenario 3. So far 3-0 for the Allied Heroes of Strike Team Broadsword.
Scenario 4 - The Bus has to escape to the airfield and blow up a bridge to stop the German pursuit. The German Player just hopes for the best.


The Germans all make the Task Checks, but then roll very low for the movement points. The Bus has a good head start.


The Bus managed to blow up the middle bridge. So at this point it's basically game over.
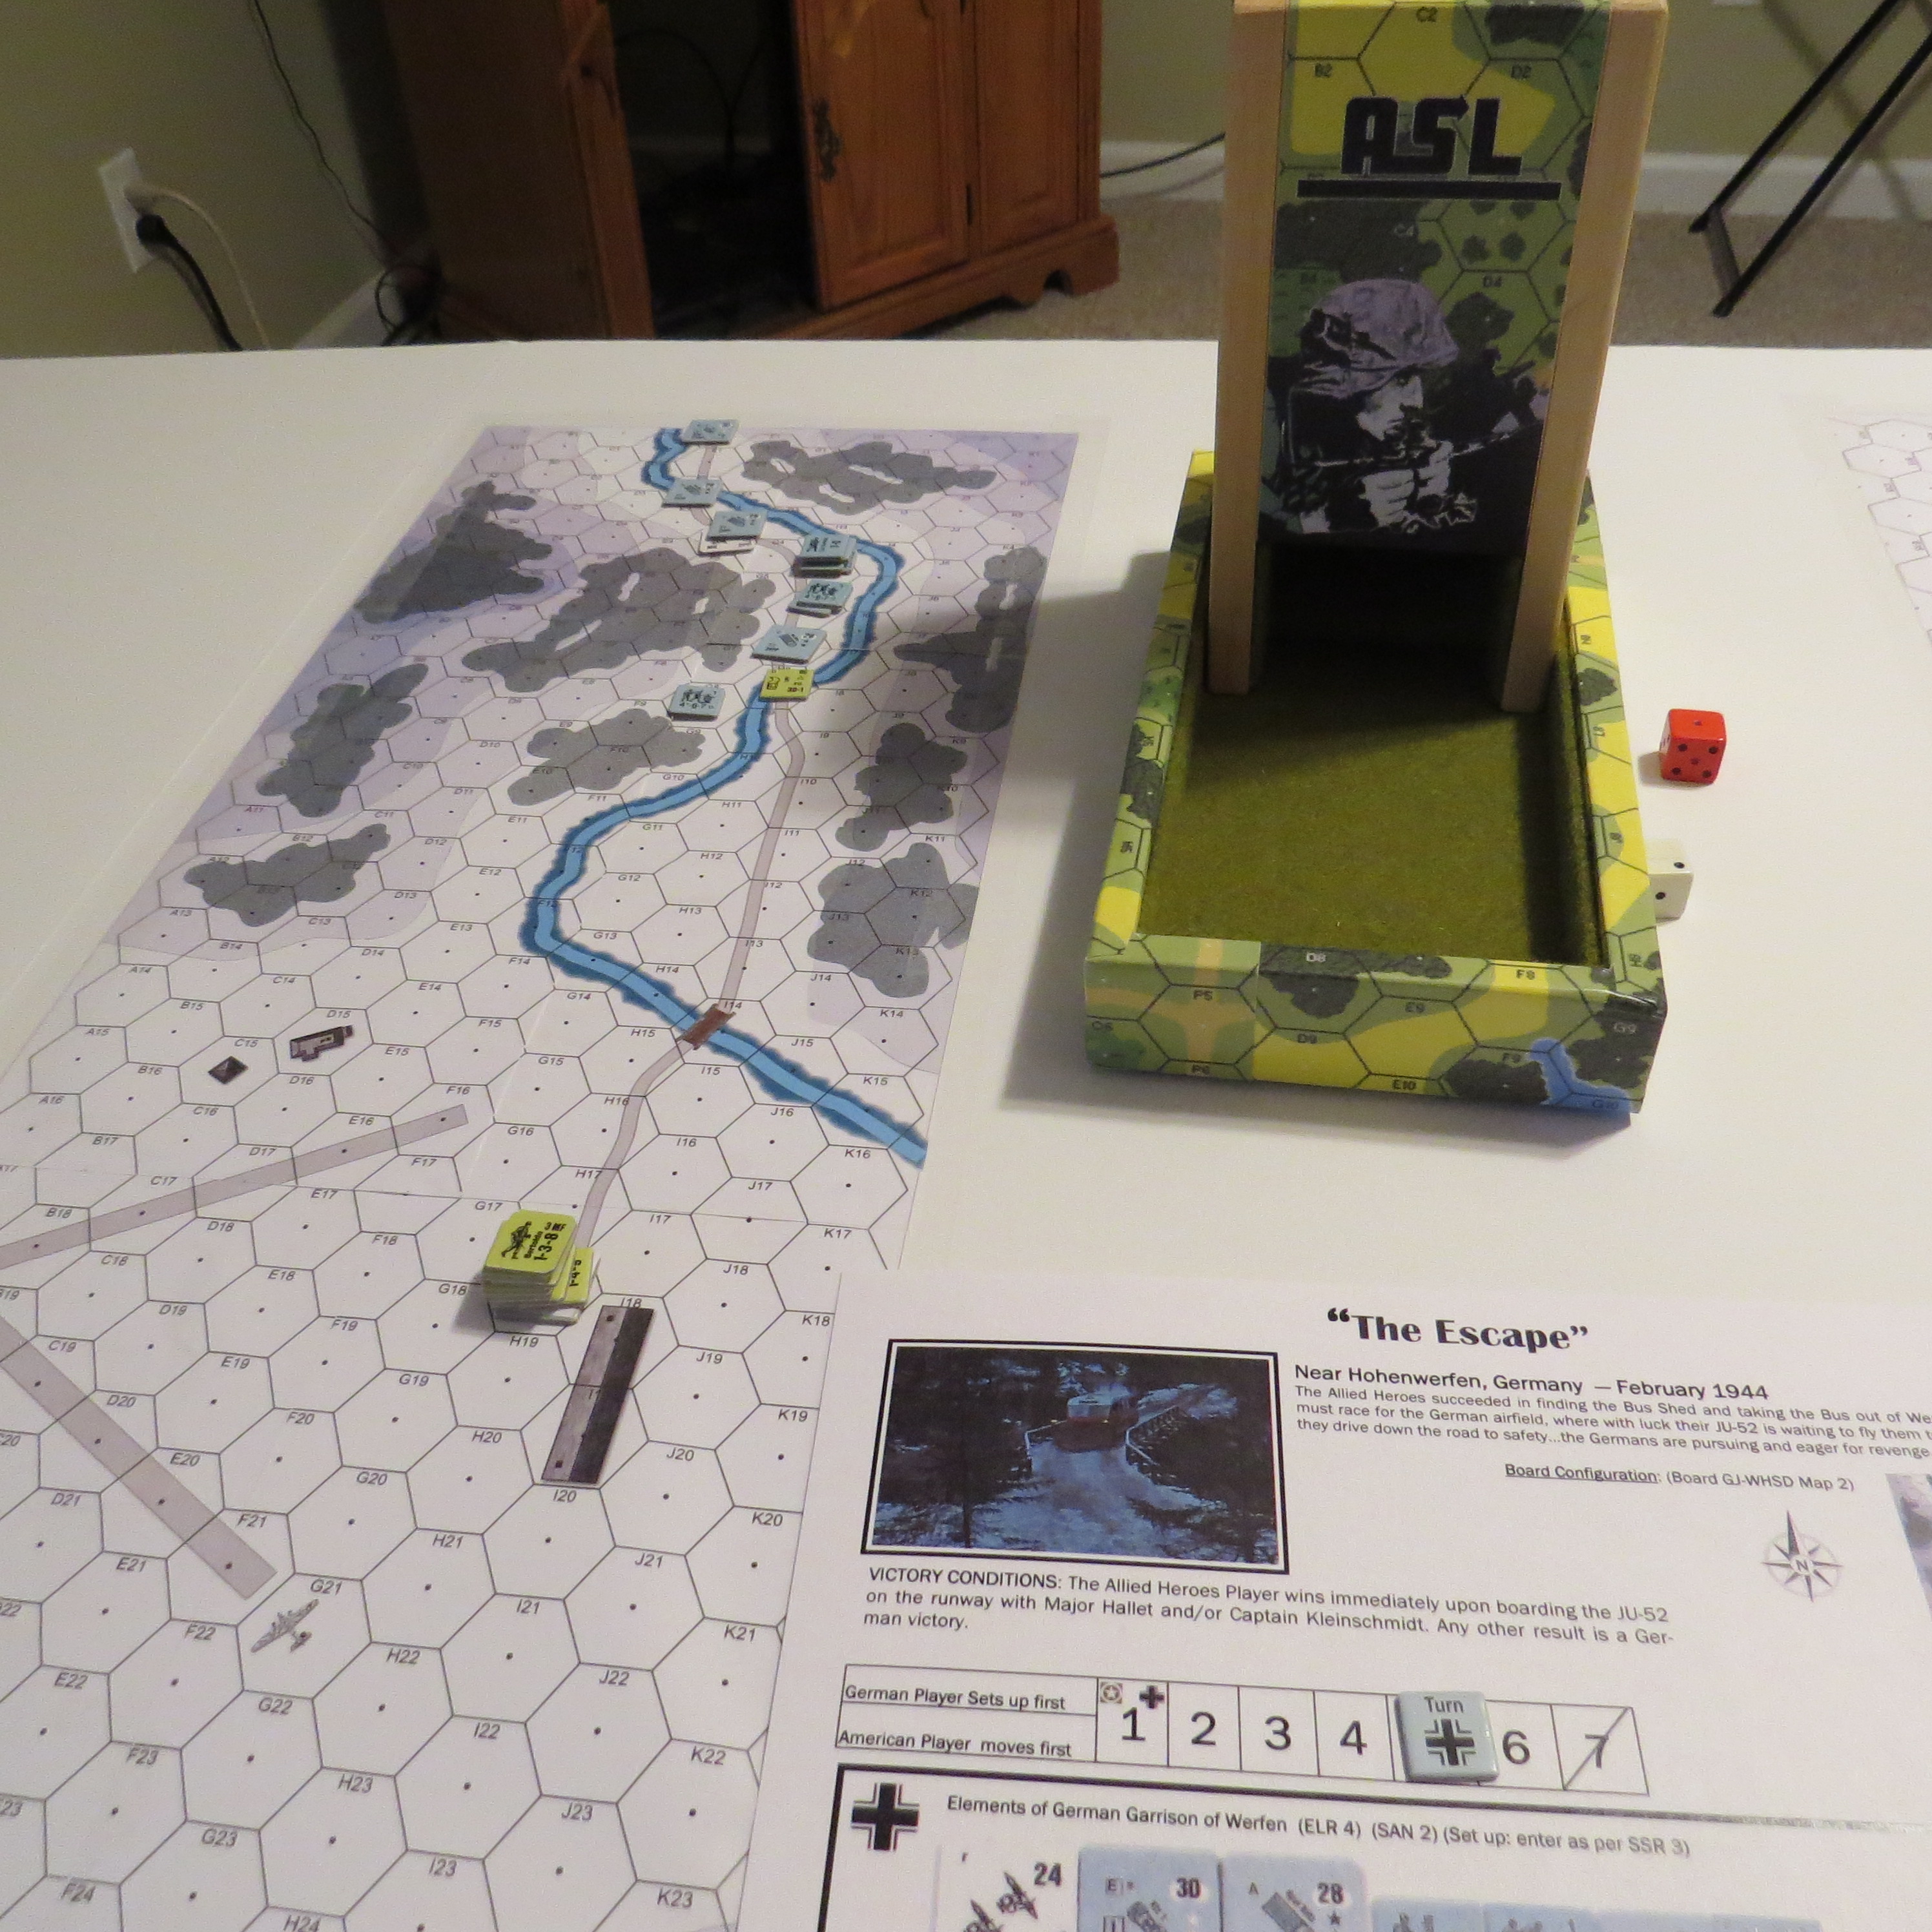
The Bus reaches the end of the road and the Heroes exit the bus to run to the JU-52.


Scenario and Game End...the Allied Heroes (all alive) enter the JU-52 and head for home!


Okay...that's a wrap on the Play Through. As I mentioned at the beginning of this post, Where the Half-Squads Dare is not a polished gem. It's got a lot of rough spots. Replaying this set of scenarios is pretty unlikely. This will be a one and done kind of thing. But I sincerely hope that reliving the movie moments in ASL...if only once....is a good time overall.
Danny Boy out....
Thoroughly entertaining. I enjoyed your playthrough more than I did the film, to be honest. Wuld be fun to see a Half Squads version of The Eagle Has Landed.
ReplyDeleteI was thinking the same thing...perhaps next year...
DeleteLove the replay and the fame, and the fact that we survived! We will get to this once we game face to face again. We have the real maps. Thanks so much.
ReplyDeleteHow can I get my hands on a copy of this?
ReplyDeletehttps://boxcarsagainaslblog.blogspot.com/2020/10/grumble-jones-halloween-scenario-plus.html
DeleteYou can find everything here.