

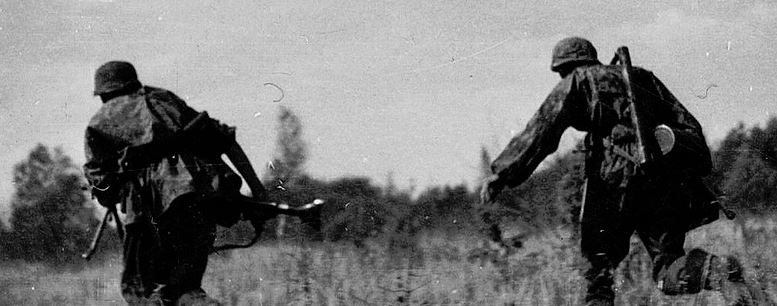
80 Years ago, the Allies embraced an ambitious plan to secure a bridge over the Rhine River. By the end of August 1944, the Allies had nearly chased the Germans out of Northern France and into Belgium and Holland. Going into September, the Allies had very nearly outpaced their supply lines. Supplies were still being transported from the Normandy area. Patton and Montgomery were leading the charge and both desired the available logistics and mandate to keep going into Germany and on to Berlin. As we all know, Eisenhower would focus resources on a bold plan conceived by Montgomery and the British...Operation Market Garden. In short, American and British Paratroopers would parachute and glide behind German lines to secure bridges at Son, Eindhoven, Nijmegan and Arnhem. They would secure and hold these bridges while the British Armored 30th Corps advanced up a single road to relieve them and capture a bridge over the Rhine. This audacious assault would hasten the end of the war...as all such plans promised.

The Allied Plan might well have succeeded had the Allies properly understood the condition of the Germany Army in the West. The destruction of the Germans in the Falaise Pocket and subsequent routing of German forces from Northern France had given the Allies the wrong impression of both the extent of their success and the combat power of their foe. Ignoring intelligence to the contrary, the Allied Planners would characterize the German defenders as ineffective and ill-equipped Volksturm type formations. The reality, was that veteran German Kampfgruppes and Panzer Brigades were defending the road needed by 30th Corps and Arnhem (the prize) was currently a rest and refit area for SS Panzer Divisions Hohenstaufen and Frundsberg. Both formations had also received their replacement armored fighting vehicles, which had been destroyed and/or abandoned at Falaise. The ability of the Germans to replace the AFV's lost at Falaise would be a shock to Allied Planners...and a very nasty surprise indeed for the Allied Paratroopers.

The other essential factor would of course be surprise. The Allied airborne assault would surprise the Germans, but Allied intent was quickly betrayed and the initiative shown by individual German Kampfgruppen throw the Allied effort into disarray, which would ultimately translate into a strategic defeat.

ASL and Arnhem have always been a great match. The struggle for Arnhem is filled with small unit actions that make for excellent ASL scenarios.
And not only scenarios, but two HSAL's: A Bridge too Far for full ASL and Decision at Elst for Starter Kit. A Bridge too Far is certainly the penultimate ASL Arnhem experience. I was not lucky enough to get a copy when it was available. But fortunately, the maps and scenarios will be reprinted in a future MMP release. So another ASL thing to look forward too.
In honor of the 80th Anniversary of Operation Market Garden, MMP has released a Pack of Arnhem based scenarios for the Arnhem Tournament.
And in nice coincidence, Dan and I like to play four scenarios each weekend. So...looks like a perfect match. Dan and I will play all four scenario in a row over the weekend. And in change of pace, we will be the same side for all four games. I will be the British and Dan will be the Germans.

For the next four games, I will take the role of Major General Roy Urquhart.

Dan will assume the role of SS-Obergruppenführer Wilhelm Bittrich.

We referred to the ASL Archive for the sequence of play we would utilize for this special 4 scenario event.
- Thursday's Scenario - AR 3 Bricks in Flame
- Friday's Scenario - AR4 The Overlook
- Saturday's Scenario - AR1 Broken Column
- Sunday's Game - AR 2 Sheep in Wolf's Clothing
The winner of this four-day event was to be determined by the total CVP inflicted at the end of the four games.
This will be continuous AAR in that we will not transition between games. The AAR will simply proceed to each new game with continuous slides. We will see how well that works out. But you will not get the Order of Battle for the individual scenarios. The OOB will be listed below for each side as a single Order of Battle.
British OOB (All 4 Scenarios)
- 6-4-8 = 32
- 3-3-8 = 1
- 4-5-8 = 9
- 2-4-8 = 1
- 2-2-8 = 6
- 1-4-9 = 1
- 9-2 = 2
- 9-1 = 3
- 8-1 = 4
- 8-0 = 1
- 7-0 = 2
- HMG = 1
- LMG'= 12
- PIAT = 4
- 81 MTR = 1
- 51 MTR = 3
- DC's = 1
- 57L AT Gun = 2
- Jeeps = 3
Total Troops = 463 Total MG's = 13 Total PIAT's = 4 Total MTR's = 4 Total AT Guns = 2
German OOB (All 4 Scenarios)
- SS 4-4-7 = 8
- SS 4-3-6 = 4
- 4-6-8 = 2
- 4-6-7 = 2
- 4-4-7 = 32
- 4-3-6 = 6
- 9-1 = 2
- 8-1 = 2
- 8-0 = 6
- 7-0 = 4
- 6+1 = 1
- HMG = 1
- MMG = 3
- LMG = 9
- 81 MTR = 1
- 75 AT Gun = 1
- Tanks = 6 (30 crewmen)
Total Troops = 585 Total MG's = 13 Total MTR's = 1 Total AT Guns = 1 Total Tanks = 6
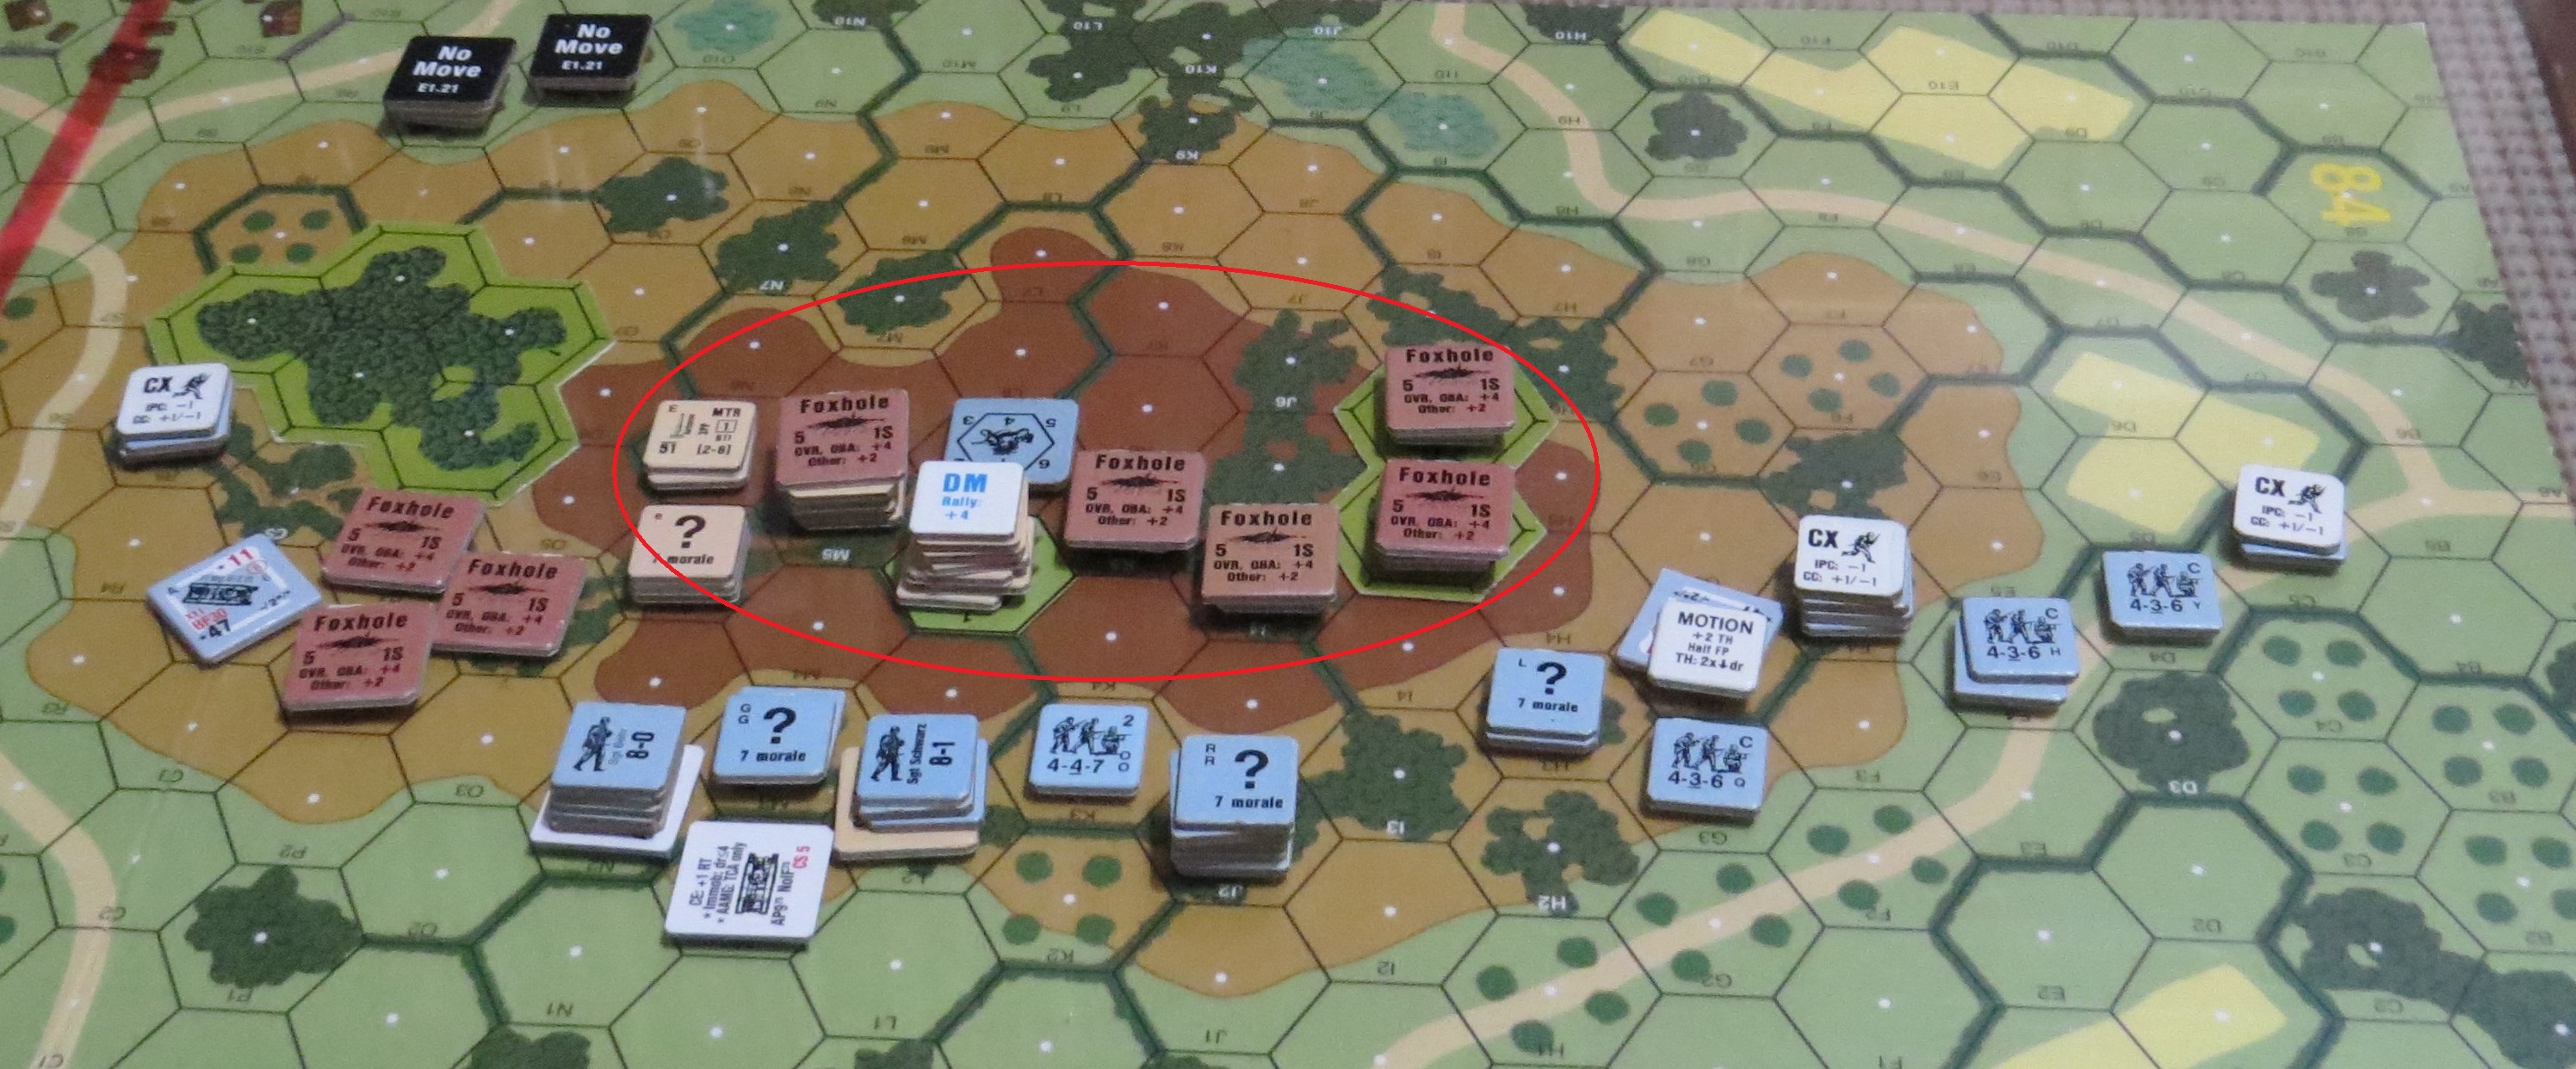
Our Thursday game - AR3 Bricks in Flames

Scenario SSR's limit the British setup. I struggled with that and really didn't know where to put the mortar. Then I would have no ROF for my AT Guns on my first Defensive Fire. (Ridiculous) Dan would Schwerpunkt to the west edge, which is what you should do when the scenario is designed to give you that route.


A couple German half-squads would be KIA'd, but they did their job and were the bullet magnets that kept the main stacks safe from British fire. At the end of Turn 1 - 2 Tanks would be knocked out.

Turn 2 German - I would knock out another tank, but the final tank would be missed and then I would intensive fire my gun in the factory. BOXCARS...and gun X'd out. That was the game on a single roll. I was done and would be well done shortly by BBQ Dan and flammenpanzer of death.


I would win the CC against the German half-squad on the east edge even though I lost the Ambush...which happens all too often to me. But the Gremans had made it and I was in trouble.


Final picture of our first game. So, the Flammen Panzer would move up and bounding fire flame onto my 9-1. Dan would roll a 4 and a 2 KIA. That was the moment I knew the game was over. My two 6-4-8's in the factory would be broken and routed as the flammenpanzer entered the factory. I gave the concession on Turn 4and went out Caseys to get some Sausage Pizza slices.

Okay our first game would go decisively to Dan and the Germans. It was a tough loss for me. I really felt like I should have held the line and kept the Germans from crossing that open ground. But I rolled high and Dan made the morale checks. I should not have intensive fired my gun, but it was a 7 to hit and a hit would kill. But of course I rolled a 12. There was no recovery for me at that point.
Casualties were as follows:
16 British KIA's including Major Thomas Armstrong.
61 German KIA's and three Tanks knocked out
Total Points
German 10 for winning and 16 CVP for a 26
British 28 CVP
At the end of one game - British have a 2-point lead.

Our next game, played on Friday evening was AR4 The Overlook. Once again, the Germans would have flame tanks. My British would only have 2 PIAT's to defend against two flame tanks. One of the PIAT's would be with a Hero...and a Hero he would be!

In this scenario, the British have to hold the hill against a determined German attack. Dan's plan was to hit me on both flanks and then drive up the middle with two kill stacks.


Turn 1 - my defense was set back on the hill, so the Germans didn't have any opportunities for Prep Fire. Dave managed to hammer my left and break the 8-1 and a squad with an LMG with a flame tank. Thankfully nobody died and they were able to rout up the hill. My PIAT missed the tank and my MTR was unsuccessful as well. The rest of Dan's grenadiers would form up below the hill and make ready for the next turn assault.

Turn 1 - the Germans had done a good job of pushing up the hill and suffering no losses.

My perimeter on the top of the hill was in jeopardy. Two flame tanks were still moving forward and I only had a DC and one PIAT left to tank on the tanks.


Turn 2 - The Germans crested the hill and came right at me all along the hill. My boys would lay down serious fire. The flame tank on the left couldn't get up the hill, but the one on the right got up the hill and right in the sights of my Hero with the PIAT. A single shot...a hit and a knocked out tank. Dan's grenadiers would move well around the right flank, but got clobbered in the center.


On Turn 2 British - I would drop a DC on Dan's stack on the right and break them all. All of his Dan's boys on the right and center were broken. I would move down the slope to keep them DM and force the brokies to fall back. On the right, I would fall back and away from Dan's 16 Factor kill stack with his 9-1.

My perimeter had shrunk, but the threat on the left and center had been knocked down to a single flame tank.


The final flame tank would crawl up the hill and squirt my 9-1 with some flame juice. My boys would manage to shrug it off. My Hero would hit the tank and immobilize it. Dan's 9-1 would successfully flank my right and was able to put fire into my backfield.

While Dan had managed to push in from the right, I took the opportunity to rush down the hill and eliminate his brokies in the center. And my Hero would knock out the immobilized flame tank with a shot to the turret.


With my left and center secured, I had established a defendable line against the left.


The final shot of the game as we finished Turn 5. Dan did the math and realized he couldn't remove my boys from the Victory Zone the hill. And with that he gave the concession and a British win.

Casualties were as follows:
21 British KIA's including Private George Everington who knocked out both flame tanks.
97 German KIA's and two Tanks knocked out
Total Points
German 8 CVP
British 34 CVP + 10 for winning the scenario for 44 CVP
At the end of two games: British Total 72 CVP and German Total 24 CVP.
Total British KIA's = 37 and Total German KIA's = 163
.jfif)
Our third scenario, played on Saturday was AR1 Broken Column. In this scenario, the British are in column and must find a way to exit some many EVP and at least one of 3 Jeeps towing 57L AT Guns. Historically, the Germans slaughtered the first jeeps heading to the bridge. This scenario is very tough with all HIP Germans and a long journey to get across the board with terrain that limits the Jeeps to the single exit road of death.

SSR has a small British force set up on board 38 while the main British Column must enter on Turn 2. And there are too many overlays designed to limit German visibility and movement options for the British Jeeps. so yeah...overlays as usual script the scenario to obtain a specific sort of outcome. With over 100 boards, I do question the need for overlays at all. They are a pain in the backside and often feel contrived to force a desired narrative. Just me ranting.


On Turn 3 - my lead squad would see the German AT Gun and the column disbanded.


Dan's 75L AT Gun would do a number on my infantry. It definitely made life difficult.


Turn 5 - I moved forward again, but the Germans still held the center and so my jeep didn't move. Then the German Sniper hit and immobilized a Jeep and broke the crew as both would be hit. I was not doing well.


By the end of Turn 5, the German Sniper had broken two of my Jeep crews and I still was battling his first Ambush group. I had taken the 75L AT Gun and pushed away the Germans on the south edge, but the center was holding and until the 8-1 and MMG were knocked out...my Jeeps simply couldn't take the risk...and of course I only one jeep capable of moving...so there was that.


Turn 6 - more the same...some British moves around the edge, but the Germans were still holding.


Final shot of the game as I gave the concession at the end of Turn 6. I had no chance of winning. I was still battling the first line of resistance and Dan had two more Ambush Sites still HIP. My two remaining Jeeps were never going to exit. So, I gave the concession for a German win.
Casualties were as follows:
31 British KIA's
21German KIA's and an AT Gun destroyed.
Total Points
German 7 CVP + 10 for winning the scenario for 17 CVP
British 8 CVP
At the end of three games: British Total 80 CVP and German Total 41 CVP.
Total British KIA's = 68 and Total German KIA's = 184

On Sunday, we played our 4th and final game of our Arnhem weekend. AR 2 Sheep in Wolf's Clothing was the final scenario and while as fun as the others, was also limited by the poor quality of the German troops and the tactical situation that they faced. And like the others...too many overlays and terrain changes that just felt superfluous to me. Again, no slam on the scenario or the design as a whole.
At the end of this AAR, we'll go over the casualties, the CVP and some impressions of the pack as well.

The Germans set up and move first. They do not get to set up Concealed. The British do...which is good since they are going to get shot first. The British win at game end if there are no Germans on Board L west of the road dividing the forces at start. The grain doesn't exist and is Polder...a hell of a lot of Polder. I was and remain not a fan of this terrain change. Personally, I would have kept the grain and added shell holes...which is of course a pain as well. The Germans are in a precarious position against a strong opponent.


British Turn 1 - I elected to bring my reinforcements in and by SSR they would have to enter from the west. I would have two movement phases before Dan's reinforcements arrived in either the north or the south. I believed that Dan would come at me from the north. My 9-2 took the center. My 7-0 and squad took the mortar along the south edge. My 8-1 would take the final platoon along the north flank to interdict the anticipated route of Dan's reinforcements.

I would not try to DM Dan's broken MG stacks. I would wait until Advance Phase. I didn't want they moving away.


Not allowing Dan's German 7-0 to rout would end badly for me. The 7-0 and squad would rally in my face. They in PREP, they would snake a FP 14 roll and KIA my 4-5-8. The earlier close combat with a 4-4-7 would result in the Germans dying, but taking a half-squad with them. My 8-0 has also died in the assault.

My movements would pay dividends and the German 7-0 would find himself all along with British all around.


A final shot after Dan gave the concession. With only a 1-2-7, 2-3-6, 2 x 4-4-7's and 9-1 left unbroken, it was unlikely that the Germans would be able to hang on.
Our Arnhem weekend was over. We both had a great time playing the four scenarios in this pack. They are all well worth the time to play and provide a great experience of the Arnhem fighting. My personal thoughts are that the pack has the Germans at disadvantage in this pack as a whole. Our final casualty tally will bear this out in stark numbers. Additionally, like many others, I am not a fan of overlays. I do question their necessity. But beyond some petty criticism, the scenarios are fun and engaging.
Casualties were as follows:
16 British KIA's
67 German KIA's
Total Points
German 4 CVP
British 15 CVP + 10 for winning the scenario
At the end of four games: British Total 105 CVP and German Total 45 CVP.
Total British KIA's = 84 and Total German KIA's = 251
British would lose 18% of their force KIA'd and the Germans would lose 43% of their force KIA'd.
The casualties accurately reflect the strength of British Firepower and Morale vs. the poor quality of the German infantry and their inability to match British firepower. I believe the losses, while exceedingly high also reflect a bit of the historical results as well.

Dan and I would split wins with 2 apiece. The overall CVP would give the British the edge and the victory for the four games. Dan's style win would be the first game as he successfully crossed the open field of death to take the factory from my Brits in BBQ fashion. My style win was the next scenario where my Hero knocked out both flame panzers. Dan's dominant win was Saturday as he stopped my advancing British in their tracks. My dominant was the final scenario, where Dan's overmatched infantry were savaged by a strong concentric British attack.

That's a wrap on Arnhem Pack 80th Anniversary edition.
Dan and I will be off next week, but return in two weeks for a ROMA Pack weekend!
We will see you then.
.jfif)
Their is the Glory now and always.
No comments:
Post a Comment