It's July and July means Kursk...big cats, open steppe and hard fighting on the Eastern Front. Dan and I had taken a weekend off from playing ASL. I used it to visit some Oklahoma historical sites and Dan visited family in Minnesota. It was good to take a break and recharge. This weekend's games would be my choice and I would pick two Rally Point scenarios. I have become a huge fan of both Rally Point and Schwerpunkt scenarios. Their size is usually right in my wheelhouse for preferred scenarios. The action usually come quickly. No two turns spent plodding up the board to make contact. Nope, these scenarios get the action going quickly.
Both scenarios for our Friday and Saturday games would come from Rally Point Volume 10, The Best of Pete Shelling. I've always been a fan of Pete's scenarios and was particularly looking forward to playing both of these.
Both scenarios are set on the Eastern Front and both are SS vs. Russians. The 1st SS and the 5th SS make appearances along with an ample supply of Tiger I's and Panthers. A kitten lover's dream!!!
I would roll the Germans for both and Dan would get to play his favorite army...the Russians!!
Eastern Front scenarios always take me back to 1979 and playing Cross of Iron scenarios. As I recall those years were filled with primarily Eastern Front games. Once Crescendo of Doom arrived, we were happy to take a break from the East and do some great early war West Front action.
Operation Citadel and the Battle of Kursk are certainly well known. Not much introduction necessary for envisioning the action. RPT 91 The Tiger's Whiskers is an exit victory scenario with Tigers and MKIV's driving across the battlefield. ROAR has the scenario with 19 German to 4 Russian wins. So, I'd would have to say...this is a pro-German scenario.
Having rolled the Germans, I would command the men of 1st SS Panzer "Leibstandarte". My force would consist of 10 x 6-5-8's le d by a 9-1 and 2 x 8-1's with an MMG, 3 x LMG's a DC, two half-tracks, 6 x motorcycles, 4 Tiger I's and 2 x MKIV's.
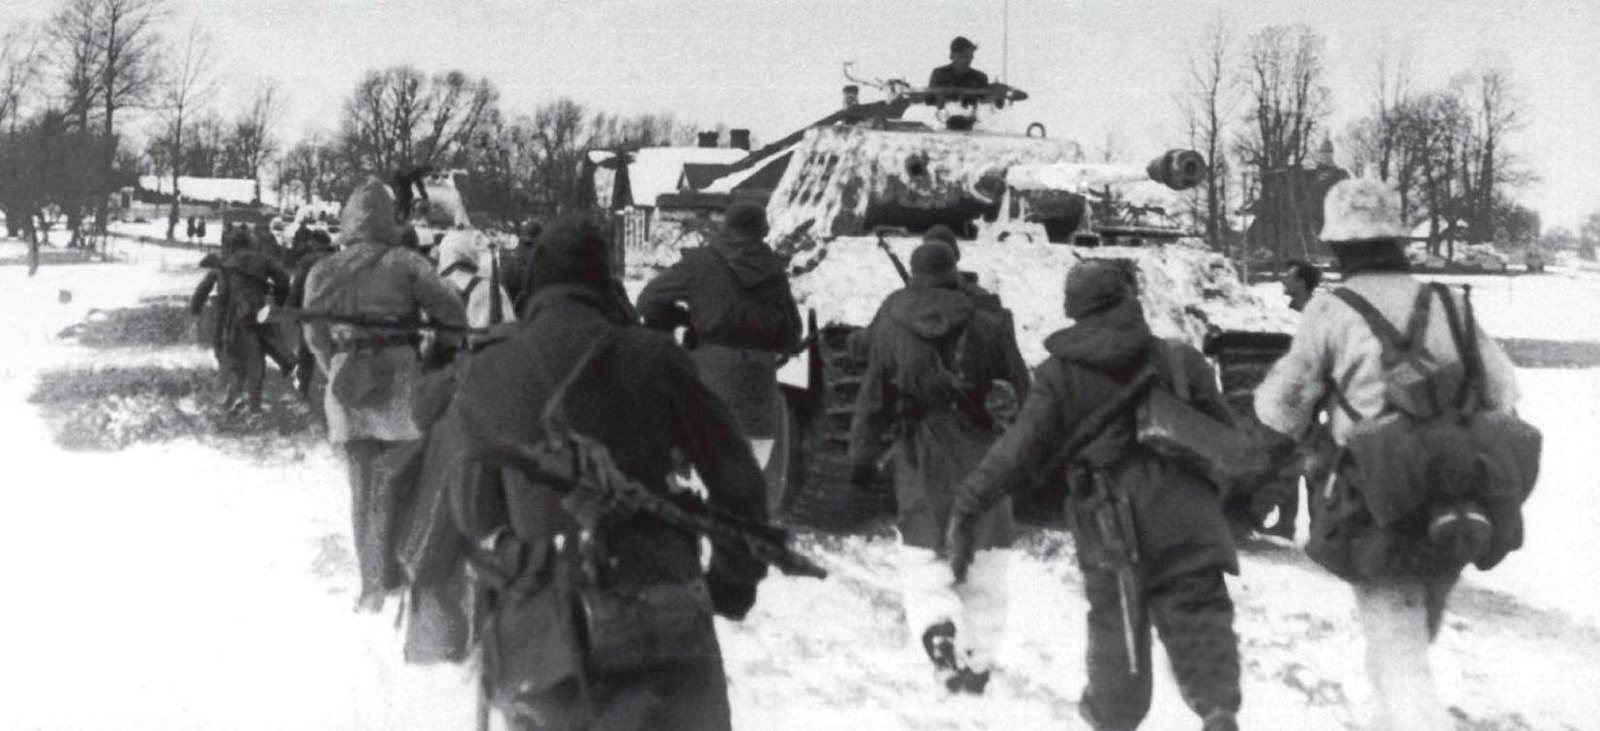
I would also have a 9-2 and 9-1 armor leaders. My Panzer Porn would be complete with Michael Wittmann himself. It's actually a bit rare to run into Wittmann outside of Normandy. He was still a relative newcomer to Panzer fame at the time of Kursk. (In fact, the picture here is around the time of the Normandy fighting, so no doubt his visible decorations were not his during the fighting at Kursk.)
It certainly adds to the scenarios flavor and should be a nice boost for my forces to have the two armor leaders.
As the scenario Defender, Dan would command elements of the 29th Anti-tank Brigade, 6th Guards Army and elements of the 21st Tank Corp. This force would consist of 8 x 4-4-7's and 3 x 2-2-8's led by a 9-1 and 7-0 with an MMG, 2 x LMG's, 2 x ATR's, 2 AT Guns and 2 x T-34s' and 4 x KV-I's with a 9-1 Armor Leader.
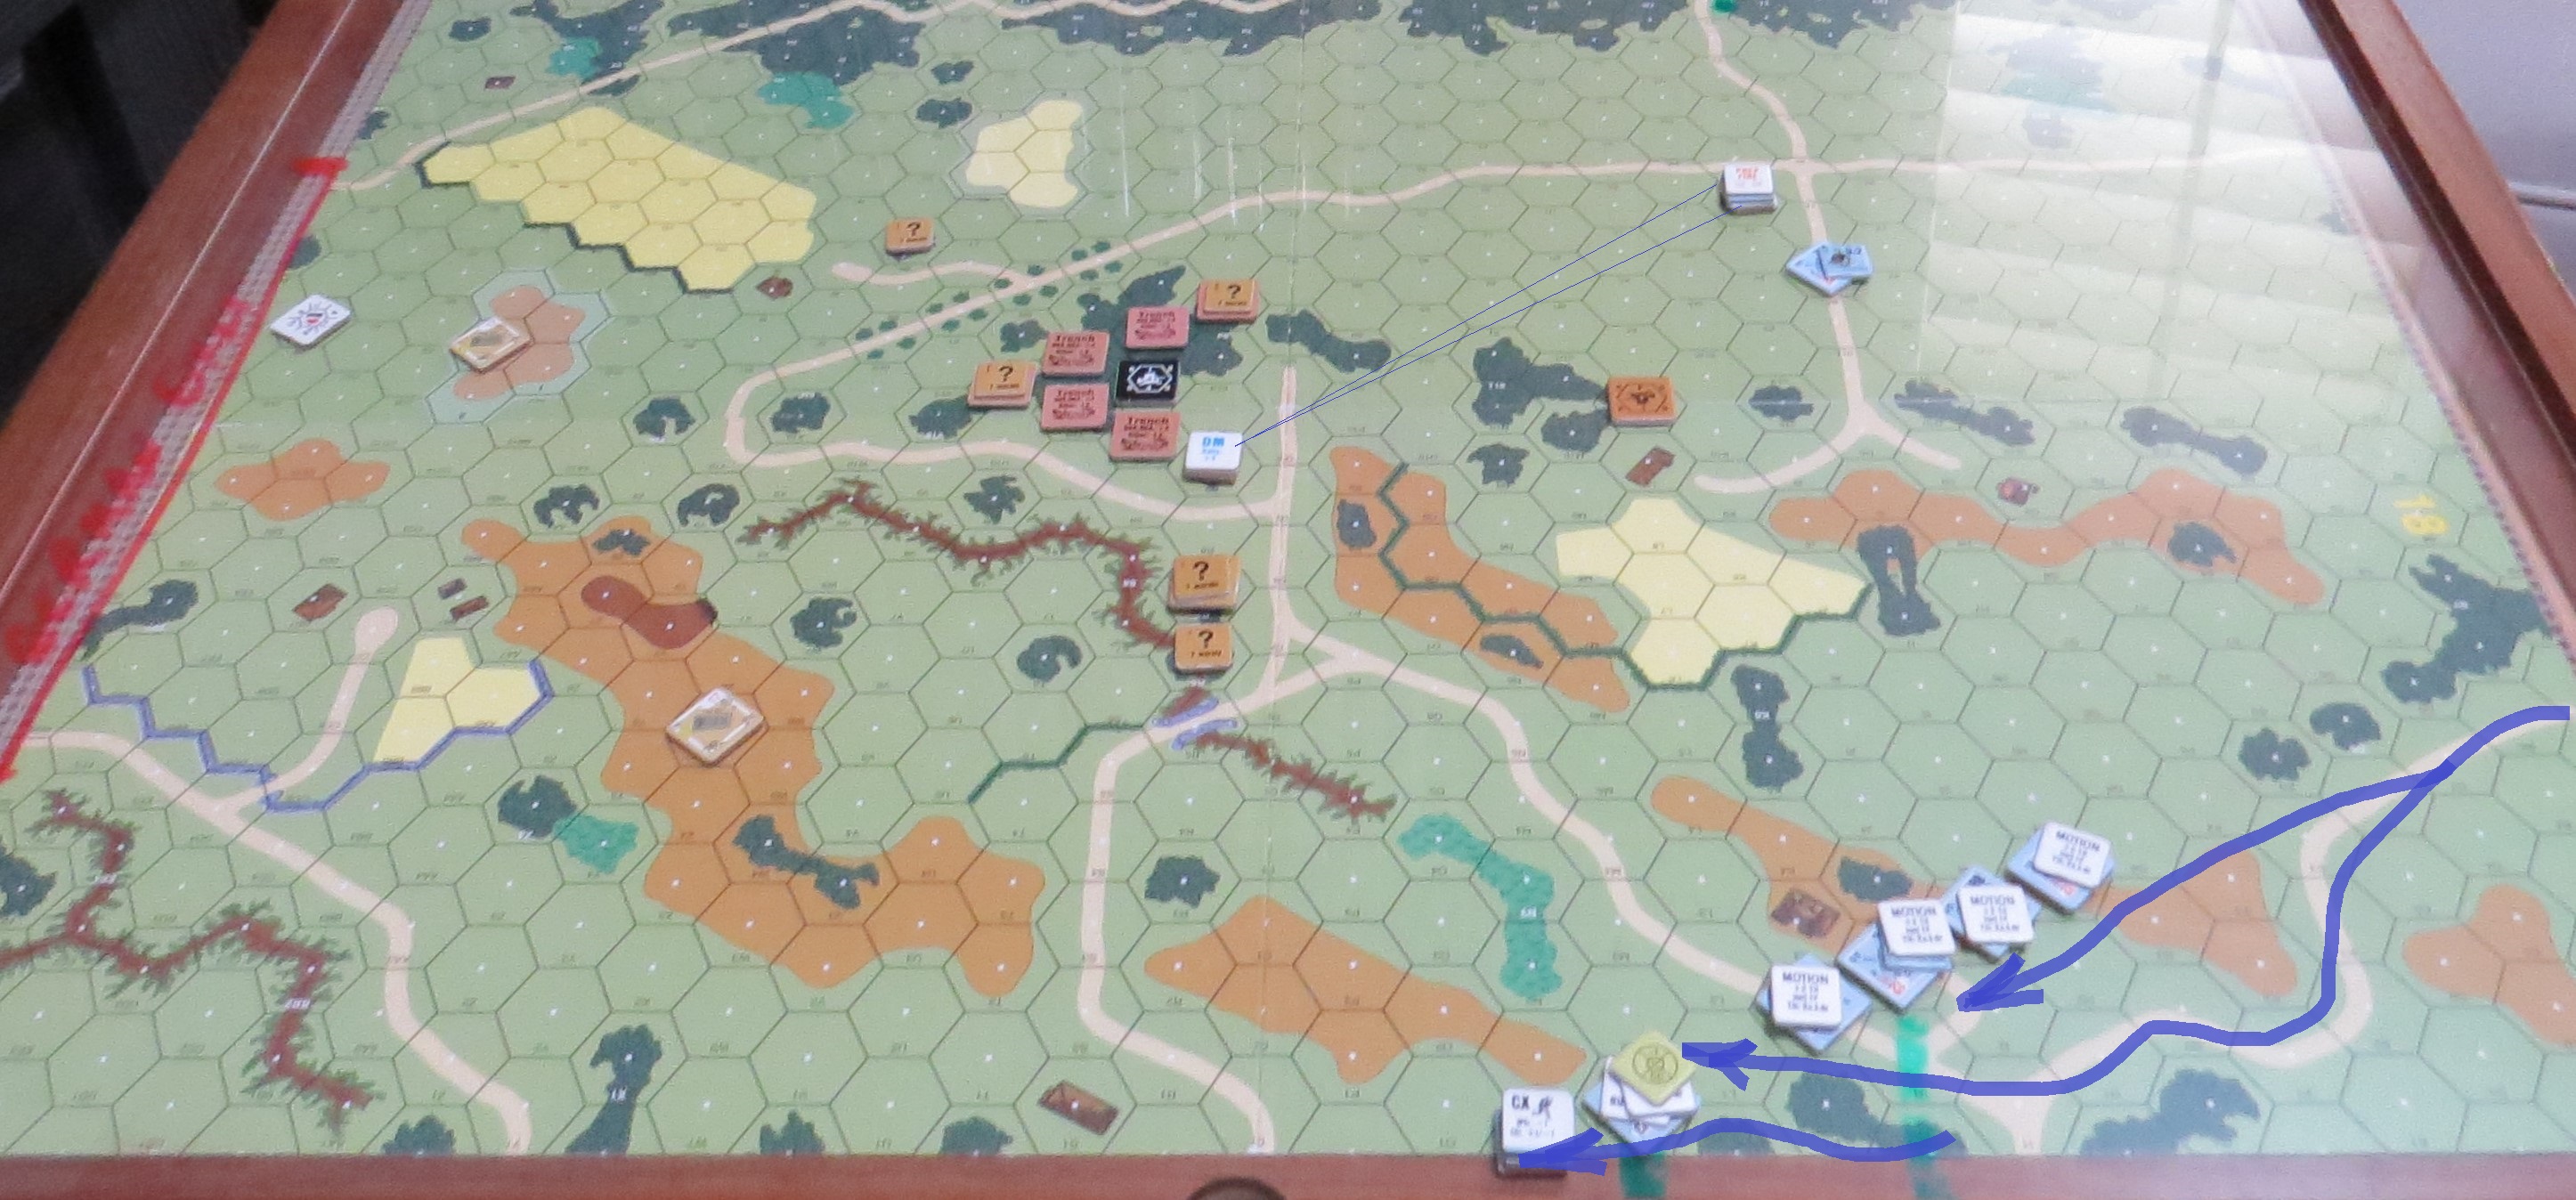
A look at the battle space.

And now for Dan's Pre-Game Comments:
"The Russians must prevent exit by the SS thugs. The two tanks will set up dug in (they must be dug in) on the level two hills to shoot at the moving Germans. The fortifications will set up in the center woods in a hedgehog defense. Anchored on the stone buildings and pillboxes. The small pillboxes will cover board 18 and the big one board 19. Hopefully this hedgehog can delay the Germans long enough to run out of time for exit. Also if the German try a board edge creep the reinforcements can make the Germans maneuver toward the hedgehog."

With the ROAR stats showing 19 German to 4 Russian wins, I probably should have had a more aggressive strategy. But I was gripped with caution and that caution would nearly rob me of the chance to win this game. HIP AT Guns getting side and/or rear shots made me adopt a cautious approach. I would elect not to just drive down Board 19...which in retrospect is probably the exact right strategy. I would go for creeping along Board 18 and using the hills for cover. It would prove to be unnecessary and would slow me down way too much.
I should have listened to my 9-1...he pointed out that the if all the Tigers exited, it would be game over. I didn't take the advice.
Turn 1 - Operation ChickenS@#% was underway... I had set up my 8-1 with an MMG in the Board 19 house and his first shot would break a Russian 4-4-7 with an ATR. Next to him would be my 9-2 Armor Leader (Wittmann) and his Tiger. Wittmann's job was to knock out the two dug in T-34's up on the hills.

Dan would reveal a 45LL AT Gun, but it would fail to penetrate a MKIV that lead my attack.
Dan would attempt to move an LMG squad to interdict may axis of attack. But my 8-1 managed to get a shot and broke the 7-0 and pinned the squad. One of the dug in T-34's would shock a MKIV. It would go to Unconfirmed kill and then recover.
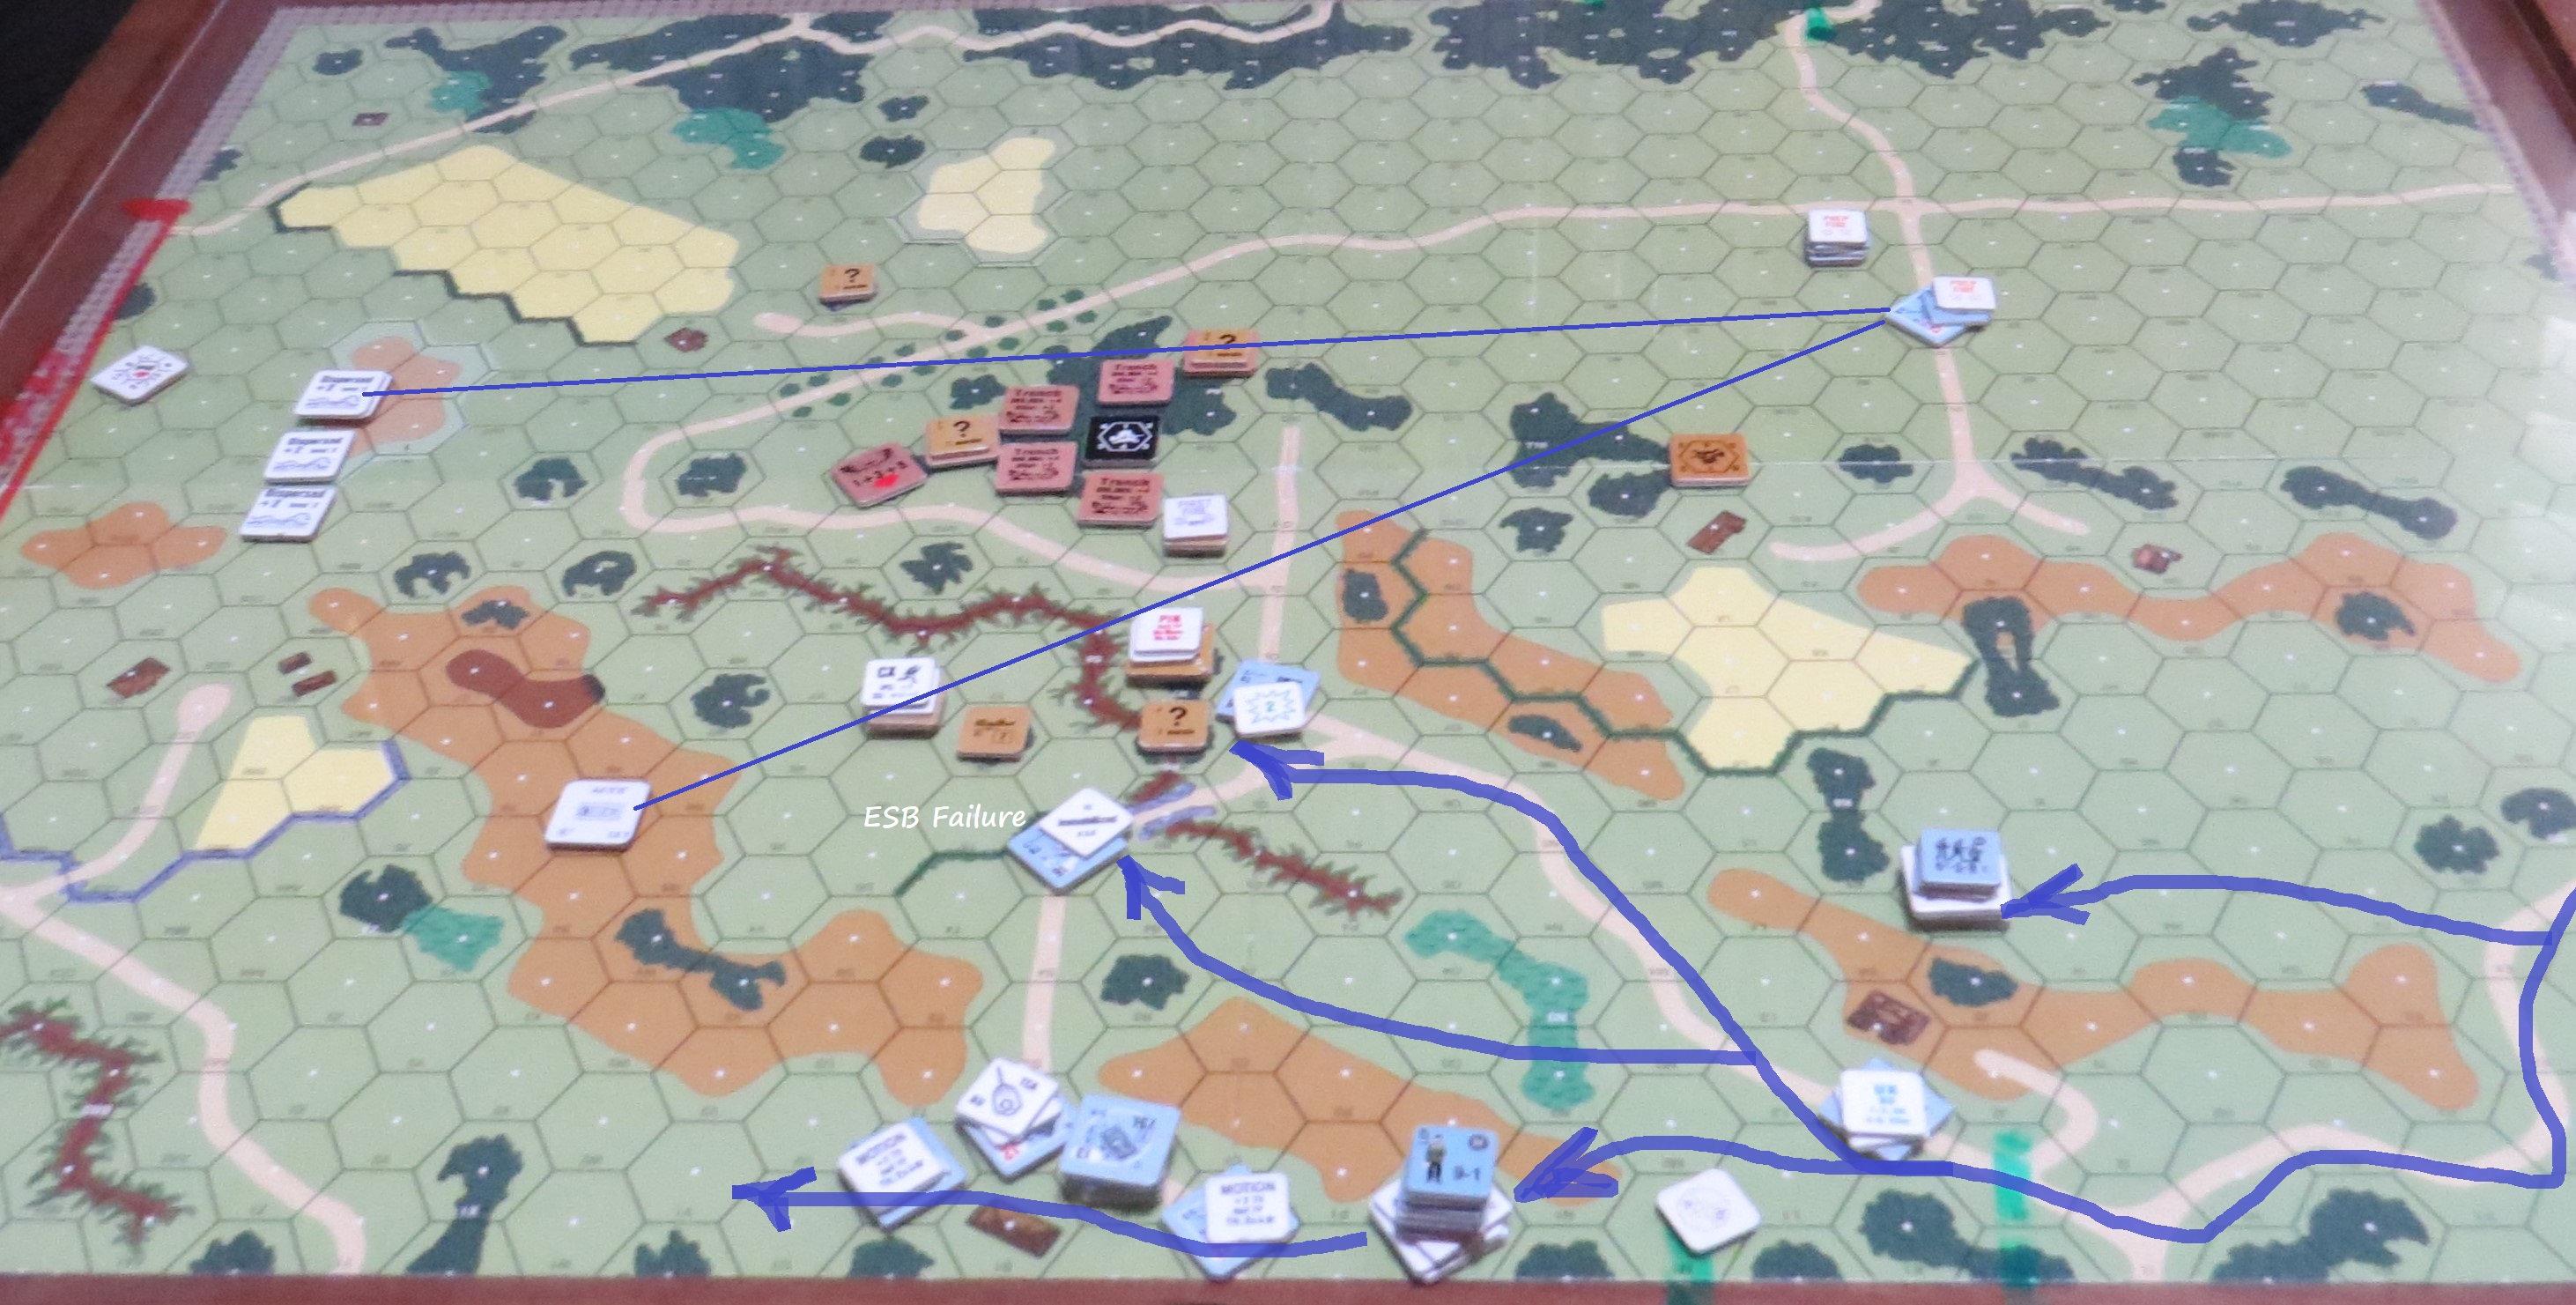
Turn 2 German - my motorcycle reinforcement and two halftracks roar onto the battlefield. My armor continues its northly movement. Meanwhile, Wittmann has knocked out both of the dug in T-34's. I would go for an ESB stop with one of the halftracks and roll a 12...because of course I would.
"My bad..."
Turn 2 Russian - Dan's 4 x KV-1's roll into the battle and take up hull down positions with a fourth tanks set up for side shots as I moved towards the exit. He would MALF the 45LL AT Gun (later lose it with a Repair dr of 6). Undeterred, the crew would take out a halftrack after the crew was stunned.
Turn 3 German - I had anticipated that Dan's KV-1's would set up camp behind the stone wall. I actually had hoped for this as I planned to ease around the hill and exit behind them. I would be in for a rude surprise as the second 45LL AT Gun was ready and waiting. It would shock a MKIV, but fail to do anything to a following Tiger I. I would also set Wittman in motion. I still didn't know where the 57LL AT Gun was located, but assumed it was covering Board 19...which it was as you see in the white circle.
Turn 4 German - I would move Wittmann for the exit. The 57LL AT Gun would appear and take two side shots and miss. Wittmann had gotten through. My other tanks moved to exit and confront the KV-1's. In back to back shots...two of the KV-1's would roll boxcars and MALF their guns. Just like that Dan's defense had its back broken.
Ahhh good ol' Boxcars...ruining player hopes for decades...we like to pretend that the odds of rolling Boxcars protects us from the more pernicious aspects of our game....but it doesn't...
On Turn 5 - I would knock out a KV-1 and the final KV-1 with his 9-1 Armor Leader would fire, miss and then Intensive fire...a 10...gun MALF'd. His 45LL AT Gun would fire, miss...intensive fire and roll a 10...MALF'd. And that was game, Dan gave the concession. Unless by some miracle he fixed one or more of the 4 MALF'd guns, there was no way to stop my tanks from exiting for the win. Really a bummer way to win a game. Dan's defense had been well put together, and my cautious assault had nearly cost me the game as I plodded along. But ASL is a fickle mistress, and you never know what she'll do!
Just kidding...I kid the Mistress of ASL....
And now for Dan's Post Game Comments:
"The plan did not work. The Russians got plenty of hits on the tanks but failed to get kills only two shocks on the Pz IVs. The end came quickly when the Russian guns started breaking. Two boxcars and two 10s on intensive fire shots brought an end to the fun real quick. Interesting scenario with lots of replay options. Hard on the Russians to get side and rear shots on the Tiger tanks. My thanks to Grumble Jones for a great game and congrats on the win!"
Our Saturday game would be RPT 95 Muhlenkamp's Miracle. Once again, another battle in the more open spaces of the Eastern Front. In this scenario, the 5th SS Panzer "Wiking" Division works to clear the Russians from a road and open a corridor to free the encircled Germans forces at Kovel.
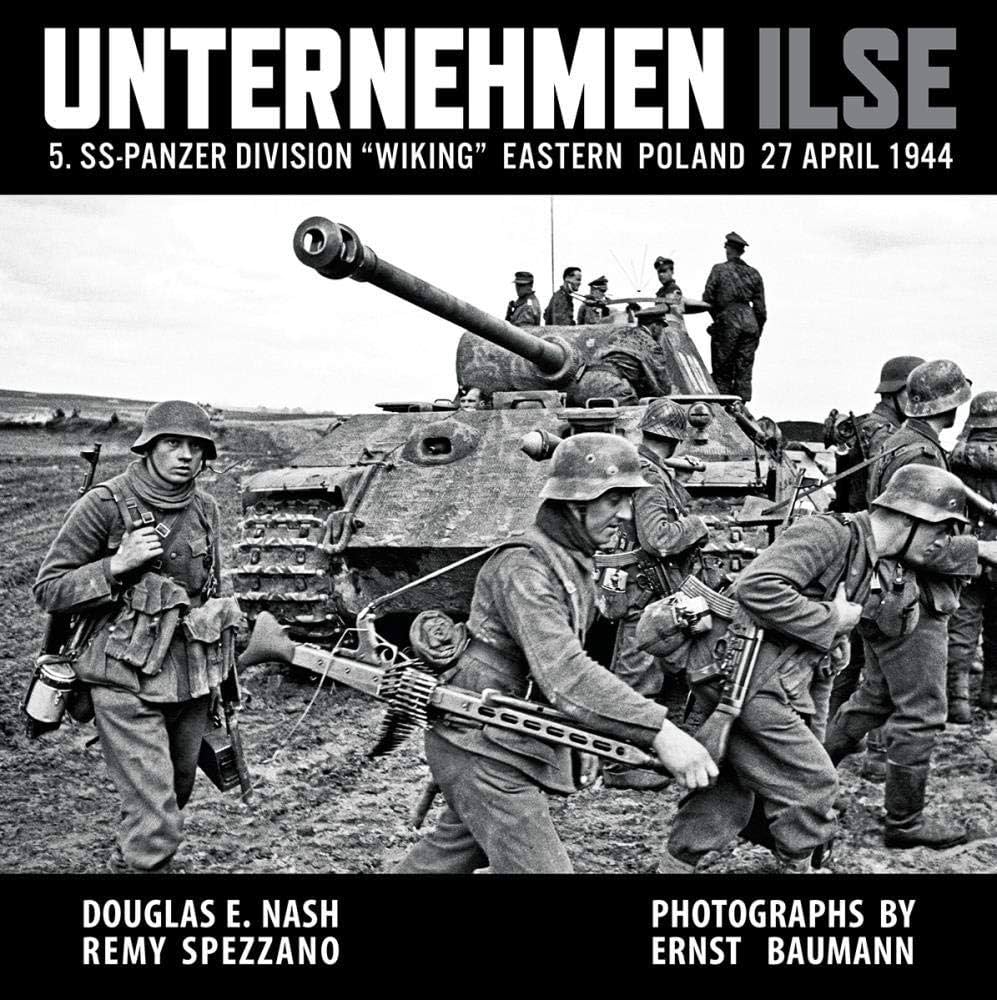
Douglas Nash's superb book, Unternehmen Ilse provides an amazing photographic record of the fighting at Kovel. I have to say, this particular volume is an absolute gem of a book. This is the kind of "coffee table" book that should grace the living room of any ASL player. Highly recommend if you are able to obtain a copy. The maps are also extremely well done.
Keep in mind that this scenario depicts earlier actions of the effort to relieve Kovel, which took place around April 2nd. So, Unternehmen Ilse is an operation that was launched in the same sector at the end of April. Many of the key units and individuals are shown in this book and give a great idea of what the fighting on April 2nd would have also looked like.
As the attacking Germans, I would command elements of SS Panzer Regiment 5, SS Panzer Division 5 "Wiking". My force would consist of 8 x 6-5-8's led by a 9-1, 8-1 and 8-0 with an MMG, 2 x LMG's, a Panzerschreck, a MKIV and 3 x Panthers.

The scenario is named for Johannes-Rudolf Mühlenkamp. Mühlenkamp would see action in Poland, the Balkans and spend the remainder of the war in Russia. He first rose to prominence during the fighting for Rostov.
By1944 he was winning laurels for fighting around Kovel and later outside of Warsaw. He would survive the war.

As the defending Russians, Dan would command elements of the 13th Army. This force consisted of a 4-5-8, 3 x 5-2-7's, 6 x 4-4-7's and 2 x 2-2-8's led by an 8-1, 8-01 and 7-0 with 2 x MMG's, an LMG and ATR with 82 MTR, 45LL AT Gun and 3 x Sherman Tanks.
A look a the battle space and one of my least favorite boards...13. Never been a fan of this board. Nothing but bad memories of games lost trying to cross it.
And now for Dan's Pre-Game Comments:
"The Russians must keep the Germans from clearing the road or near road of Russian MMC. I will set up a strongpoint with the trenches between the stone building across the road to the wood building on the D hex row. The AT gun and 8-1 4-5-8 and MMG will set up HIP in the building. The MTR will be on the road in the Trench. The other MMG and squad will be in the Trench north of the road while the ATR and squad will be south of the Trench. Hopefully the strongpoint can delay the Germans long enough for the reinforcements to get safely into the trenches."
The battle begins! I had to stick to the roads with the falling snow and mud flats creating way too much bog terrain. I had to cover a good deal of ground before hitting the Russian MLR.
Turn 2 German - Dan was staying concealed and waiting for me to close the distance.

The Russian 82 MTR would reveal and show up in a trench on the road. I would escape unscathed.
Turn 3 German - finally in contact with the Russian MLR.
Turn 3 Russian - Dan would get three Lend Lease Shermans with 5-2-7 riders. My MKIV would knock out the lead tank, but the other two would cross the causeway.
Turn 4 German - I continued to press the attack in an effort to roll up the Russian trench. But the stone building in the center was proving to be a very difficult nut to crack.
Turn 4 Russian - I would succeed in knocking out a second Sherman. But the Russian 45LL AT Gun would knock out my MKIV.
It had become a grinding battle in the center as my SS Grenadiers fought tooth and nail to eliminate the Russians in their trench.
My Panthers were critical in providing machine gun fire on the trench. I would also MALF one of the Panthers (it would later be recalled).
The Russians were taking hard hits, but still holding out in the center. I had to clear the entire road and was now in real danger of running out of time...the classic...just one more turn and I could have been a contender!!!
I pressed ahead with my flanking efforts on the north edge, while I finally took control of the Russian trench.
Time was running out and despite may gains, it was clear that the Russians were still in control.

Taking the trench position had simply taken too much time and resources.
Dan's placement of a trench in the road would pay off as one of my Panthers bogged and would be mission killed.

Turn 7 German and the final moment in what had been a very exciting game. I had to take out three positions...a 4-4-7 at the entrance of the causeway, a Crew under the destroyed Sherman on the causeway and a 5-2-7 in the M2 building. Fail to break or eliminate any of them and it was game over.
My grenadiers and a single Panther tank made the final desperate assault . I would break the 4-4-7 and the Crew...but my two 6-5-8's tasked with defeating the 5-2-7 failed me. One would break and the other would pin. And with that it was game over and hard won Russian victory. Dan had won it with a single good order Squad.
This is a really good scenario and proved to be both challenging and fun. Both sides have to contend with the weather and bog terrain in equal measure. Dan's defense held up the German attack long enough to secure the win. My congrats to Dan on a great win and another great weekend of ASL.
 And now for Dan's Post Game Comments:
"The plan worked. However, it was very close with a single reinforcement squad holding out in the M3 victory building. This scenario is fun with lots of options for each side. My thanks to Grumble Jones for a great game of ASL!"
That's a wrap on tonight's post and the conclusion of our 475th game.
Just 25 more to 500 games played between Danno Ostfront Fanatic and Grumble Jones!
Dan and I will be off next week as Dan's heads to St. Louis for the STL Tournament and I head to Hot Springs, AR for some R&R!
We will return August 4th.
We will see you then!!!


.jpg)


.webp)


.jpg)


 And now for Dan's Post Game Comments:
No comments:
Post a Comment