There are those times, when you take a moment to just realize how fortunate you are in life...especially when you have the opportunity to play so much ASL as I have these past several years. The past 3 years have been amazing. My lifetime "recorded" games played is 655. I played 303 of those between 2020 and today...46% of my total "recorded" games have been played in the last three years. Keep in mind, I've been playing SL and ASL since 1978...so that is pretty amazing. Dan Best and I were talking about that this evening. Tonight's game would be the first of October. Last October Dan and I would play 18 games...which is a bit crazy when you realize you spent over half the month playing ASL. So, when I went on my evening walk tonight...savoring the cool air finally here in Tulsa after a literal Hades' furnace of a summer, I just thought how lucky I am.
"Well...I looked around and I'm the only one sitting here...so it's got to be me...right!?!"
Our first game of this week's Grumble Jones scenario doubleheader would be an old scenario...from the dark depths of the Grumble Jones blog where only the very brave venture.
My first efforts at publishing scenarios on the blog was pretty sophomoric...which means bad...yeah...they were pretty bad. They looked bad, they were graphically a mess, counters were never straight...and they probably smelled bad too. But back in 2010, I was just blogging into the void. My blog in those days maybe got 200 views a month vs. 4000+ views a month today. So, yeah, I wasn't embarrassing myself too much at that point, because like no one actually saw these early scenarios. Which is a good thing...
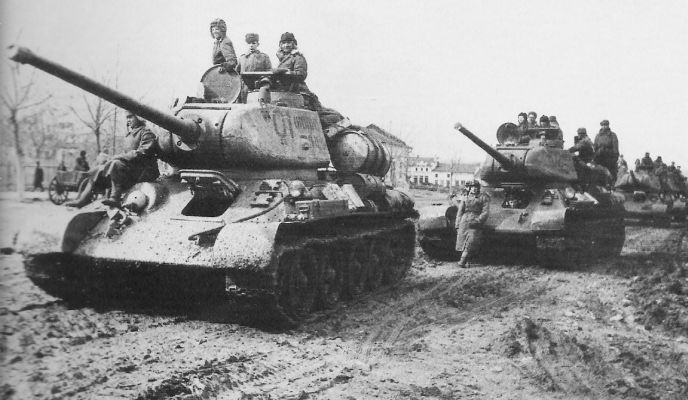
But fast forward to 2022, and I wanted to actually play my third scenario design, Tiger Trap. It's a great, short scenario for a Friday night. It was taken literally from an Interactive Combat Problem in the September 2006 issue of Armchair General magazine. It's not in print these days, but back in the day, it was a pretty decent magazine. The interactive combat problems were generally at the squad level and so lent themselves to ASL scenario adaption very easily. Tiger Trap placed you in the command of a Tiger II with some supporting SS grenadiers in 1945 Hungary. Your mission....stop a force of 10 x T-34/85's from getting through you. I wanted to see if you could just fold that into an ASL scenario and make it work. Could a single Tiger II stop 10 x T-34/85's in an ASL game? My initial instincts would be no. These kinds of heroics are extremely difficult to model in ASL. As an example, there's no way in ASL to model Wittman's right down the length of British armor at Villers Bocage. Just not going to happen...you might luckly to hit on vehicle...which is all that Bounding Fire is going to give you. So forget about taking out the whole column. But, Tiger Trap presented an opportunity for a single Tiger II with supporting Panzerjaegers to take on a force of T-34/85' as they approached over a swath of open ground. Taking two turns to cover that distance against a hull-down Tiger II with a 9-2 armor leader...now you got something...rate of fire and intensive fire shots could take 2 - 3 tanks down in a single fire phase with good luck. So, yeah, I thought...this scenario concept has legs and might work. Dan was gracious enough to give it a shot and afterwards we amended the scenario, and it is currently reprinted as GJ115...and yes it looks much better (doesn't smelll either...at least I think doesn't).

As a point of note, the scenario is not historical. The Armchair General guys cobbled together an idea which involved the correct players, if not an actual situation. Kampfgruppe Brixner is a fiction named after my German Professor, from Reutlingen, Germany. Then there's the date, February 20, 1945 is not a great choice as a quick look at the fighting shows the Germans advancing through Muzla towards Budapest and not retreating back through it. As for the Russian 233rd Tank Brigade and 3rd SS Totenkopf and 503rd Schwere Panzer Abteilung...they are all good selections and were engaged in the February fighting around Budapest and its environs. So, they got that right. My apologies to those players who are adamantly against non-historical scenarios. You'll want to pass on this one.

As the defending Germans, Dan would command the men of the 503rd Schwere Panzer Abteilung and the 3rd SS Totenkopf. His force would consist of 2 x 6-5-8's and 2 x 3-4-8's led by a 9-1 with an MMG, 2 x LMG's, a Panzerschreck and a 2-2-8 with a 75L PAK 40 AT Gun. And then of course, he would have the Tiger II with a 9-2 Armor Leader. Say hello to my little friend!!
As the attacking Russians, I would command the 233rd Tank Brigade. My force would consist of 5 x 4-5-8's led by a 9-1 with 2 x LMG's and 10 x T-34/85'.
And now for Dan's Pre-Game Comments:
"The Germans must prevent exit of squads and tanks from 43 I10. The king tiger will set up hull down in O9. The AT gun in O4. Covering the killing field. The 9-1, squad and MMG will set up in O7. A HS and LMG in P1 and HS and PSK in M5. The last squad and LMG will set up in K9. Hopefully the guns can get kills quickly before the tanks exit."
My plan was nothing fancy. The north group of 5 tanks would simply rush ahead, while the southern 5 tanks would drop off the infantry in the woods along the south board edge.
Turn 1 Russian - six tanks would put themselves in harm's way, while 4 were behind the forest after dropping off their riders. Dan's King Tiger would miss and not get rate of fire. I was frankly shocked that I didn't lose at least one tank in Defensive Fire.
"He missed...he missed Fritz...that's not good..."
Turn 1 German - Dan would manage to shock a tank, but not much else at this point.
Turn 2 Russian & German depicted - Turn 1 had been kind to me...Turn 2 would be murderous as Dan knocked out 6 of my tanks. Wow...things had definitely turned ugly for me. Panzerfausts, the Panzerschreck and the AT Gun would all provide assistance to Brixner's King Tiger.
Turn 3 Russian - It was pretty much game over at this point. But I gamely made a run for the exit. Dan's dice had been awful on Turn 1, but by Turn 3...his dice were smoking hot and tearing me up. My final remaining T-34/85 made his run right at the King Tiger. Dan missed with a point blank shot and then I rolled into his hex. He needed something low to hit me...Dan rolls the dice...and yep, you guessed it...SNAKES!! A critical hit and my final tank was a smoking wreck. With that I gave the concession.
The King Tiger had come through in the clutch!!
Despite being wiped out by Dan, I was actually very happy to see his force not only hold its own against a large force of T-34/85's...but wipe them out. In fact, I started to wonder if 10 tanks was enough!?! Certainly, the King Tiger would not have been able to stop the 10 x T-34/85's without the supporting Panzerjaegers. They actually took out half of the tanks themselves. The only German loss was the a German 3-4-8 with the Panzerschreck. Dan would roll boxcars on a morale check and kill them. Dan basically accounted for all of the game's casualties. I will admit that a more cautious approach would have made this a tighter game. A straight up Schwerpunkt with all 10 tanks to the north would probably be a much safer attack route. So maybe next time. My congrats to Dan for a commanding victory and my thanks for playing this old scenario.
And now for Dan's Post Game Comments:
"The plan worked. Bad shooting turn 1 resulted in only one kill, but by turn 3 all the Russian tanks were killed. The final lost to a critical hit on intensive fire. The scenario is a great fast paced shootout. The Russians have a challenge to get to the exit. My thanks to Grumble Jones for a great ASL scenario!"
Our second game of the weekend would be from the Grumble Jones March Madness pack - scenario MM77 Sake at Sunrise. Sake at Sunrise concerns itself with the desperate early morning attack by the Japanese along the Mount Tenjo Road on Guam. With their courage bolstered by Sake, the Japanese surged through the jungle and overcame isolated Marine outposts before hitting an assembly area with CP's, ammo, artillery, and tents full of wounded Marines. The Marines responded by engaging the Banzai Charge with heavy machine guns and employing the walking wounded and rear area personnel to form a defensive line that ultimately annihilated the attacking Japanese.

This scenario was first released on my blog as GJ033 and was one of the very few blog scenarios to actually be played and at least one AAR was posted to the Game Squad Forum. The general impressions were favorable so when the March Madness team asked for scenarios to consider for the Grumble Jones Pack, Sake at Sunrise was at the top of the list.
There were of course some substantial changes made by the March Madness team to effect balance following their year long playtests. Chief among these are the addition of an additional night turn. This allows the Japanese to reach the Marine Assembly Area without being spotted. Dan and I discussed that in post-game and I think 3 night turns was the best solution. One more night turn and the Marines would not stand a chance, due to No Move Restrictions. Another big change was the addition of two additional 50 CAL machine guns. My original version only one and the others were available to be removed from jeeps, etc. I also had fewer fox holes and wire. The March Madness team eliminated the wire and added foxholes. Wire at night and in the jungle can be very tough. So, I could understand it's being removed.

Another special feature of this scenario is the inclusion of an SSR related to Marine War Dogs. The dogs served extensively on Guam and in the game can strip Japanese concealment if the Japanese move adjacent to a Marine unit.
During our game, I would successfully strip concealment from two Japanese 4-4-7's creeping up to my Marine Roadblock.
The recapture of Guam from the Japanese was one of those seminal moments in the Pacific War, where Americans took back American Territory lost to the Japanese shortly after the attack on Pearl Harbor. Guam is today, an essential American military base for securing the Pacific. I have a good friend, who was stationed there during the Vietnam War when he served on B-52's as they hit targets along the Ho Chi Minh Trail. Another good friend was born on Guam as her father was also stationed there. I often find that rather amazing to know people who have lived on Guam.
https://www.youtube.com/watch?v=OTG1bgCxdNk&list=PLNo4QcrwvqRlJi9mSjav0WYsLrwHfo2Uk&index=8&t=4s
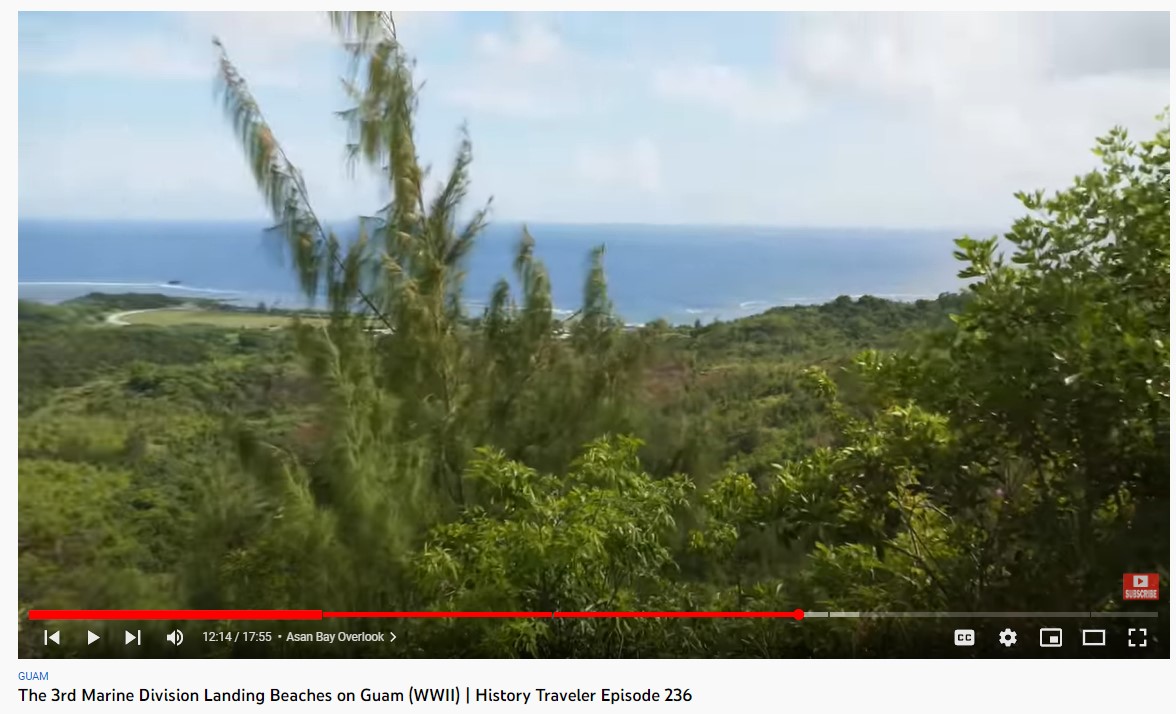
The link above will take you to The History Underground YouTube channel. I've been watching their videos for some quite time. They are based out of a museum in Gettysburg and put out a ton of content on the American military history and they have traveled extensively around WW2 battlefields. Their Normandy videos are outstanding and over the past month, they have been on Saipan, Guam and Tinian. The Guam videos are particularly well done and certainly expanded my understanding of the fighting on Guam. I highly recommend this channel if you are not already familiar with it.

As the defending Americans, I would command the men of the 21st Marine Regiment, 3rd Marine Division. My force would consist of various groups: Roadblock Detachment, Wounded Marines, HQ and Service Company and Rear Area Support Elements. Overall, this force would consist of 4 x 6-6-8's, 3 x 5-5-8's, 3 x 4-5-8's, a 1-2-6, 3 x 2-2-8's, and 8 (1)-0-6's, led by a 9-2, 8-1, 2 x 8-0's and 2 x 7-0's with 3 x 50 CAL's, 4 x MMG's, 2 x BAZ's, a Sherman Tank Dozer, 5 x Trucks, 3 x 10⁵ ARTY's, and 8 x Foxholes.
As the attacking Japanese, Dan would command the men of 3rd Battalion, 18th Regiment, 29th Infantry Division. This force would consist of 20 x 4-4-7's, and 2 x 2-2-8's, led by a 10-0, 9-1, and 2 x 9-0's with 2 x MMG's, and 4 x LMG's.
The History Traveler video shows the site of the actual Japanese attack. A great part of the video and worth a look.
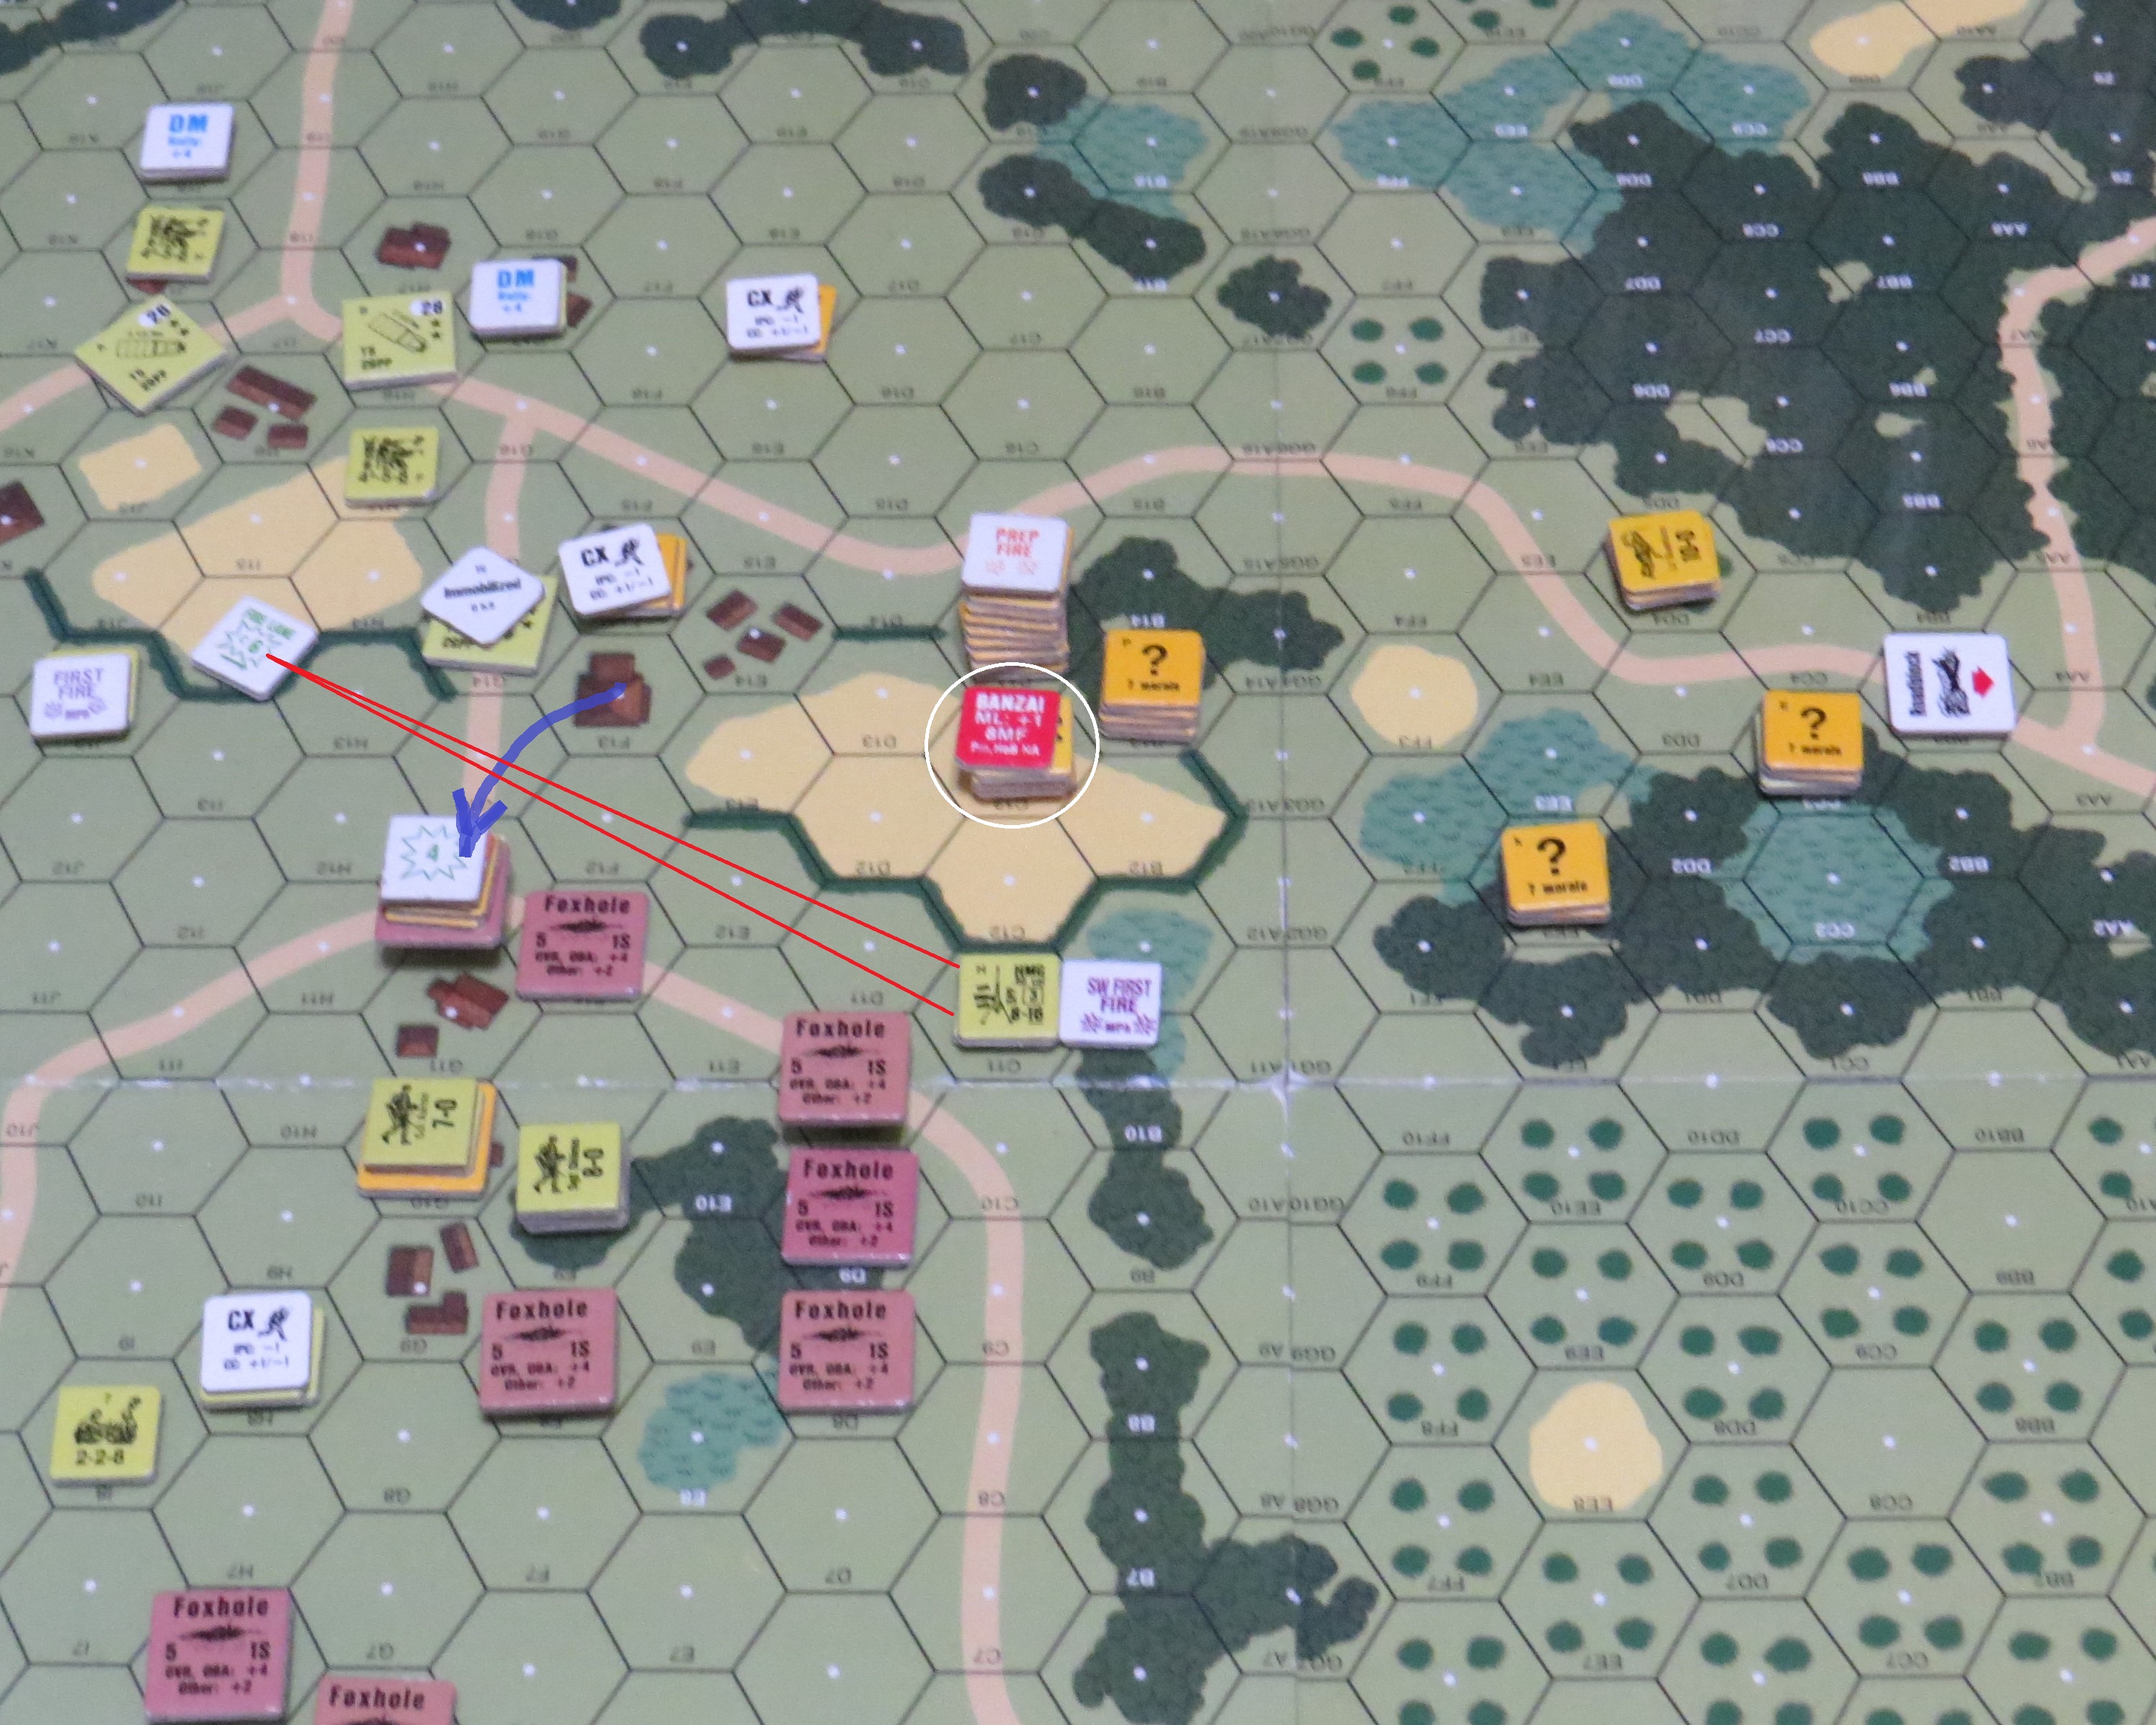
A look at the battlespace for this scenario. All building are Tents. The Marines of course are under no move due to Night Rules, so the first three turns are pretty much all Japanese.
And now for Dan's Pre-Game Comments:
"The Japanese must attack and capture a tent in the middle of the American rear area. The plan is to attack through the jungle and roadblock then toward the victory location. Hopefully the troops can get in place to launch a game winning banzai."
Most of the American set up is dictated by SSR, so not much thinking involved other than positioning to avoid getting hit during the three night turns. This would be the first time ever in ASL to see an enemy unit outside of every board edge hex. These are all cloaking counters at this time.
Turn 1 Japanese - uneventful as the Japanese creep through the jungle.
Turn 2 Japanese - Dan hits the Marine Roadblock. My 8-1 fires a star shell, but not much else happens.
"Roy...what do you think's out there?" "Well it sure ain't a racoon...now hush up..."
At the end of two turns, the Japanese had gotten within striking distance of the US Assembly area and they still had one more turn of night movement. Marine dogs successfully stripped concealment as the Japanese began to approach Roy's position.

Turn 3 Japanese - The final night turn would find the Japanese reaching the hospital tents. On the southern sector, Japanese Dummy Stacks got me to fire off my machine guns and reveal the locations of my various machine guns. One such fire would activate the Japanese sniper. He would kill my 9-2 officer...because of course he did. Dan also began surround and encircle my boys at the roadblock. Time was running out for them.
Losing my 9-2 to the sniper was a gut punch. I knew how much I needed him to survive the comping storm. But then my 8-0 would battle harden to a Heroic 8-1. He would pick up the slack and keep my boys intact.
The Japanese sniper would also kill an 8-0 officer near the end of the game.
As Turn 3 neared it the end, there were hand to hand combats at the roadblock and in the hospital tent area.
Turn 4 Japanese - My encircled Marines at the roadblock would break when Dan Prep Fired on them from all sides. They had prevailed in the hand to hand fight, but now I would miss every morale check and they would die in the Rout Phase.
At the end of four turns, Dan's boys were within a movement phase of the 9aG10 Victory Hex. The Japanese would win immediately should they gain control.
Turn 5 Japanese - Dan moves forces into the hospital tent area and wrecks havoc. In the Kunai, his men prepare for a Banzai Charge.
The first Japanese Banzai charge is broken up and stopped by massive machine gun fire.
At the end of five turns, things were looking tough on the Japanese. The walking wounded Marines had successfully rearmed and were holding the line. The Sherman Dozer crew had finally gotten into their tanks and were ready to join the bttle.
Turn 6 Japanese - the final Banzai Charge. This would be the big one and nearly of all of the remaining Japanese would participate.
The charging Japanese would be cut down by HMG and MMG fire. It was just a catastrophe of fire, which no one could survive and they didn't. As the last Japanese squads were killed in the charge, Dan would give the concession. His remaining forces could not hope to secure the victory location, and the CVP losses put the victory out of reach for the end game. Their only chance for victory had been to control the victory hex. My thanks to Dan for a great weekend of ASL. It was a fun couple of games. And we each took home a win.
And now for Dan's Post Game Comments:
"The plan did not work. The Americans set up and strong MG set up around the victory location. Also the wounded were able to re-arm and get into the fight. The two banzai charges were cut down by 50 cal MG fire. Great set up by Grumble Jones. This scenario has many options for both sides but the key is for the Japanese to get into attack position by the end of the night. My thanks to Grumble Jones for a great game of ASL."
That's all for now.
Dan and I will return next week!
We will see you then!


No comments:
Post a Comment