So how are you doing out there? Hopefully everyone is doing good. There's a lot of ugly in the world right now. I myself am struggling at the moment with a new job search and the loss of connections with people I care about, which is never easy. Over the years, I have come to the conclusion that playing ASL when your mind is preoccupied leads to bad game outcomes. Certainly, this isn't true in every case, but it's been true for me. I would play three games this past week and lose all three of them to Dan. Poor decisions and worse dice rolling kept me from locking up the wins.

When you're having a bad day or feeling down, losing in ASL can only make it feel that much worse. It's a double-edged sword...cause playing ASL helps take your mind off of other things...or at least usually does. But consider that a lot of feeling bad about something often comes down to our inability to control or otherwise make the situation better. ASL can exacerbate feelings of powerlessness...as the dice inflict pain and agony on you with each roll. Cowering, MALF'ing, sniper activation, casualty reduction are all beyond the ASL player's control and can hurt you at the worst possible moment. Other games use cards to reflect the kind of random events which are omnipresent in ASL. Every roll of the dice has the potential to impact the game and is completely outside of either player's control. This is at once what I love and hate about the game. It's like running the 100 yard dash and just as you near the finish line, you inexplicably trip over your own feet and go down. Of course, the thing about ASL is the thing which causes you pain brings joy to your opponent!!!
Well...yeah!!!
Managing your emotions in ASL is a critical skill. Bad things will happen to you in this game. The ability to take the hits and keep going is a must. The momentum in ASL can shift on a dime. So keep the black paint handy...
Damn straight...
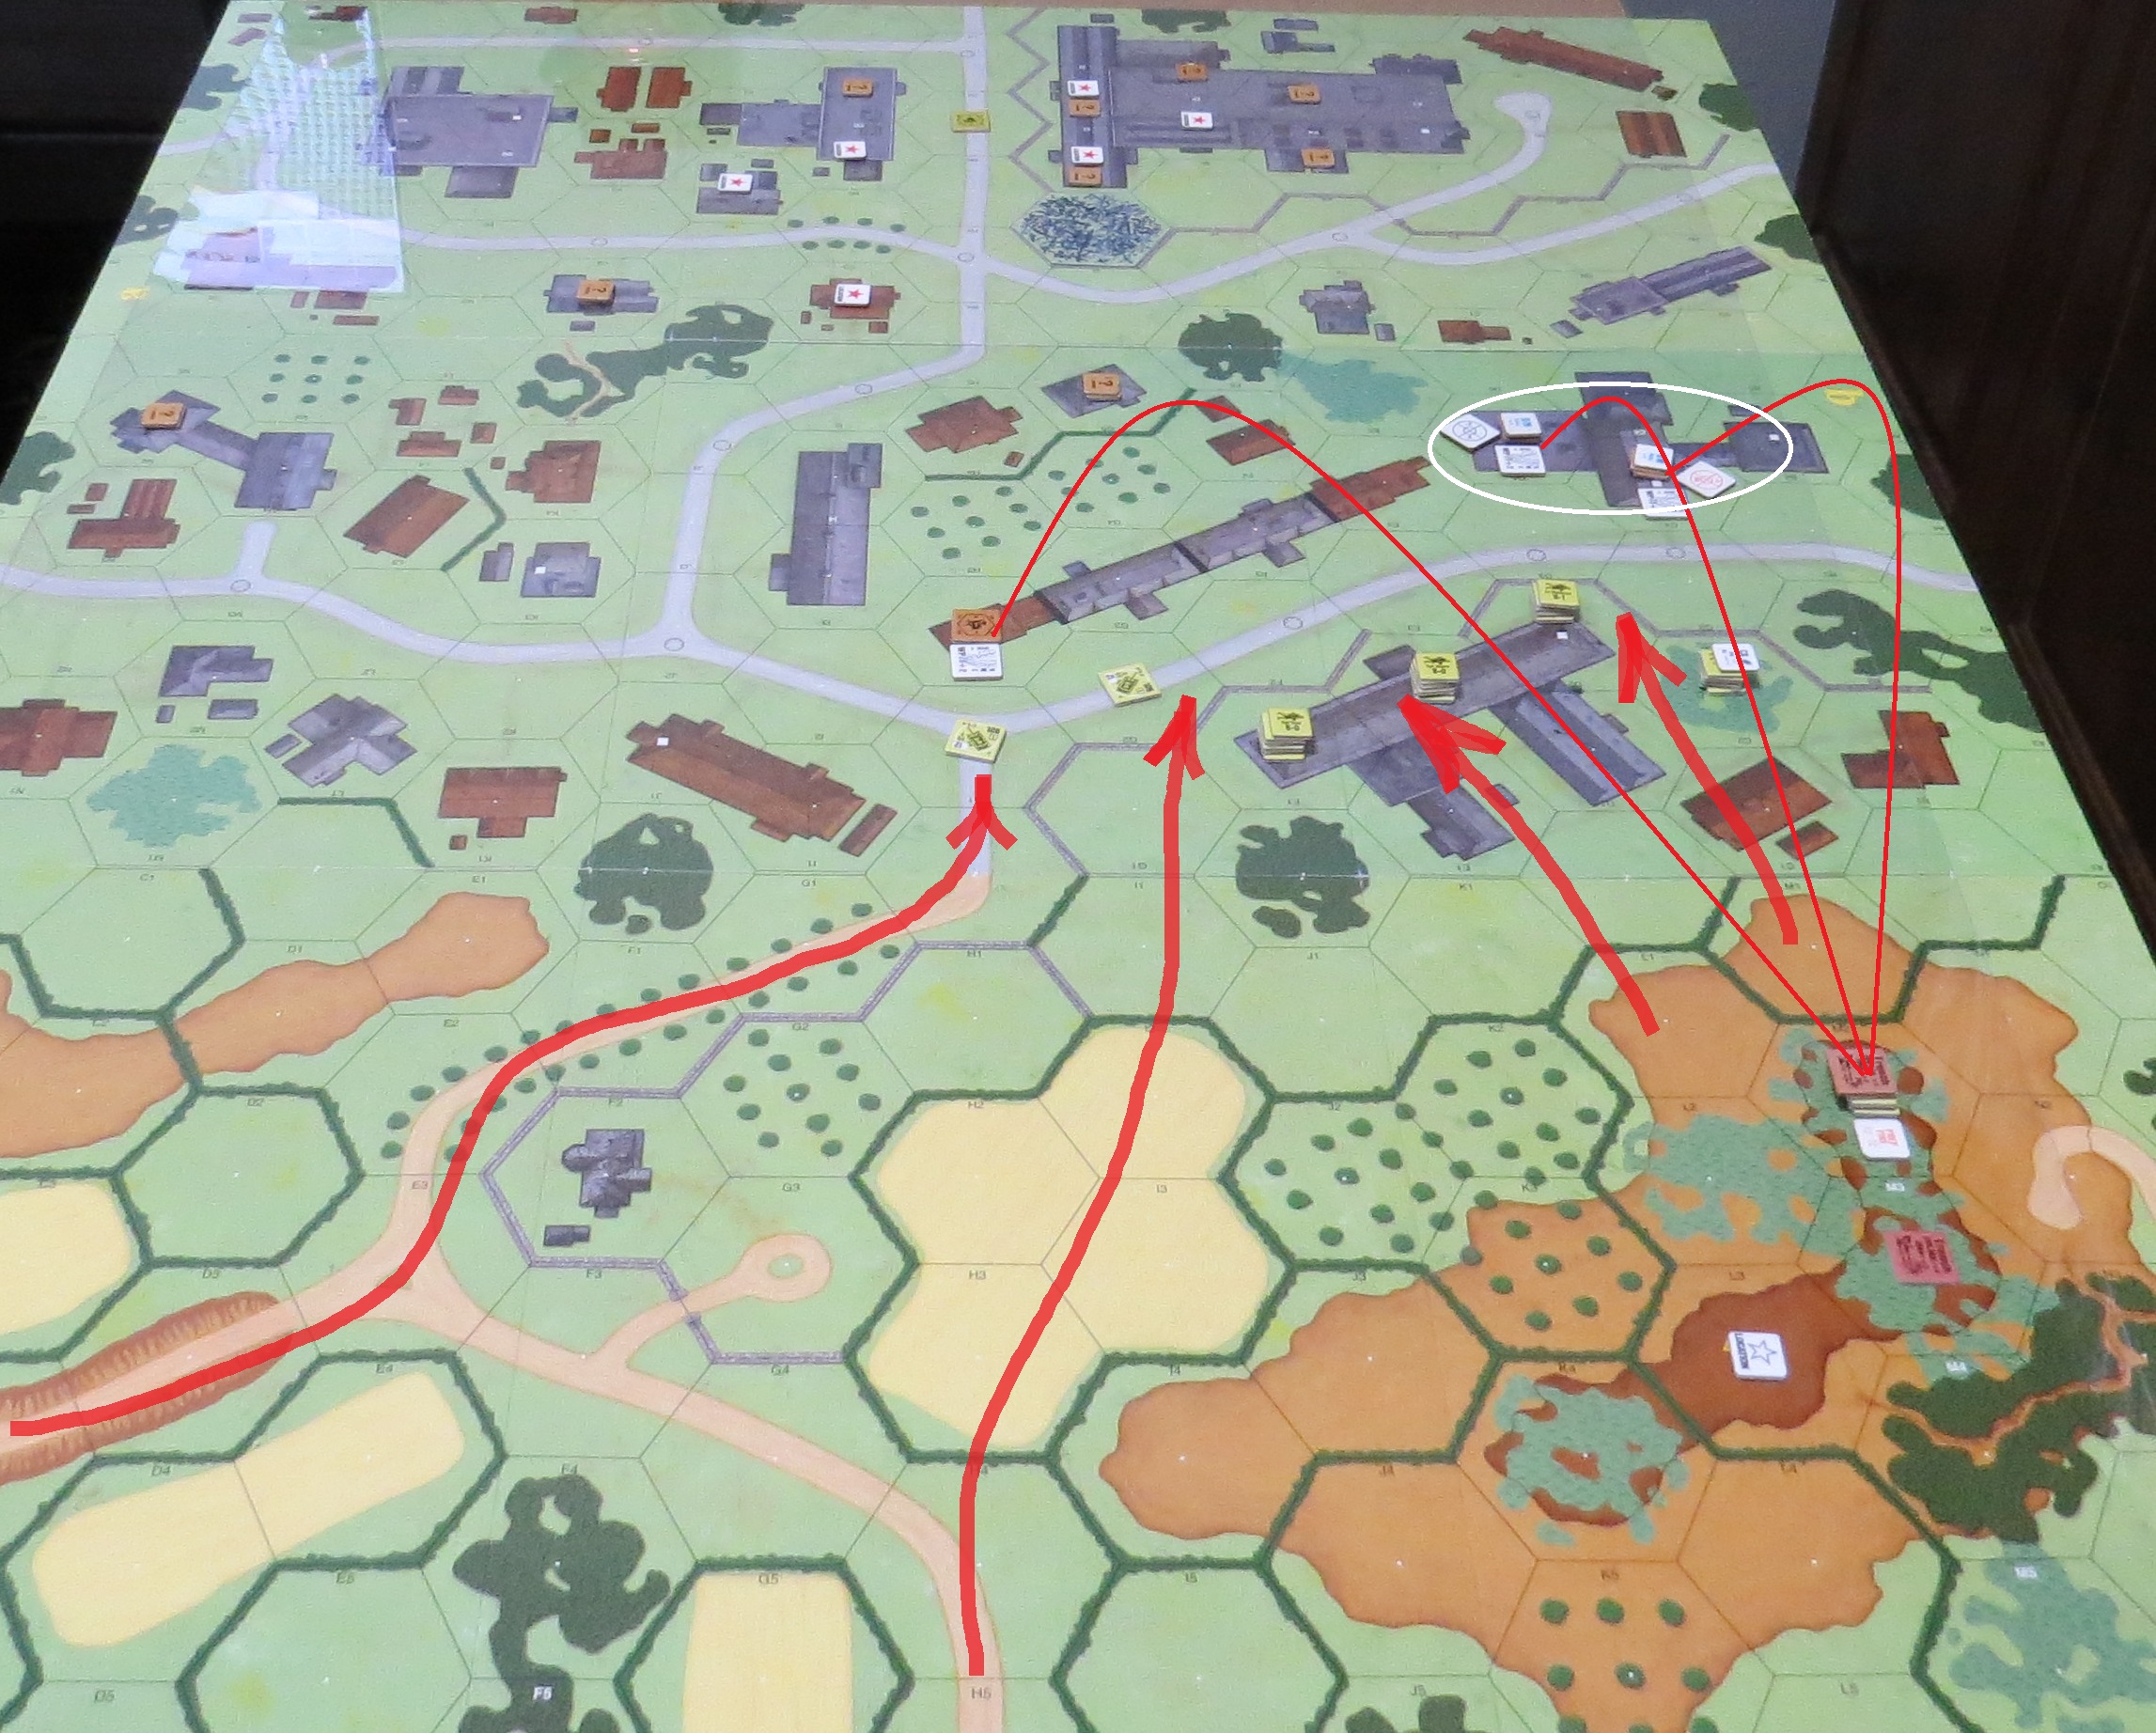
The first of my three staggering defeats would occur on Monday night with scenario HazMo 13 Tin Men In Tianmen. This would be the start of an ugly week of ASL. And while poor decisions and bad dice rolls certainly had an impact on me...so did the scenarios. Good grief, three scenarios that really were about which side got the early luck. And if that wasn't you...well...too bad...so sad.
Of the three scenarios, I enjoyed this one the least. Sorry HazMo team. I was the Communist Chinese in this one. Setup was tough and both sides basically setup literally next to each other. Then you roll to see who goes first...gee that soundss bad...and it was.
Dan would win initiative and blow my a@$ away on Turn 1. Yeah...that was fun. We actually did have a fun game, but it was an easy walk over win for Dan after he wiped the floor with me in his first PREP Fire Phase. This is definitely a tough scenario if you haven't played it before. I also think this is a perfect scenario for the Texas Tournament Ferocity Fest...FYI Rick Reinesch!!!
Oh man...I rolled a six on the initiative dr....
So readers, please don't let my bad experience keep you from playing this scenario. I think this is a great scenario if time is short and you want to get quickly into the action. Don't worry about winning and just have a great game of ASL. One of you will lose...so win the initiative on Turn 1 so that ain't you!!!
Next up would be a playing of RM4 The Final Stand from George Kelln's Race for the Meuse. This is a quick playing scenario that has a mobile German force attempting to clear a road of Belgian defenders. Sounds easy enough...but it isn't.
Reading the rules is always important. And this would be one of those occasions where I had read the rules and then promptly forgot them. Remember...I was distracted by ongoing issues of self-pity...as we covered earlier in this blog post.
So what did I forget...the German CVP Cap...which is pretty important. But Dan also forgot...so it wasn't just me!!
We played this scenario all the way to last Close Combat...even though Dan had won the game in Turn 5. But hey we had a good time!
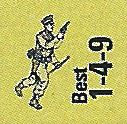
As the defending Belgians, Dan would command the remnants of 5th Company, 2nd Battalion, 1er Regiment de Chasseurs Ardennais. His force would consist of a 4-5-8, 2 x 4-5-7's, a 4-3-7 and a 1-2-7 led by a 9-2 and 7-0 with 2 x MMG's, a 50 MTR, 24 factors of Mines, 4 x Wire and 2 x Foxholes.
As the attacking Germans, I would command the men of the 1st Panzer Division. My force would consist of 5 x 4-6-7's and 3 x 5-4-8's led by a 9-1, 8-1, and 8-0 with an MMG, LMG and 2 x 50 MTR's.
The Race for the Meuse map is fantastic, but this scenario uses only a small portion of it.
And now for Dan's Pre-Game Comments:
"The Belgian must defend the road or inflict greater than 12 CVP on the German invaders. The plan will be an up-front defense. The house in hex J11 will be defended by the 9-2 elite squad and MMG. The green squad will hold the flank at U7 with wire between the two. The gap at U9 will be covered by the 7-0 first line squad and MMG in foxhole in hex P12. The last squad will be in L14 house. The crew and MTR will be in a foxhole in K12 to cover the hill. Dummy units will hold the rest of the tree line along the U row will mines in U1 and T1 and dummy mines in gap hexes. Als mines in S3 and R3 to keep the armored cars from flanking. Hopefully the up-front defense will inflict some casualties to keep the Germans close to the CVP cap and make them unable to clear the roadway of Belgians."
A look at the entire map. As with all Lone Canuck products, this one is outstanding.
Dan opted for an in my face defensive setup. His wire and mine placements took away any flanking attempt through the high hills. I would have to just go straight up the road.
I would get a single shot with my mortar before I broke it. I would also break my MMG and then throw it away a on Repair dr of 6. And I'll be honest my rolls in this game were just total crap. Dan's 4-5-8, 9-2 and an MMG were right upfront in the stone building guarding the road. This really surprised me. But it would be the right placement. I would beat myself to death trying to take it down.
The Germans aren't taking this building!!!
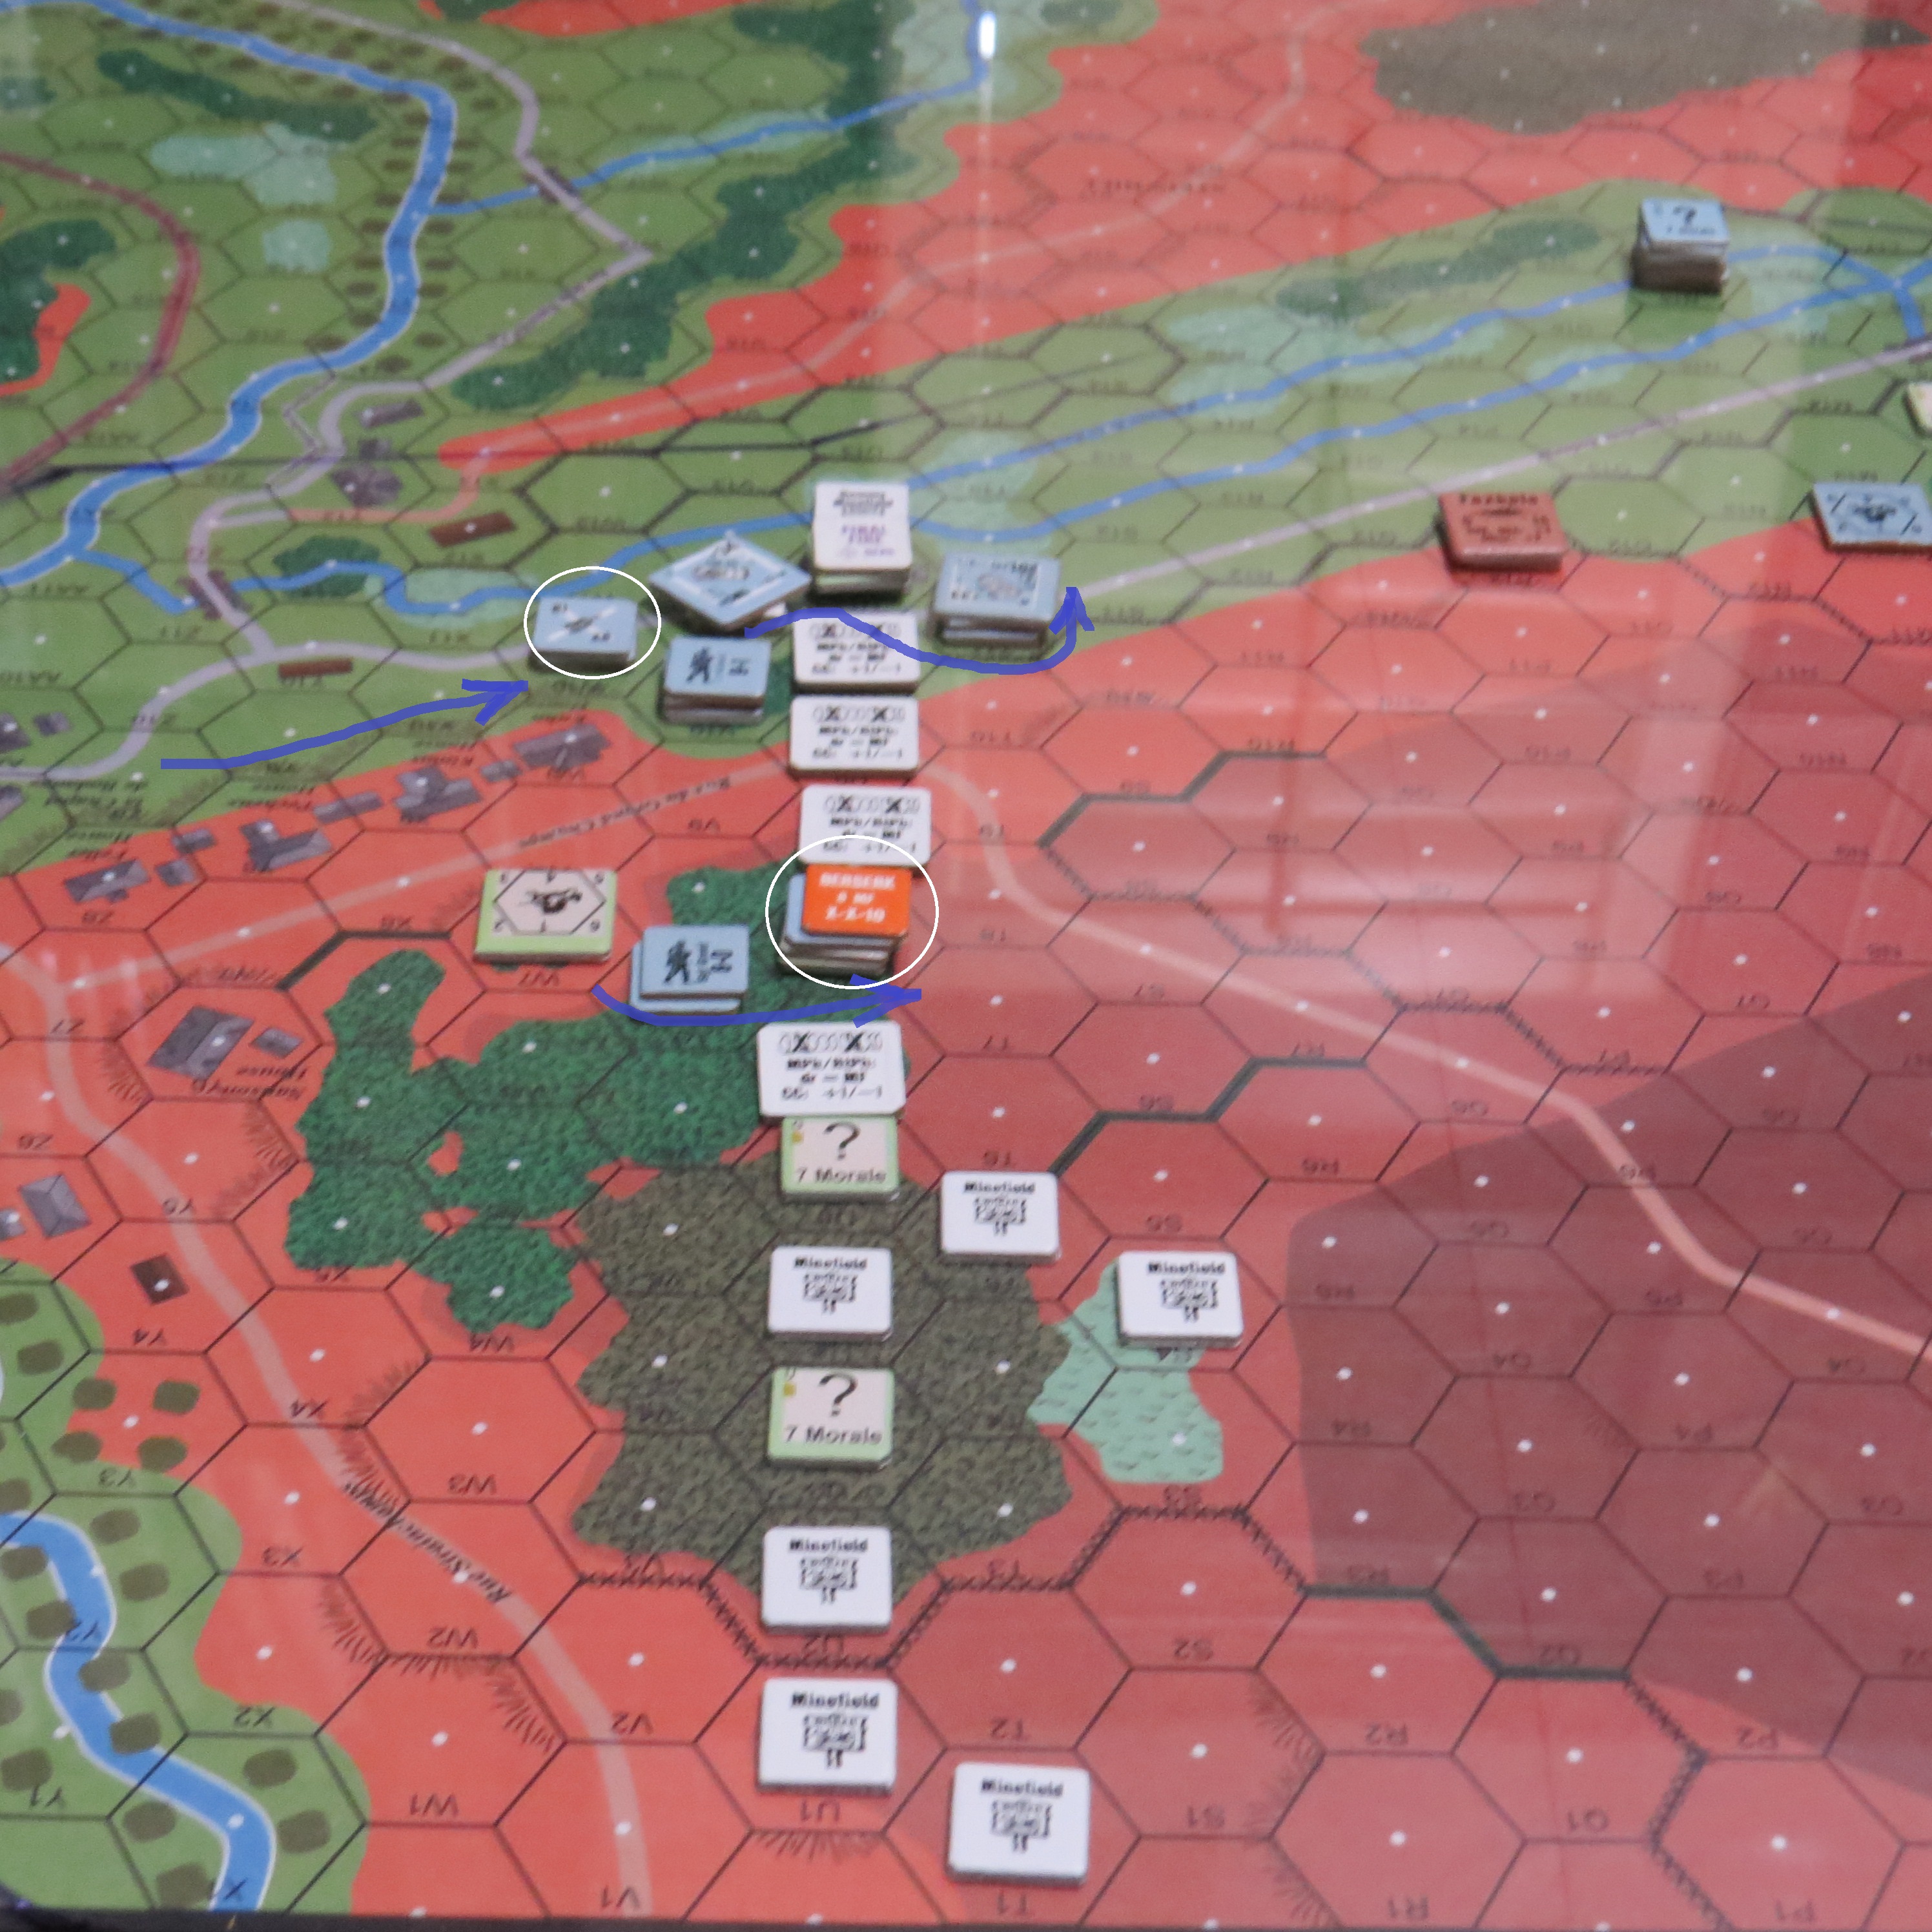
Up in the pine woods, I would bump check what I thought was a dummy unit...oh...they're real...but I would survive the shot and go Berserk!...ok...I can work with that...
Up on the hill, I was through the Belgian MLR., and had surrounded the Belgian Bastion with my armored cars.
"Invade the Low Countries they said...it'll be easy they said..."
Dan's boys would pin the house...so I went into CC with a squad and a half-squad. I needed an 8 or less. I rolled a 10. Dan would eliminate my half-squad. Now I was trapped in Melee with an unpinned 9-2 and 4-5-8. Thanks for nothing Dice!
Okay, so I would double-down on stupid and shoot into the Melee. I was going to die anyway...so why not!?! But all I did was break the 9-2 and my 4-6-7 squad. And you guessed it!!! The 9-2 routed away and my squad was eliminated. So now Dan had eliminated 3 CVP of my 12 and captured himself a nice shiny, German LMG, which he would soon hand off to a Hero, which he would create.
"CONAN!!...What is best in ASL!?!" "To break my enemy, kill his personal ELR and to hear his dice roll lamentations!!"
The next couple phases would be interesting. I would manage to encircle the Belgian Bastion, and kill the 9-2 in the next Close Combat, but Dan's MMG would take out an Armored Car. He now had 8 of my 12 CVP Cap. Oh boy...
With his newly create hero, Dan's Belgians would leap onto my remaining Armored Car and succeed in immobilizing it. This would go on for a couple Close Combat phases. I would shoot into the melee...but then break and lose my MMG.
"Mom...I'm coming home...this game sucks!!!"
The ongoing Melee would start to get to Dan as well. I would eventually shoot enough into the melee to kill his Hero and casualty reduce the 4-5-8 in close combat...but it wouldn't die!!!
"DIE ALREADY!!!" But the half-squad wouldn't and then destroyed the last armored car. With that Dan had 13 CVP and had won the game. His 4-5-8 had killed 1-1/2 squads and two armored cars. This single squad had single-handedly won the game.
And now for Dan's Post Game Comments:
"The plan worked. The squad in J11 made a heroic last stand knocking out both armored cars and a squad and half for a total of 13 CVP. While the German assault did clear the Belgians the CVP cap was exceeded for a Belgian win. This scenario is fun and small sized with many options for the attacker and defender. The historic map is a joy to play on. My thanks to Grumble Jones for a great game of ASL!"
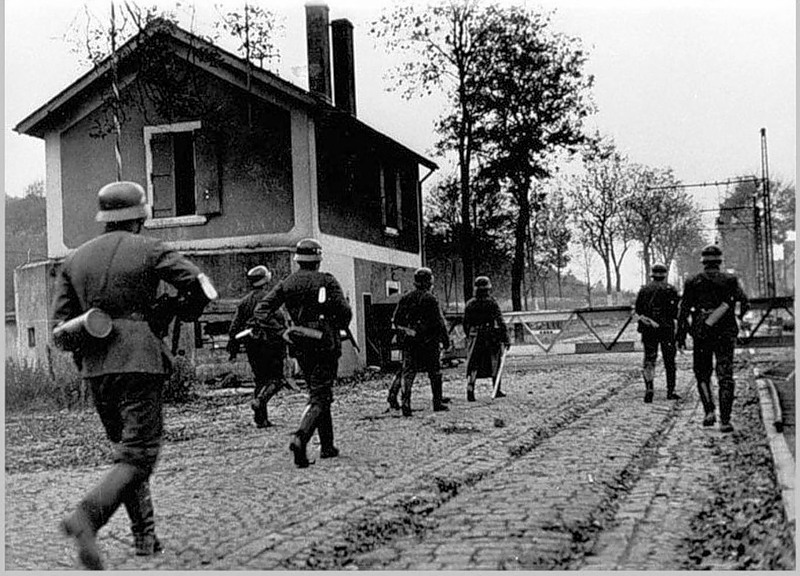
Our final game would be played on Saturday and would be ASL 240 The Last Roadblock (designed by Philippe Naud). This scenario would mirror our first scenario with limited setup options and right in other's grill.
One of the best ASL core modules is Croix de Guerre. I still remember opening Crescendo of Doom back in the early years of SL. Boards 6 and 7 were such welcome additions to the SL universe. With over a 100 boards available today....it's hard to believe at one time...7 was we had.
I'm also a big fan of the French. They are some of toughest early war opponents of the Germans. Dan would prove their worth in our final game.
The Last Roadblock is a technically challenging scenario as it employs Alpine Hills (B10.211). I'm not a fan of Alpine Hills. Lines of sight and movement are all compromised and for me...really limits the scenario's fun factor. And Mud (E3.6) was also in effect...which also degrades the fun of the scenario in my opinion. Yes...I'm a fair weather ASL player!!!
Now don't get me wrong. I love me some Alpine...but usually only on Thanksgiving and in Austria...preferably Salzburg...just say'n!!
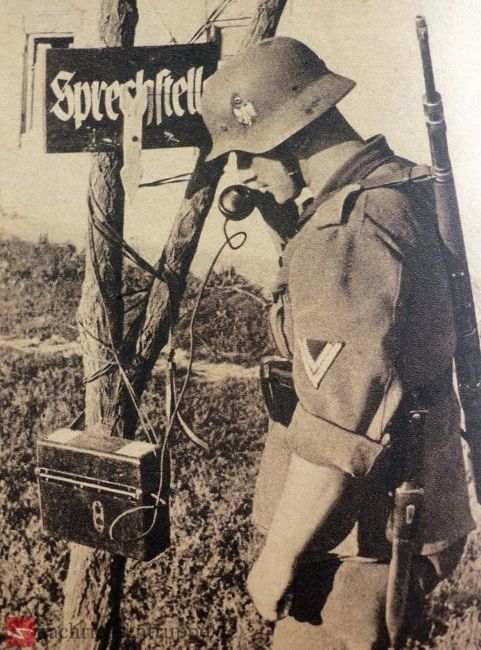
As the Germans, I would command the men of Gebirgsjaeger Division 2 and Marine Kompanie Dienst. My force would consist of 10 x 4-6-8's, a 2-2-8, and 4 x 4-4-7's led by a 9-2, 9-1, 8-1, 8-0 and 7-0 with an HMG, 3 x LMG's a 50 MTR and 81 MTR.
As the French and Norwegians, Dan would command the men of the 15th Norwegian Infantry Regiment and 13'eme Demi-Brigade de Legion Etrangere. His force would consist of 16 x 4-5-8's, a 2-2-8, and 6 x 4-5-7's led by 2 x 9-1's, 3 x 8-1's and a 7-0 with 3 x MMG's, 3 x LMG's and an 81 MTR.
Oh...and as if this force isn't enough...on Turn 3 they get OBA too...
Much like the HazMO scenario, this one has both sides setting up within range of each other with little to no cover. The Germans get to move first and have to bale some serious hay or very nearly forfeit the opportunity to win this scenario. This may be an exaggeration, but seriously, the initial German Prep Fire Phase is crucial to German success.
Or just roll low...that will work too...
And now for Dan's Post Game comments:
"The allies must attack and take 13 or more level 3 or 4 hill locations on Hill 740. The plan will be for the French to fight it out with the German Gebirgsjagers while the Norwegians go after the German second line troops. With the Norwegians doing a board edge creep along the west edge. Hopefully the French can get in some hits and delay the Germans until the OBA arrives on turn 3."
Both sides have limited options for setup. I placed the 81 MTR and my HMG on the Y6 Hill. My plan for Prep Fire was to have the MTR take out the French 8-1 in the center, while my HMG took out the French 8-1 to my right and my 4-4-7 Marines would take out the French 8-1 to my left. That was my plan...ahh...but my dice had other ideas.
Turn 1 German - I fire my Mortar and miss...no rate. My HMG managed to break some squads, but nothing more. My Marines managed to break a French 8-1, but nothing more. My reserves come on intending to stop the rout of the broken French squads on my right. The mud keeps me from achieving this and it would cost me dearly.

Turn 1 French - Dan's Mortar hits with rate...hits with rate...hits with rate. My Mortar Crew and my 8-1 break. Dan launches an immediate counterattack to rescue his brokies on the right..(one had already self-rallied with a 4...by SSR the French broken morale is 8). And I'm going to ask why this was necessary. The Allies already have the advantage in manpower and machine guns...so why give them the extra morale? Dan would rally back much faster than he otherwise would have. And let's talk about SAN numbers. Since we all know that every die roll is completely random. You have the same chance of rolling snakes as you do a 5 on any given roll of the dice. In this scenario the SAN for the French is 2 and 5 for the Germans. Dan rolls a lot of three's...so I would have preferred a SAN of 3 instead of 5. I would roll a few snakes, which would trigger Dan's sniper and cower my boys...so I hated rolling 2's in this game. It just hurt me. But I digress. My thoughts were on the SAN number...why not have a SAN of 8 or 9 instead of 3 and 4. Would it make any difference to the number of times the sniper is activated. It's just a question I had for myself...


A look at the German position as we moved into Turn 2. Dan's counterattack on the right had hurt me as I lost a squad in close combat and Dan had basically recovered his brokies. So my best effort on Turn 1 had come to nothing.
Dan's mortar would continue to pound me with accurate rounds. I have a bit of trauma from hearing "Hit with rate...hit with rate..." My doctor says that I am making some progress...
Turn 2 French - Dan's Norwegians begin moving forward as the French move right up the middle towards my now abandoned HMG and Mortar. My personal ELR was in the toilet at this point. It's only Turn 2 and I realize that I have already lost this game.
My boys would even move back to avoid getting shot to pieces.
A look at Dan's line after two turns. Dan was making good progress in short order.
The French 4-5-8's were tough to break and were rallying quickly when they did break.
Turn 3 German - I tried to make it a game, but my heart wasn't really in it. I was rolling terrible and just couldn't wrap my head around a strategy to win.
As my part of Turn 3 ended, I had pushed out a bit, but the French were on the hill and the Norwegians were hustling into position.
Turn 3 Allies - Dan runs up the hill in front of my Marines. I have 4 and 2 factor shots at -2. I roll an 11...an 11...and a 10. REALLY... Dan literally was able to just walk up to me and tweek my nose. I say it often and I'll say it again...Dice Rolls matter. If you can't stop the enemy from moving in the open on top of you...you're done.
You can thank me later...
And remember kids...if you can't play ASL well...you can always blog about it!!!
Turn 4 Defensive Fire would bring the ARTY into play. Dan's Spotting Round would be accurate.
Leaders would really suffer in this game. Dan and I both had 2 wounded leaders. I had also lost a 9-1 to a 12 on his first self-rally attempt.
Turn 4 Allies - final picture as the OBA obliterates my last concentration of Germans. Hill 740 would fall to the French and Norwegians. It was nice to see the game go to at least four full turns....but it was realistically decided on Turn 1. My congrats to Dan on the hat trick and sweep this week. He played three great games and took home the wins in all three. Not too bad!
While all three games were fun, I can't say that I would want to play any of these again. Perhaps the HazMo scenario now that I know what to expect, but the limitations in setup and terrain that were inherent in all three scenarios probably does limit some of the replay ability. And the Achilles heel for me in all three scenarios was my inability to hurt Dan's forces sufficiently to give me an edge.
"Philippe...what are the medals for..." "Why they are for winning HazMo 13, ASL 240 and RM4 of course!"
And now for Dan's Post Game comments:
"The plan worked. Grumble Jones predicted the side to get hits first with the MTRs and MGs would be the winner. The French got in hits with the MTR first getting ROF and acquiring 9Y6 breaking the units there. The Germans and French fought to a standstill around the eastern side while the Norwegians swarmed the hill and broke the German second line troops. When the OBA arrived to break up the Germans Grumble Jones called it quits. As predicted the side that got ROF and hits in soon had advantage. This game went to the Allies. My thanks to Grumble Jones for a great game!"
Well...we have reached the end.
Remember to keep your emotions in check!
Dan and I will return next week for more sharp edged ASL!!!
We will see you then!


.webp)


.png)