With tonight's post...Grumble Jones hits a milestone of 700 posts. Numbers in and of themselves are really somewhat irrelevant. The internet introduced us to counting our viewers....our likes...our posts..our retweets...etc. On Twitter, I see folks begging for more followers and wonder....why...why does it matter. The number of contacts on Linkedin or the number of friends you have on Facebook isn't really the point. Are you connected with the people and groups that matter to your life?
Having said all that...I'm not immune to the numbers game. I check the daily views on Grumble Jones many times during the day. My goal has been to create content that drives at least 100 views a day and I strive to have at least 4000 views each month. These are paltry numbers...Kim Kardashian blinks and has a 1,000,000 views of whatever content she posts on the internet. ASL for all its greatness is loved by a very small subset of humanity. And the Grumble Jones blog is followed by an even smaller subset of that community. I've been blogging now since 2010 and only have 90 followers. The ASL group on Facebook has over 5000 members. So it's pretty amazing to see my blog get 4000+ views each month with only 90 actual followers. So clearly worrying about numbers is a fools game. So, I will celebrate my 700th post, because it's a milestone on a journey that hopefully won't end for many miles yet to come. At the end of the day, I really enjoy spending time blogging. It's a great way to immerse myself in ASL when I'm not playing and brings me a lot of joy. I hope it continues to bring my readers joy as well.
"I'd proudly blog for you wonderful readers any time...anywhere. Thanks for spending time here at Grumble Jones."
For our next Saturday Game, Dan Best and I would play another classic from For King and Country. We've been battling on Crete through a number of scenarios.
We have each one some of these games. There have been some competitive games and then ones like the Revenge at Kastelli that were lopsided defeats.
The fighting on Crete certainly created the kinds of scenarios, that rational ASL players take one look at and shake their head no...not interested in getting shot to pieces.
Our selected scenario for tonight's game would be exactly that kind of scenario...ASL Scenario 97 A Desperate Affair and is ever well named.
This scenario shows what happens when lightly armed German Fallschirmjaeger parachute over entrenched New Zealanders...it ain't pretty.
In our post game conversation, Dan said to me..."This scenario's most important dice roll was the one for sides." And he was right as you shall see...that fateful dice roll meant victory for one of us and defeat for the other. Sun Zu..."Every battle is won before it is fought."
Now you could be forgiven if you are weary of reading about Cretan Scenarios. I'll admit, I'm weary of playing them. But Dan and I are working diligently to complete the first 100 ASL scenarios. So it was back to Crete. On the positive side, our last game, On Silent Wings dealt with the glider landings. A Desperate Affair would deal with the parachute landings. Personally, I would not have wanted to enter the Battle for Crete by either method. But it's clear that landing by glider was overall better than landing by parachute. The Germans must land according to Pre-1942 German Paratroop Rules (E9.7), which mean the Germans would land without their weapons. During the movement phase, the Germans must move and at the end of that movement make a scrounging dr, which indicates whether or not they found weapons cannisters and successfully rearmed. This adds an interesting dynamic to this scenario. The New Zealand Player has to aggressively go after the Germans as they attempt to rearm. This is the best chance to take them down. Once they become fully equipped 5-4-8's with support weapons...look out.
As the attacking Germans, Dan would command the men of the II Battalion, Fallschirmjaeger Regiment 1. These were some of Germany's most elite troops in the spring of 1941. Well-trained, experienced and courageous to a fault, these men would find themselves dropped literally into hell. They would sustain staggering losses, which should have resulted in a victory for Allies on Crete. But amazingly these men, overcame the losses and the disastrous landing, to win an improbable victory. But a pyrrhic victory would end their parachuting days. So in that regard, Crete was a bit of Allied victory, because it would remove the threat of another major German airborne assault.
Dan's force would consist of 14 x 5-4-8's, and 2 x 2-2-8's led by a 9-2, 8-1, 8-0 and 7-0 with an HMG, 2 x MMG's, 4 x LMG's, 2 x 50 MTR's, and one 81 MTR. They would land in three sticks over the battlefield. On Turn 3, a fourth stick of 5 x 5-4-8's led by a 9-1 with an MMG and LMG would also parachute into the battle.
This is a significant force...but landing with only sidearms...well...not something you really want to do...
My force would consist of four separate groups, with each one setting up on one of the 4 boards in this scenario. This force would include 13 x 4-5-8's, and 3 x 2-4-8's led by a 9-1, 8-1, and 2 x 8-0's with 1 x MMG, 3 x LMG's, and 2 x 51 MTR's. My force could begin the game entrenched if in the appropriate terrain.
All buildings would be stone and single level, orchards would be Olive Groves and all grain would be in season. It's fun to have a big battlespace like this. I enjoy these types of game quite a bit.
And now for Dan's Pre-Game Comments:
"The Germans must clear two adjoining half board areas of British MMC. The plan will be to land troops on boards 9, 33 and 16 in the western side, middle and eastern side respectively. The plan will be to engage the British troops and try to eliminate them. Then the turn 3 reinforcement will land in one of the three same areas and clear the two half boards. Hopefully the British do not get too many casualties on the Germans in the air and the Germans can re-arm quickly."
By SSR I had to set up my groups as directed with an assigned group to each board. I tried to set up near the board seams to allow me to quickly move squads to any threatened half-board.
My boys were settled into their entrenchments and awaiting the attack.
The Germans were coming...
Dan laid out the drop locations for the three Sticks.
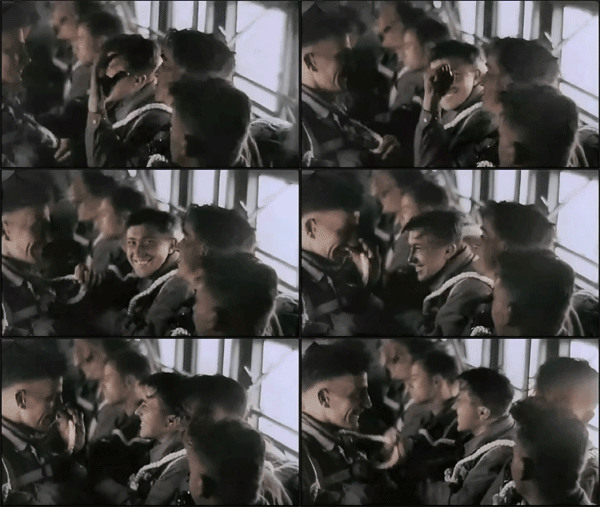
Heading to the drop zones.
The final locations for each stick's drop zone.
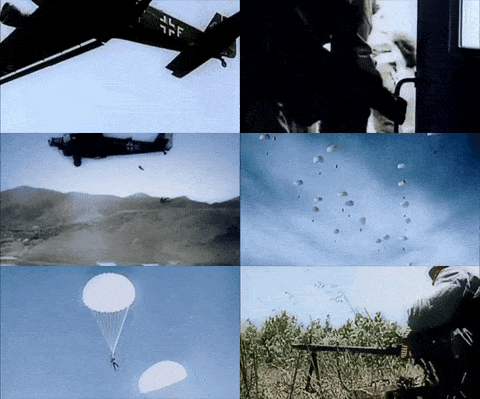
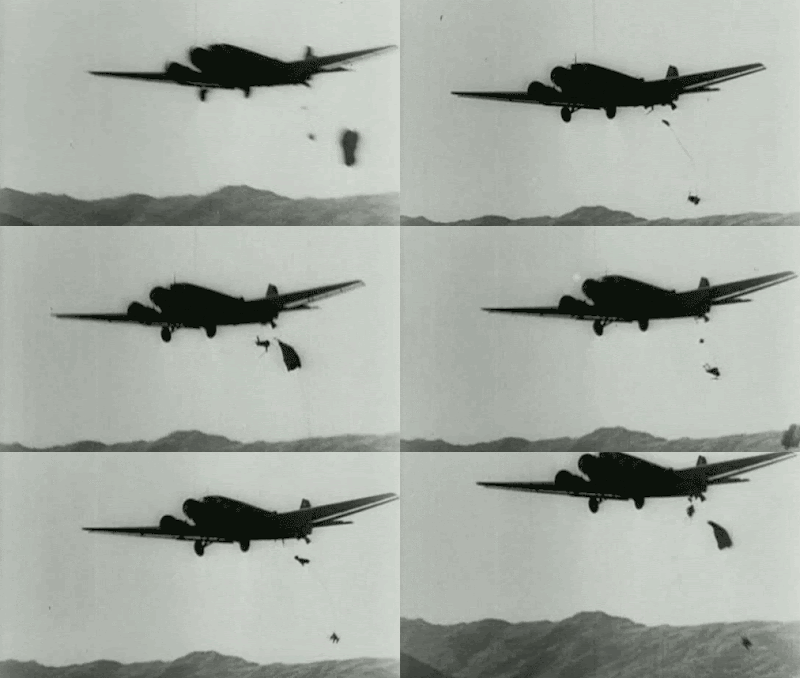
Dan's Fallschirmjaeger drop into the battlespace.
The drop is a disaster. British fire is accurate and often devastating with the Germans losing 4 squads and a crew in the drop. Several support weapons cannisters end up in the woods and are malf'd. Several other squads are broken. On a positive note, all of the Fallschirmjaeager officers survive the drop.
Stick 3 is the hardest hit and finds itself caught in a British crossfire zone.
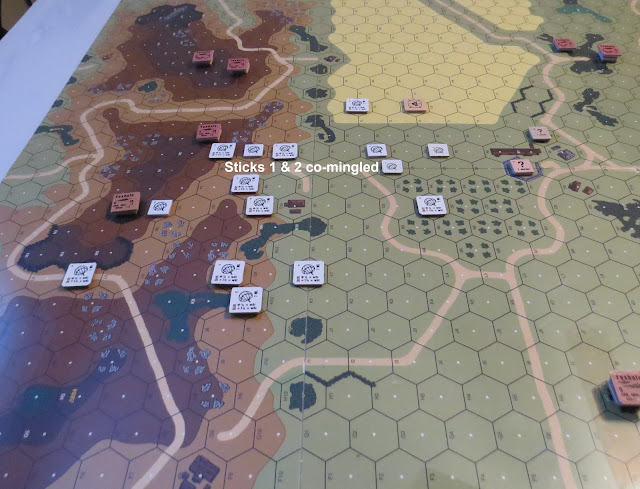
Sticks 1 and 2 are co-mingled, but equally hurt with broken squads. The German 9-2 survives and will go on to coordinate the German assault.
I take my first prisoners and will run them off to the east edge of Board 9.
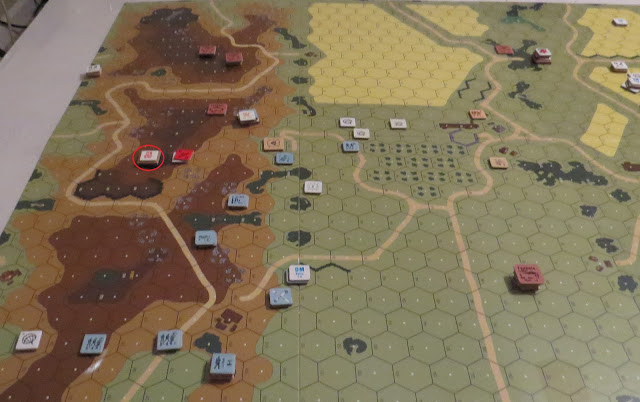
My boys on Board 9 have the greatest field of vision and fire.
The Germans were in bad shape as they scrambled to rearm. This would force Dan's paras to move instead of firing, which of course put them in jeopardy. Dice rolls would of course play a role. My early rolls were very good, particularly on Board 16 against Stick 3. For the game, Dan would roll 8 snake eyes and 3 boxcars. I would roll 10 snake eyes and 5 boxcars.
With Dan's boys searching for their arms cannisters, I moved units to try and close out the battle on Board 16. I was largely successful, but the grain field was giving Dan's boys the cover they needed to rout away. So I would have to waste two movement turns trying to eliminate the last broken squad.
Turn 3 - Dan's last Stick #4 arrives and has one squad broken after landing in the trees.
The big disadvantage for Dan's 4th Stick was that it landed in a board half that was already falling to German control. Ideally, he needed that stick to have landed somewhere else. My forces were finishing off Stick 3 and would be able to move to confront Dan on a more narrow front. I would be able to consolidate my defense.
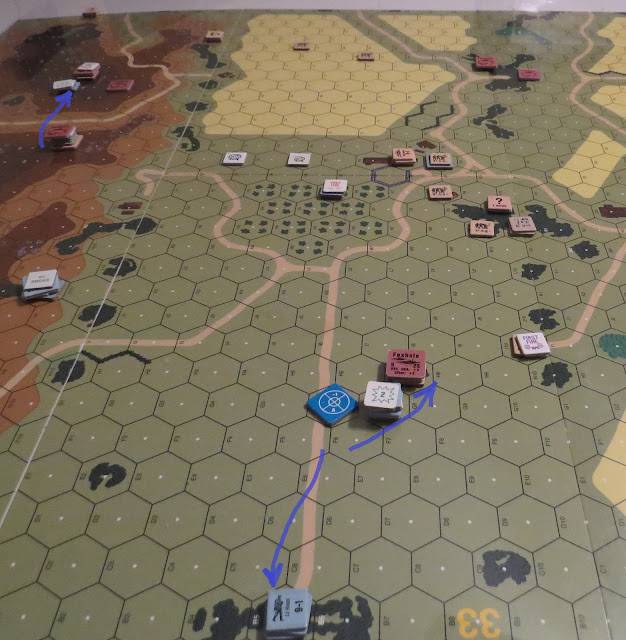
I would finally eliminate Dan's last squad from Stick 3 and then start running my boys across Board 16 to get to Board 33.
Dan's 81mm Mortar would enter the battle, as his 4th Stick set about the business of rearming.
My beleaguered 4-5-7 on Board 9 would finally break and rout to the east. With that Dan had control of his first half-board. If he could get control of the other half of Board 9 or the adjacent half of Board 33, he could win the game.
With Stick 4 armed and loaded for bear, Dan's paras went on the attack. The 81mm Mortar would smoke my 9-1 with the MMG. That group had been holding the west portion of Board 33 largely by themselves. They would no become the focus of Dan's most aggressive attacks.
I would get a lucky break and DM Dan's 9-2 stack with my 51 Mortar on Board 9.
Improbable success with this mortar team would be instrumental in allowing my boys to move and counter-attack Dan's Germans without being buzz sawed by the German HMG.
A look at the British positions.
Dan renewed his assaults. His sent his 8-0 to rally his broken 9-2. This would pay off as Dan would rally the DM's 9-2 and HMG stack with the 8-0.
Dan's 8-0 had been running all over the Board 9 hill mass. He tried to fix a broken 51 MTR, but couldn't so went to rally the 9-2. He would eventually attack my 51 Mortar team all by himself and jump into the foxhole for close combat. My boys would eliminate him. But his efforts have to be noted. This is why we love this game!!!
A look at Dan's perimeter. He had managed to expand it and was pressing the British on the east half of Board 9 and the west half of Board 33. Control of either one would give him the victory.
My 9-1 and MMG squad would die in Close Combat. The Germans were surging, but the open ground was making movement nearly impossible.
My Tommies were pouring fire from all along the edge of Board 33.
Back on Board 9, I had evacuated my 8-0 with the LMG squad. They went into hiding along with my 2-4-8 with the German Prisoners. I was going to make Dan come look for me and burn precious movement phases to do it. My 4-5-7 had rallied, but found itself completely surrounded.
My 8-0 had taken his squad to safety in the crags out of the LOS of Dan's 9-2 with the HMG.
Dan had expanded his perimeter yet again, but the British sniper would DM his 81mm Mortar Squad and then wound his 9-2. Talk about great luck for me. Just as Dan was launching his last desperate assaults, he was without his two major assets.
So it was 11:00 PM...and we had been playing 6 hours straight. It was Turn 8 and the final German move was at hand. I wasn't sure that Dan had chance. But Dan was determined to give it a final shot. I was impressed that throughout this tough game, Dan's personal ELR never wavered. He had lost 12 of his 19 5-4-8 squads. But his Fallschirmjaeger came at me one last time. I was able to pin and/or break this last assault. With that Dan realized he couldn't get there and gave the concession. We were both completely drained at the end of this one. My British had he win and much of that was because of the success of Turn 1 Defensive Fire, which ensured the destruction of Stick #3 and significantly damaged Sticks 1 and 2. Had I not been successful early, I would have been hard pressed to stop Dan's tough 5-4-8's.
My boys could celebrate the win. As for the scenario itself...would I replay this one....NO. No thank you. I might give another shot as the British, but I don't ever want to try this one as the Germans. Dan gave it his best shot and suffered mightily. Despite that, Dan never eased up on trying to win this one. Honestly, you can't ask for more from an ASL opponent. Our game faithfully recreated the historical outcome and proved just how deadly it was to land paratroopers on top of an entrenched enemy. My thanks to Dan for a great game and for superior sportsmanship. It sucks for anybody to watch your squads be gunned down as they helplessly float to earth.
And now for Dan's Post-Game Comments:
"The plan did not work. The Germans dropped effectively by took devastating casualties. With 4 and half squads eliminated on the drop turn and significantly another 5 squads broken. The inability of the Germans to avoid landing in trees made for bad landing. An immediate British counterattack combined with the Germans 8 morale troops failure to pass any morale checks and the three ROF weapons not getting any rate made for low British casualties. Even the German second drop had two out of five squads land in woods. In the end the Germans only cleared the western half of board 9 and the Germans lost 12 squads and one crew out of 19 squads and two crews. The British did a great job of Keeping good order MMC on the disputed half boards and counterattacking. And while their losses were heavy, they did not exceed 50% and they had the Germans boxed in on Board 9. Well played by Grumble Jones! This scenario highlights the dangers of an opposed paradrop."
Dan and I will return next week for a playtest game on Halloween! Should be fun!!!
We will see you on Halloween!!!













Thanks for post 700, and for the 699 that came before. As you say, quantity alone isn't enough, but a large number of enjoyable posts I think we'll all agree keeps us coming back for more!
ReplyDeleteThanks Tom. I'll keep the posts coming.
DeleteCONGRATULATIONS ON YOUR 700th POST!!! Airborne scenarios are invariably fun but boy, are they tough on the paratroopers! Tough enough having to fight over open ground, but when they need to first run around under fire to get their toys together it is just horrible. Plus I imagine these designs are a devil to balance. FUN, nonetheless!!
ReplyDeleteThanks Jackson!
DeleteAwesome blog! Never miss reading every new one! Please keep up this outstanding achievement! Brings the past to life and makes you realise how much these guys had to go through during the war in so many different theatres.
ReplyDeleteThank you Sir. I'll stay on mission!
DeleteCongratulations. I always enjoy reading these AARs.
ReplyDeleteThank you Neil!
DeleteExcellent AAR
ReplyDelete