

The picture above may seem familiar and it is...this is the same cover photo used for a previous AAR about our Saturday Game - ASL Scenario J154 Cradle to Grave. Dan Best and I played this very same scenario back in 2018. It ended up being an epic game that came down to the wire and a victory for my Germans. So you will see some recycled pictures and commentary to help me complete tonight's AAR. Now, we are going to do things a little differently tonight. We are going to play this scenario a second time as a 3-Player. I'll command the Germans a second time, but Dan Best will command the French FFI and Dave Mareske will command the Americans. I'm looking forward to seeing how the scenario plays a second time...and do I actually learn anything from a previous playing. Let's hope so!!!

ASL
Scenario J154 - Cradle to Grave (designed by Pete Shelling). Cradle to Grave
covers the actions of September 1st, 1944 in Meximieux, France as the French
Maquis and US 179th, Infantry Regiment, 45th Infantry Division work together to
halt a counter-attack by the German 11th Panzer Division. This sharp engagement
would cost the Germans more casualties, but would temporarily delay the 179th's
participation in the 45th Division's planned attacks towards Lyon on the 2nd.
So both sides came away with some value from the battle.

The fighting in the south of France from August through
September is an often forgotten sideshow of the war on the Western Front. The
actions in Normandy and later in Holland would reduce the media coverage of
this part of the war. Despite the lack of coverage, the fighting here would be
every bit as desperate as that in the aforementioned campaigns. The Germans and
Americans facing off in the south of France were veteran formations and would
fight like it.


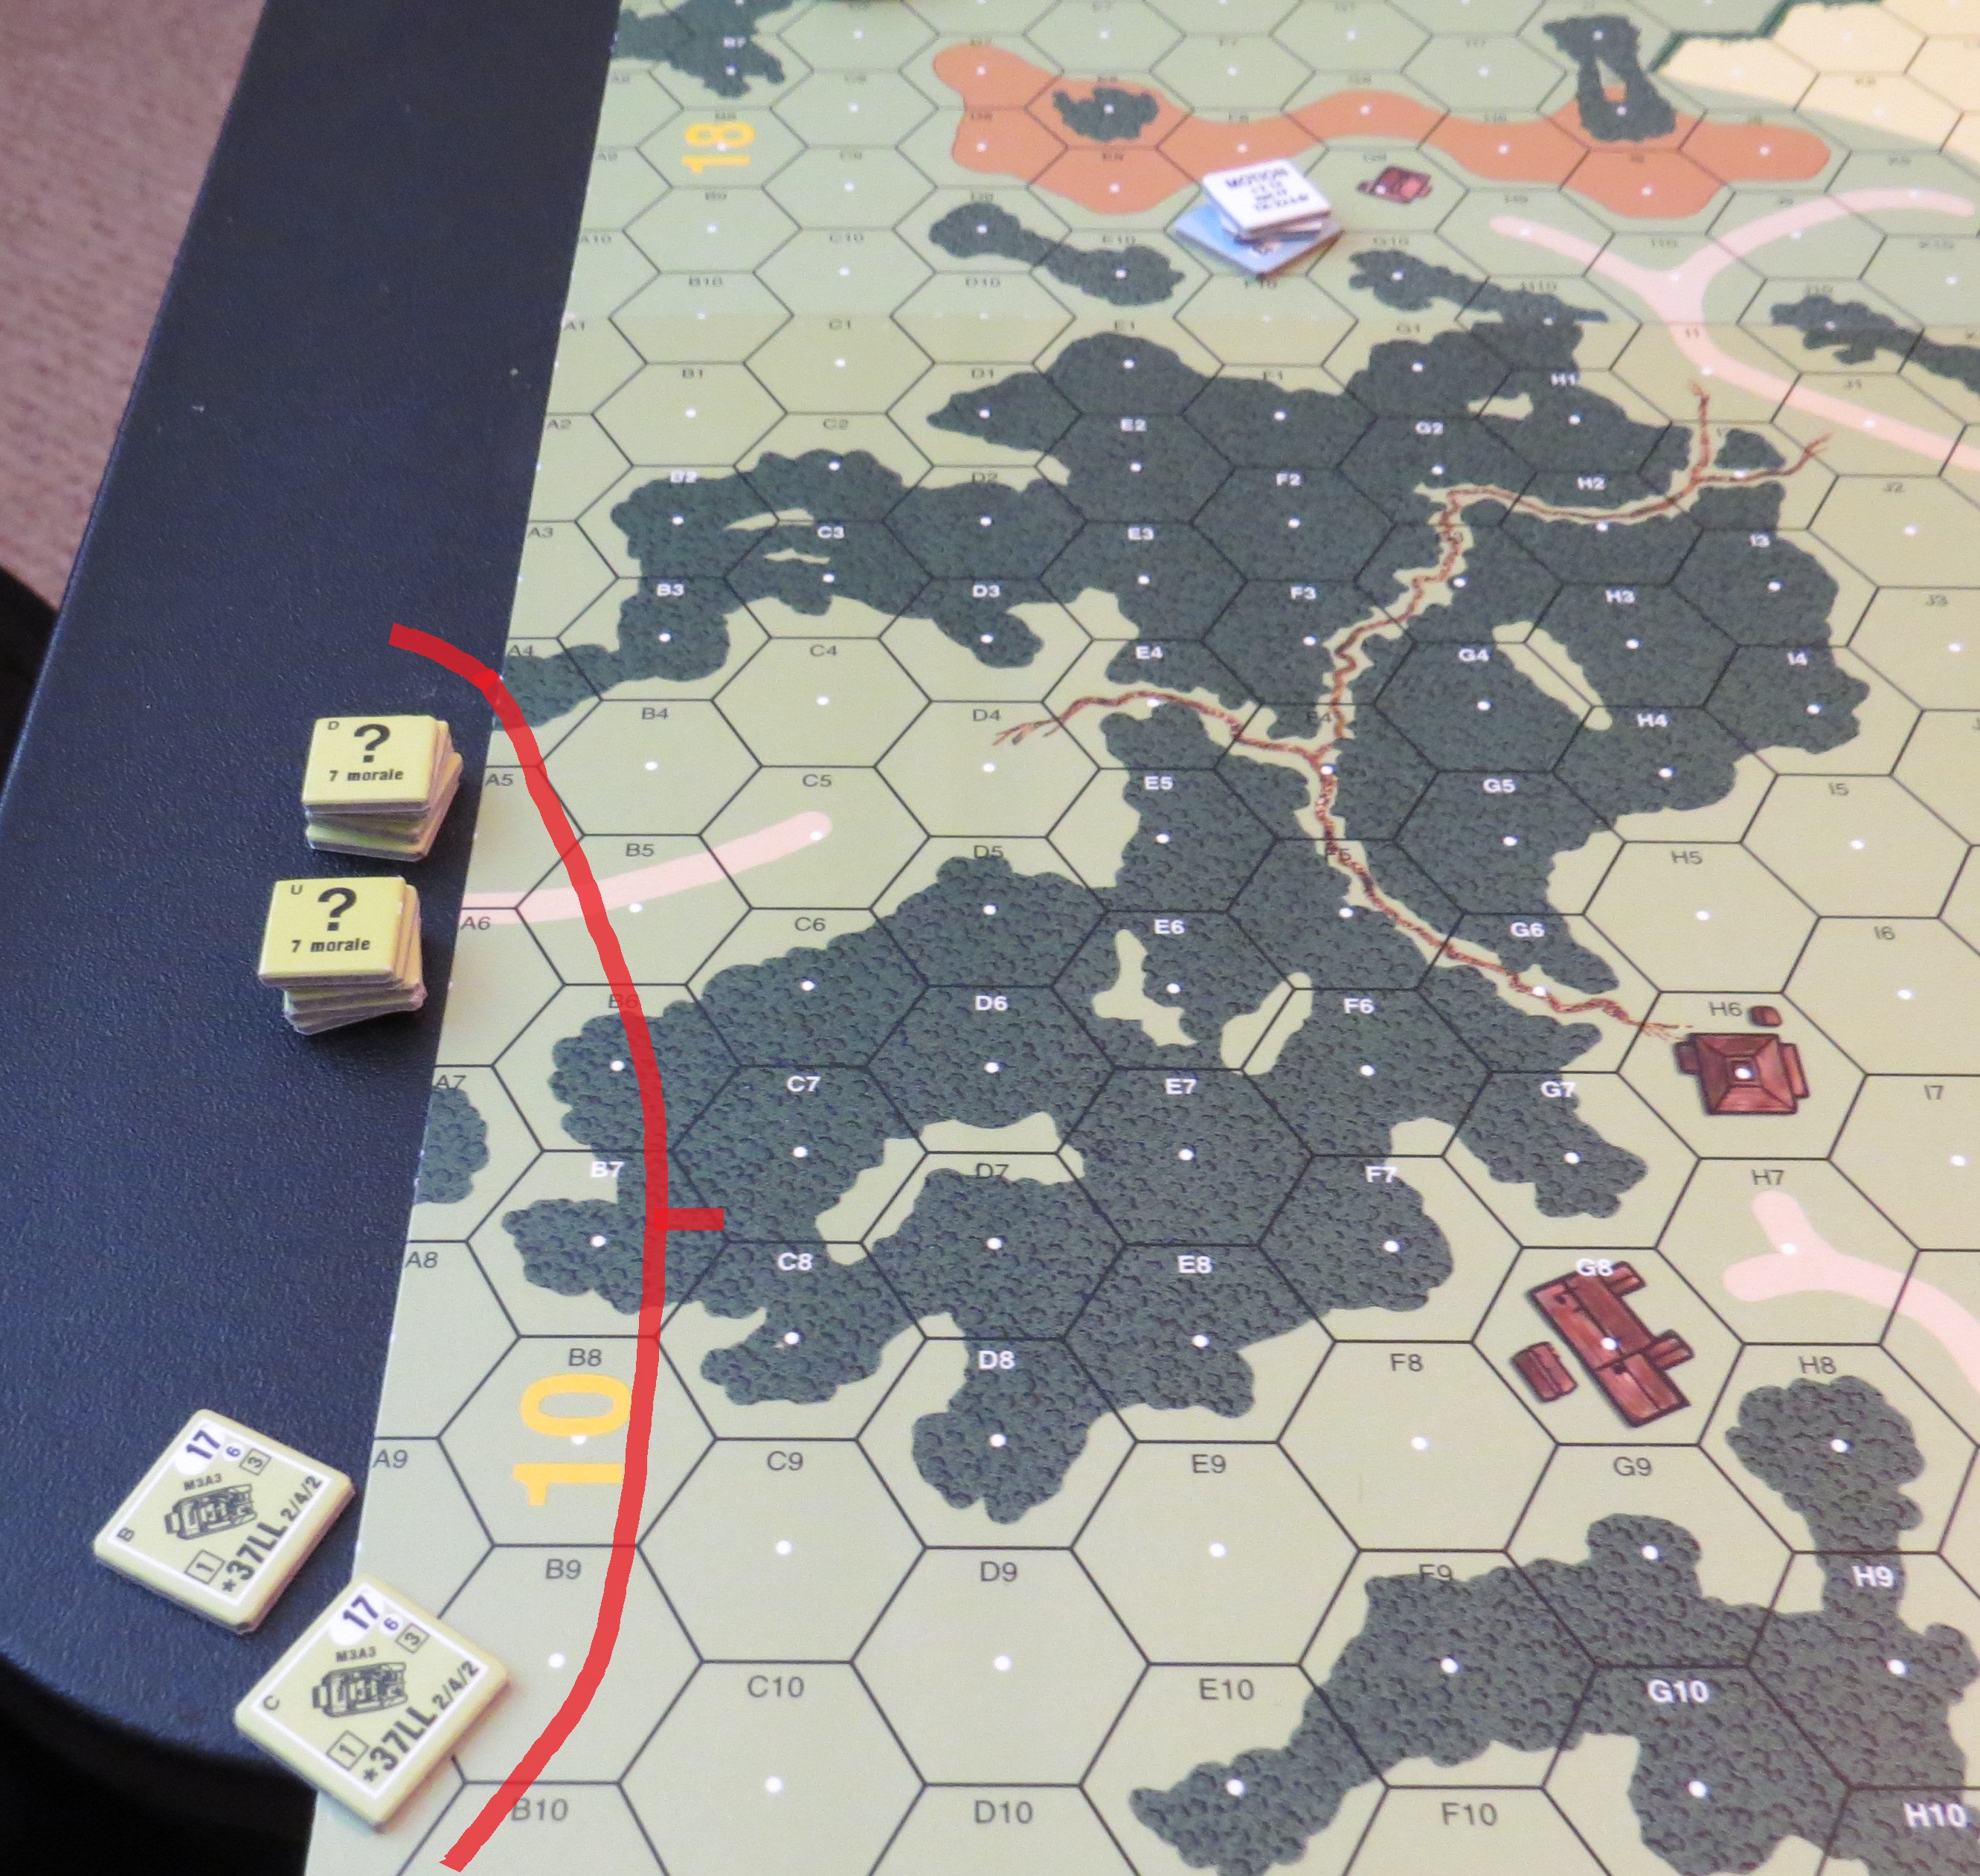
Well...Board 10 again...been seeing this one a bit too frequently lately. Last time there was an M-10 in the town center...I'm betting it will be there again tonight.

I
would command elements of the 11th Panzer Division - the famed "Ghost
Division". The Ghost Division would
serve in Yugoslavia and then in Russia during the drive on Moscow and then
later towards Stalingrad and then at Cherkassy, before being redeployed to the
West. In the west it would defend the south of France, participate in the Bulge
and in the Ruhr before surrendering to the US 90th Infantry Division at Passau.
My force would
consist of 4 x 4-6-8's, 10 x 4-6-7's, led by a 9-1, 2 x 8-1's, an 8-0 and 7-0
with 2 x MMG's, 3 x LMG's and a Panzerschreck. My armor force would be
comprised of 2 x Panthers, 2 x MKIV's, 2 x Hummels, and an 81mm Mortar
Half-track and a CMG Half-track. Not too shabby for an attacking force.
But...the scenario SSR required that I split my force in equal halves and one
group would enter from the North and the other would enter from the East. Oh
man...that was far from ideal, especially given that my objectives were on
Board 10 in the Southwest corner of play. In order to win this scenario, my
Germans would have to control more stone building HEXES than the number of
remaining Partisan CVP equivalents at the game end.

 Dave Mareske would command the men of the 179th Infantry Regiment
of the 45th Infantry Division. The famed Thunderbirds would be one of the
greatest infantry division which served in the Second World War. Their
combat record speaks for itself as they fought across Sicily , Italy, France
and Germany. The Thunderbirds would survive the landings at Salerno, Anzio and
the south of France. It would be difficult to identify another US Infantry
Division in the west that made so many beach landings.
Dave Mareske would command the men of the 179th Infantry Regiment
of the 45th Infantry Division. The famed Thunderbirds would be one of the
greatest infantry division which served in the Second World War. Their
combat record speaks for itself as they fought across Sicily , Italy, France
and Germany. The Thunderbirds would survive the landings at Salerno, Anzio and
the south of France. It would be difficult to identify another US Infantry
Division in the west that made so many beach landings.
The
45th would also be the US formation to liberate Dachau.
Dave's force would consist of 3 x 6-6-6's, 3 x 5-4-6's, and 2 x 2-3-6's led by an
8-1, and 2 x 8-0s' with an MMG, 2 x
Bazookas with support form 2 x M-10's with a 9-1 Armor Leader and 2 x 81mm
Mortars.
On Turn 3, Dave would
get reinforcements from the 117th Cavalry Regiment consisting of 4 x 6-6-6's
led by an 8-1 and 7-0 with an MMG, a Bazooka and 2 x Stuart Tanks. They would
enter from the North edge and come in from my rear.

Dan would command forces of the Françaises de l'Intérieur (FFI). The French
Resistance was very active in the south of France and would participate in some
joint actions with the Allied Forces. The Maquis would be the key force in this
game. They would consist of 2 x 5-2-7's, 6 x 3-3-7's led by a 9-2 and 8-1.


And now for Dan's Pre-Game Comments:
“The
Partisans must be very low key in this scenario. They must play a game for force
preservation. However, they also get to
select some additions to their OB set up than can impact the game. I selected the LMG and the DC. My plan is to move the Partisans quickly into
the village and stay concealed in the buildings. The squad that set up HIP will be in 10 R9
and have a LMG and the 9-2 leader. They
will be able to fire in the open if the Germans cross board 10. The DCs will be used in the village to defend
against tanks. The German armor can get
past the Americans and get into the village and the DCs are needed as a
threat. Hopefully the Partisans can stay
concealed for as long as possible and preserve their numbers to make the
Germans capture stone buildings.”


“The
Americans must delay the Germans for as long as possible so they don't get into
the village and turn their firepower against the French. I set up strong around the level 2 hill using
my concealment markers to create an additional 5/8" concealment stack
hoping to divert the Germans between the hills and a longer path to the
village. The mortars will set up on the
hill, one overlooking the east entry and the other overlooking board 10. Just two first line squads, an MMG and an 8-1
leader set up in the village facing north assisting the partisans.”

By SSR I had to have 6 squad equivalents, 2 SMC's and 2 vehicles entering on the north and east edges. The first time I played this scenario I sent my boys through the woods and were slowed accordingly. So I put my Panthers and the 81 Half-track along with six squads to come in from the north. Their objective was the M-10's which I knew would hull down behind the wall and the two mortars which I knew were on the Level 3 Hill positions. My force from the north would thread the gaps between the forest and the hills and move on the village and the partisans. Dan had placed the partisans where I had no chance of getting to them and they would easily move into the village and hide. This move by Dan would secure the ultimate victory for the Allies. It truly was the game winning move.


Turn 1 - My boys enter the battle space. The Allies are largely silent.


Not content to MALF just the mortar, Dave would also MALF the MA on the first of his two M-10's.

I know man...it's not even the end of the first half of Turn 1 and the boxcars are already flying in!!!

SPOILER ALERT: Dan's Partisans run away and hide in the village. This is how the Allies seriously improve their chances for victory. Dan's move and careful protection of the Partisans would force me to have to take 19 locations. UGH....

"Yeah...Dan...why you running bro!?!

"Now Dave's Americans would have to do all the heavy lifting...just seems unfair!!"

Ok...back to more serious AAR stuff...oh yeah...this is good...BORE SIGHTING...Dan and I rarely...as in never utilize bore sighting. I misunderstood the rules, because I thought it was only allowed by SSR...apparently it is only dis-allowed by SSR. So this is one of the traps that players like myself wander into, because I don't spend enough time with the rulebook.
So one of my Hummels is heading down the road to get past Dan's obvious Dummy unit in the house and then cover the road. So I stop next to the house...and guess what BINGO!!! Yeah...I parked right on Dave's bore sighted hex for his MMG. He rolls...and I am stunned and recalled...scratch one Hummel. Of course well-played by Dave. The Germans were down a critical infantry killing asset from the gitgo.

Oh yeah...I was in the mad zone...and got a little snarky about it too...

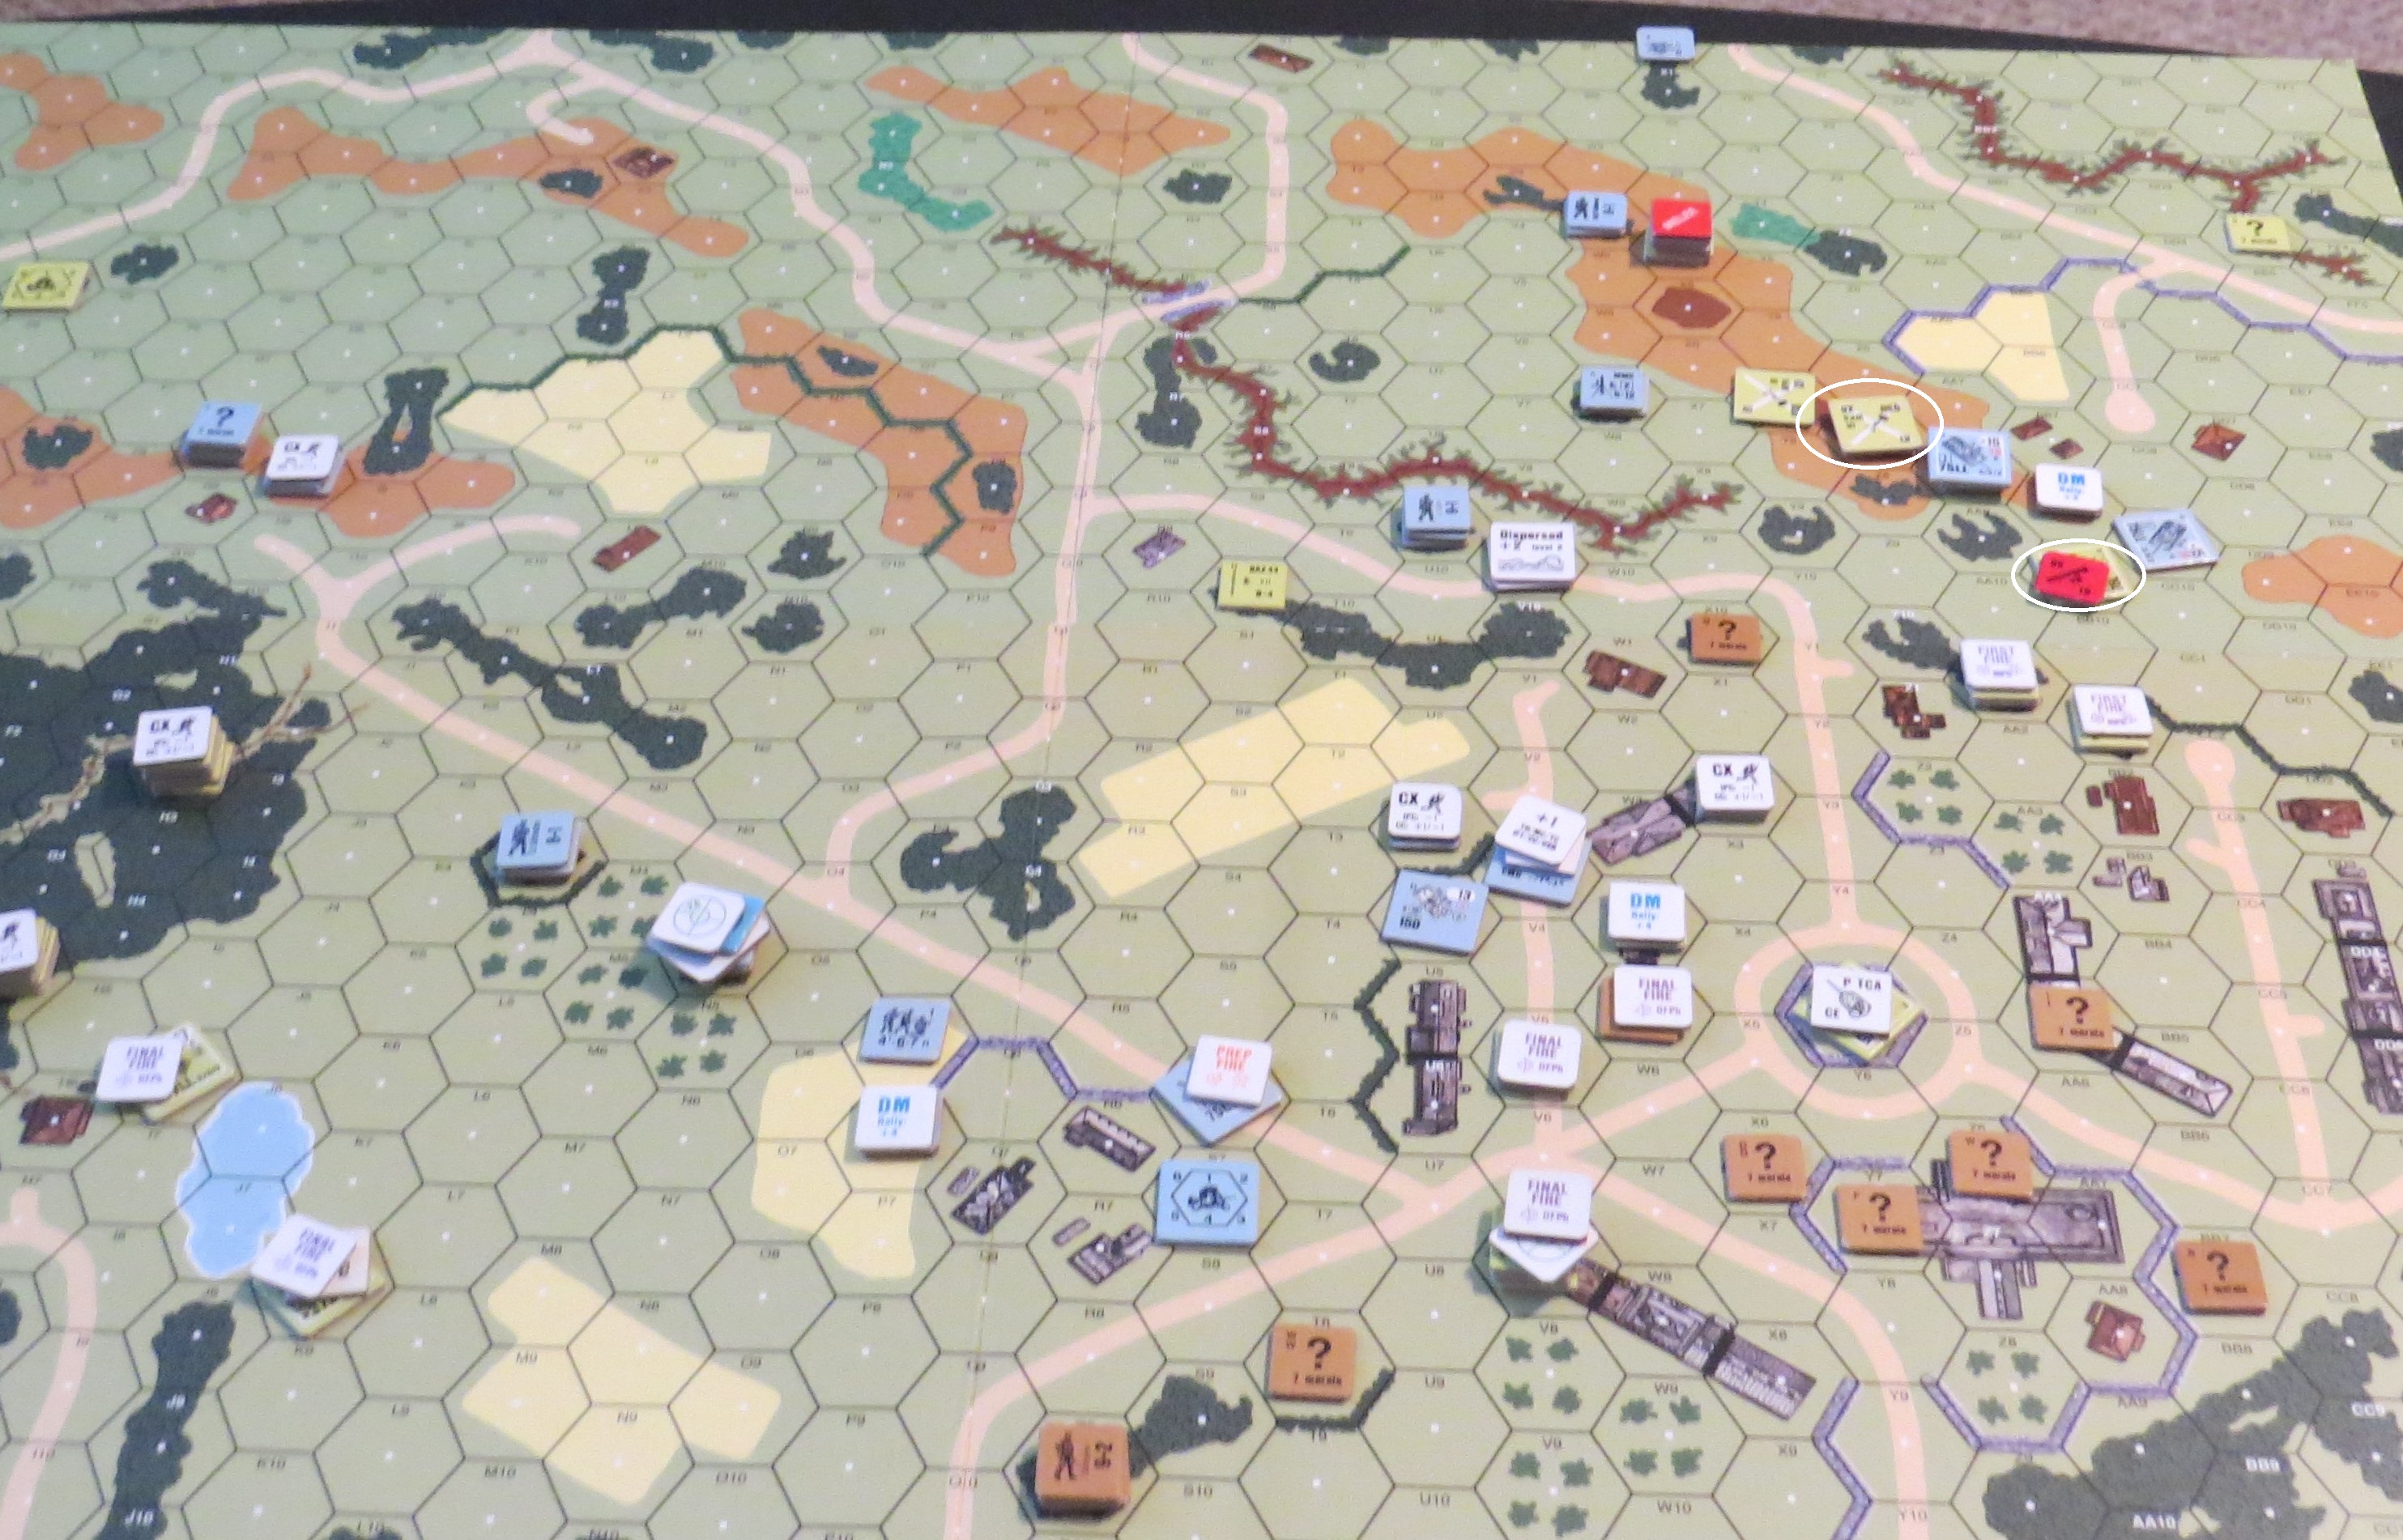
A look at the American perimeter after Turn 2. I was playing way too cautious and was not where I needed to be prior to Dave's Turn 3 Reinforcements. I struggle with taking too much risk and not enough...I couldn't find a balance in this game. When I did take risks, I was immediately punished. I was playing two very good players and there was not a lot of margin for error. I was really stressed in tonight's game. I wasn't having fun like I normally do. It felt too much like a tournament game. I was just simply too concerned with not making stupid mistakes and made them anyway. I just wasn't able to relax and just play the game tonight. That happens some times.


I hate to admit it...but I was not in good mental shape much of the night. I'd had a bad day prior to game time...and I was seriously on the verge of stroking out....but I kept it together...too much ASL to play to yet!!!


Dave's MMG team...let's listen in..."You fellas worried about the Germans today?" "Are you kidding...we already took down a Hummel...and mom told me...when I visited Germany to get her a Hummel...well I did!!"
Turn 3 - American...it came so fast...seems like only an hour ago my rear was free from American troops...


Dave's fresh infantry would come through the north woods, while the two Stuarts raced into the open to stop my moving into the village. Back in the south, Dave's M-10's were repositioning. And naturally one went into the village center in the custom made hull down position.


Turn 4 - German - my blocking force in the north turned and headed south to interdict Dave's boys in the forest. They would do that job well. I tried to get into the village by hook or crook. I would lose my 81 MTR Half-track to an M-10, but both Panthers would get next to it and a critical hit would do the rest. And I was finally getting into the village.

Dan's second mortar would finally reveal itself. I had been moving within its 3 hex range, so it had stayed quiet as Germans moved all around it. It would fire and then MALF and then the crew would be KIA'd in CC and the mortar eliminated. On the east side of the hill, Dave and I were locked in a melee that took a while to finally close out with the help of one of my 8-1's.


The first M-10 would be taken down as indicated earlier with a critical hit. But on the north side, I would lose a MKIV to a Stuart. Those dang Stuarts were proving to be tougher than the M-10's.


While Dave's Stuarts were doing a good job, his infantry in the woods were struggling to get into good postion.

The first time I played this scenario Dan's Partisans hit me with Molotov's and took out my CMG Half-Track. History would repeat itself...I hate Molotov's.

At least my squad under the half-track would be ok and would take down the Partisans in close combat.

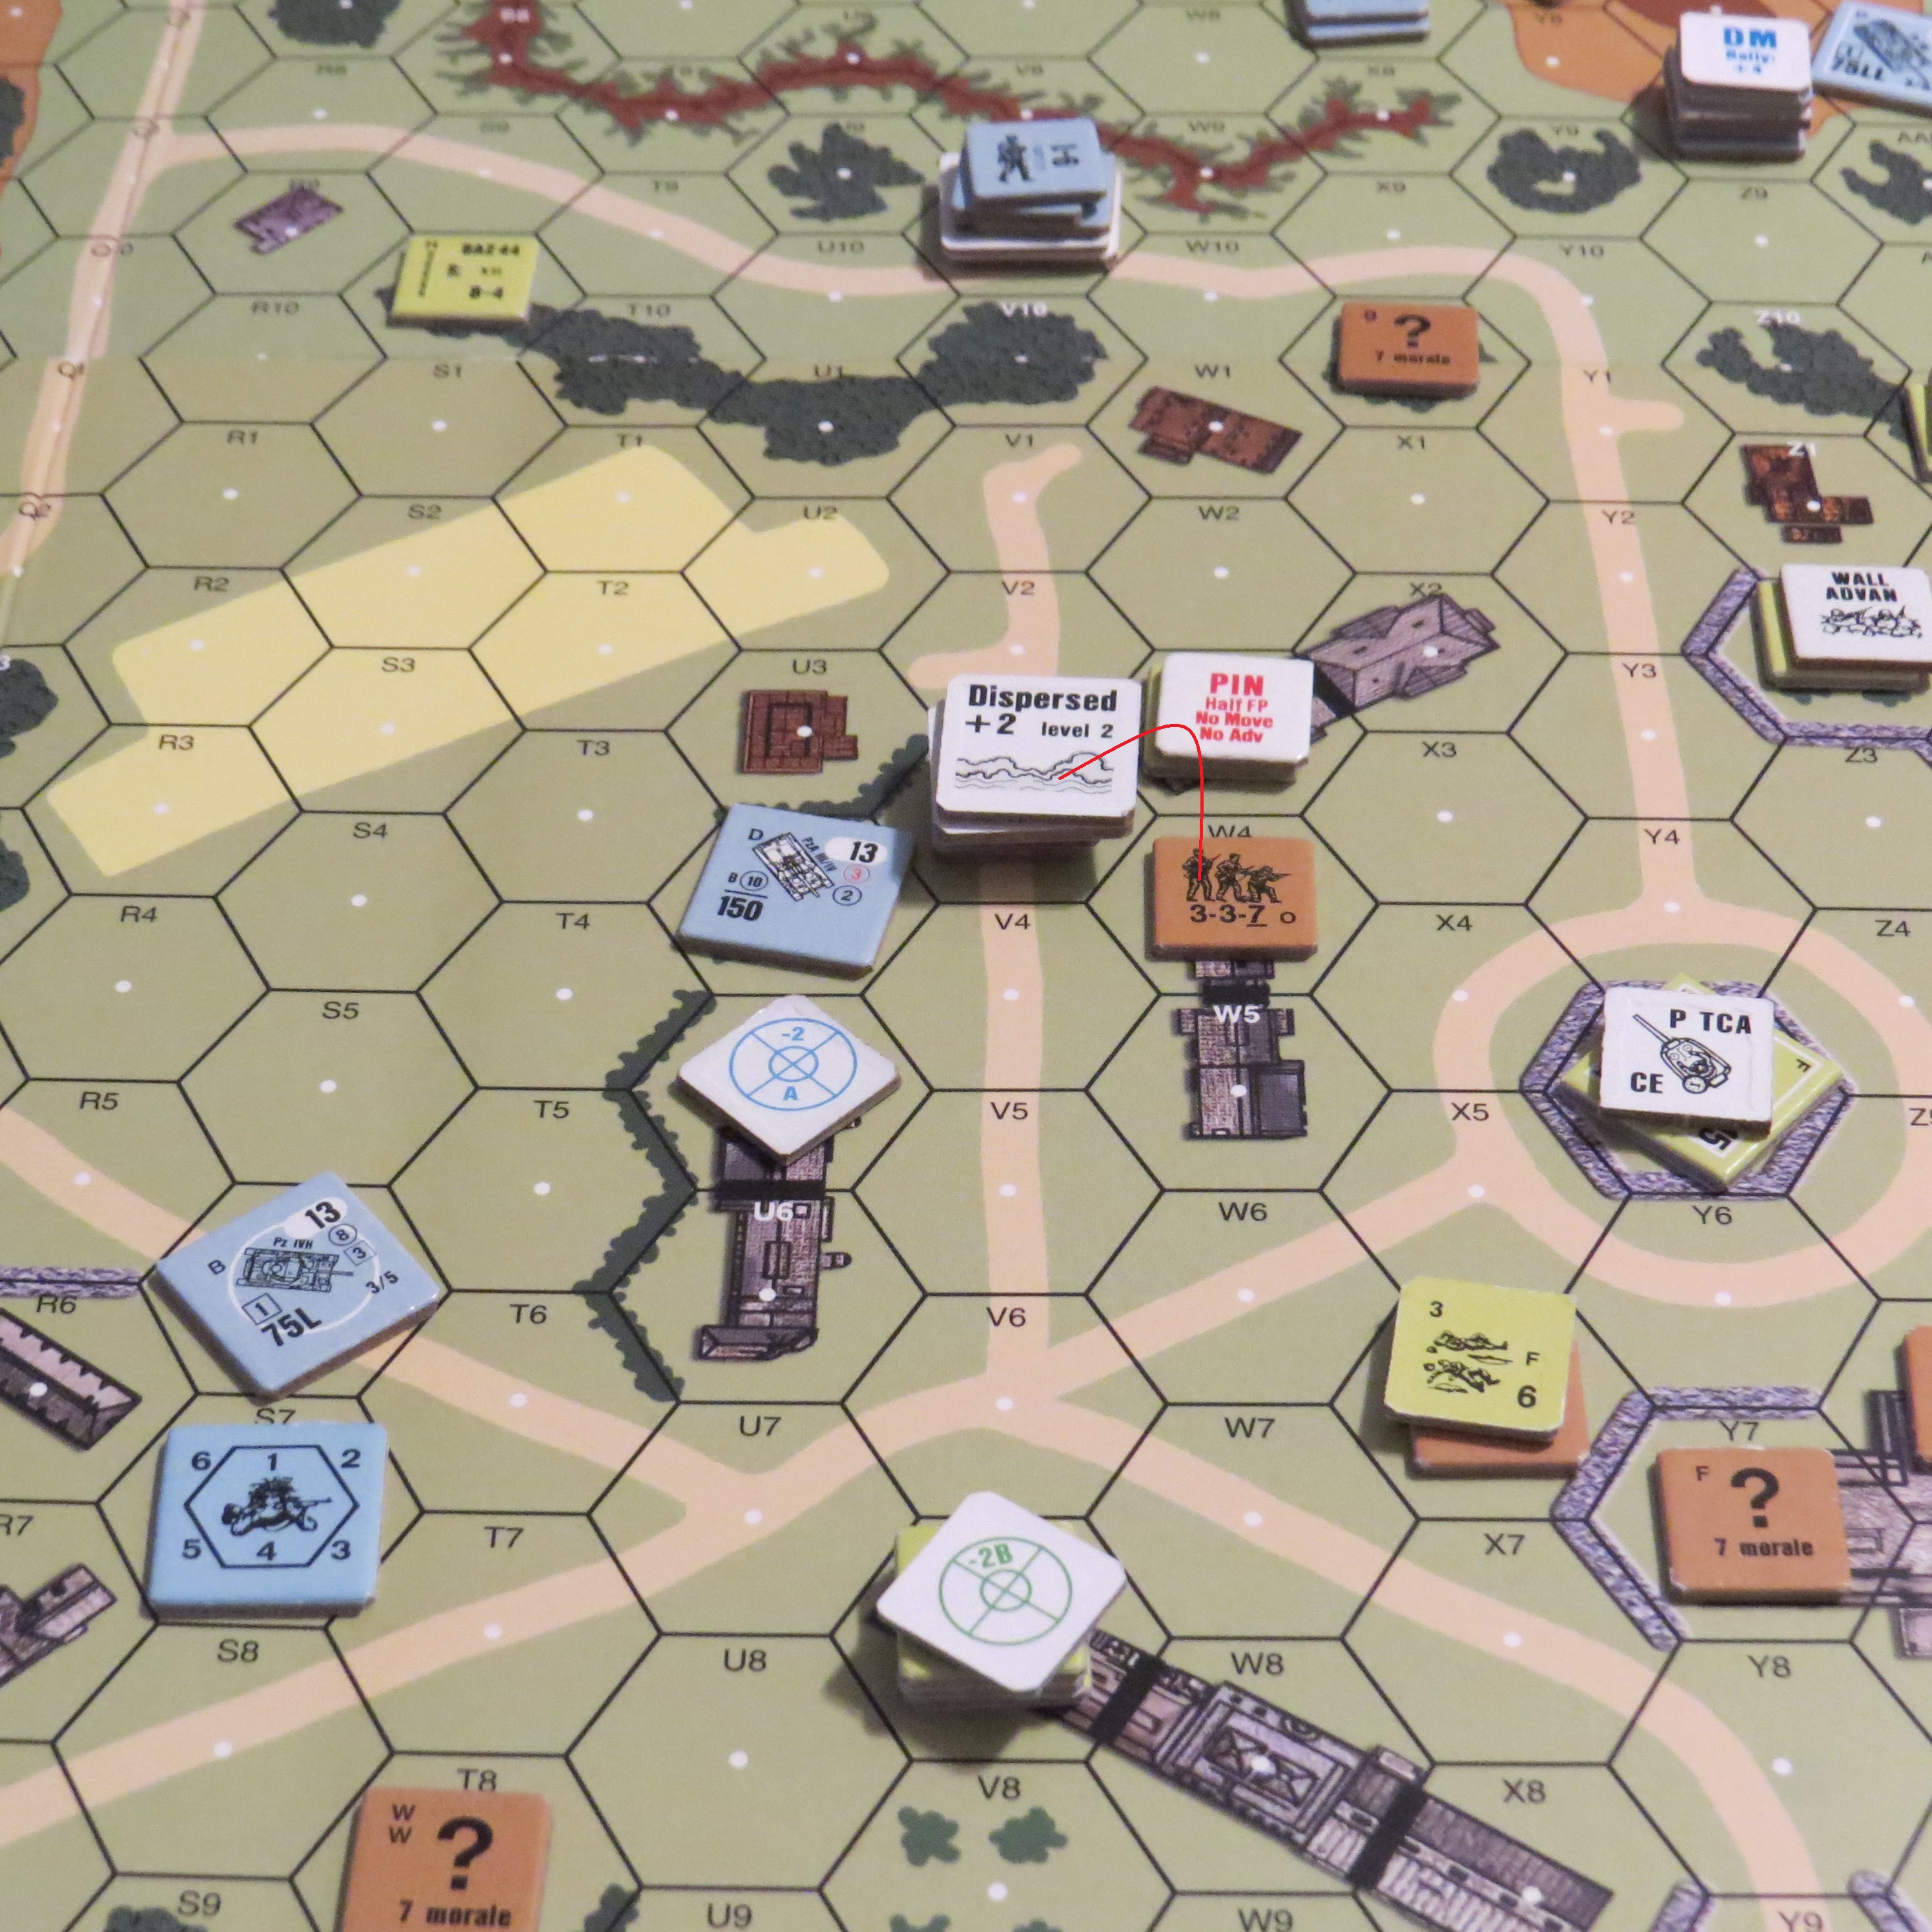
A look at the crazy German perimeter after four turns of game play.

Turn four would also see some locations taken by the Germans and my second Hummel would make a mistake and be destroyed by the M-10. I just totally forgot where I was and moved right in front of it with my rear facing it.

Now you might get away with that at the zoo...but not in ASL...no Sir...

Turn 4 - American --- Charge of the Stuart Brigade. I would try for two Panzerfausts...but apparently no one thought to pack them...so my Grenadiers just waved to the Stuart tanks as they sped past to kill my last MKIV.


Turn 5 -German - I sent my boys after the Stuart Tanks and started taking more locations. My two Panthers would stalk and destroy the remaining M-10...but then MALF a gun while trying to use my rate of fire shot.

Overall, I was pleased with my Panthers.

As my part of Turn 5 ended, the clock passed 10:30 PM. We had been playing for over five hours. We assessed where the Germans were at this stage. I had taken 9 Victory Locations...but needed 10 more. My infantry were degraded pretty badly and with only two moves left and there was the distinct likelihood that Dan and Dave would take away some of my locations. So we decided it was time for the Germans to call it and I did. Dan had effectively protected the Partisans and Dave's Americans did their job in slowing down and reducing my attack to the point that victory was out of reach. It had been a good game and hard fought by all. One of the things I like about playing Dan and Dave is that everyone wants to win and almost always plays their best to get the win. Dan and Dave played the scenario very well and I didn't do terrible, but I failed to move quickly in Turns 1 and 2 and give myself a better chance to win. But hey...there's always next time!

The Allies celebrate the win!

Dan and Dave celebrated their win by sending me
home empty handed...my thanks to Dan and Dave
for a great evening of ASL.
 And now for Dave's Post-Game Comments:
“Despite
some 12s early and often through the game on my part, the Americans delayed the
Germans enough that the Partisan force remained intact and making it very
difficult for the Germans to achieve victory, even though they got into the
village with some force on Turn 6. Both
mortars MLFed, one on its first shot, the other took out a halftrack before
going down. My bazookas were no help,
one scored a hit on a halftrack only to roll a 12 on the sure kill. However, I seemed to roll plenty of results
on infantry causing them to break or pin, thus not being able to move forward
as they needed to. My Stuart tanks
performed amazingly taking out both panzers and slowing down the infantry. Another great 3-player game with Scott and
Dan.”
And now for Dan's Post-Game Comments:
“The
plan worked. Only one Partisan squad was
lost and the rest were still hidden in the village. The Americans did most of the fighting with
one Partisan squad taking out a half track with a MOL. This scenario is a wild melee and a great
deal of fun. It is even more fun with
three players. My thanks to Grumble
Jones and Dave for playing with me. Even
if I played a boring game of skulking most of the time.”

That's all for now...Dan, Dave and I wish you all a great week ahead and let's all take a moment to remember June 6th, 1944.

Thanks for spending your valuable time at Grumble Jones. See you next time...
Wow .. that sounds really intense. Extra kudos to Dave for hanging on when things went malf'ing left and right. I haven't done too many 3 player games but this one looks like a great choice. Thanks for the write up!! Rgds Jack
ReplyDelete