

For our next Saturday matchup, it was my turn to choose scenarios. I selected OA20 The Revenge of the Greys (designed by Andrew Rogers). This is one of three scenarios covering the same action. The other two are OA19 The Queen's Prequel and OA21 Gunter Strikes Back. I had played the other two and was eager to play the middle scenario. The scenario covers the fighting for Montecorvino, Italy on September 9, 1943. The primary objective of Montecorvino was the Luftwaffe forward airfield. Allied aircraft needed the strip in order to provide close support for the Allied push inland from Salerno.


The scenario special rules call for the placement of wrecked German aircraft beside the runway. These are rolled for and placed either as no wreck, a wreck, and a burning wreck. Smoke would definitely be in play for this scenario and particularly so after a snake eyes on th wind change. We would end up with a whole lot of smoke.
The Germans would not be able to check for Panzerfausts, which would be a major plus for the British.
On the downside for the British, the single German Stug III would get to set up HIP.

After rolling for sides, Dan would end up with the Germans and would be the scenario defender. He would have to hang on the buildings at the airfield. The building in 14H9 would be the primary objective. But...the British Player would need to also control two additional building adjacent to the runway. I mention this...well...because both Dan and I would miss that bit about the two extra buildings.
The Germans would be members of the Batallion II, Panzergrenadier-Regiment 10. Dan's force would consist of 1 x 5-4-8, 3 x 4-6-7's, 1 x 4-4-7's, 1 x 2-4-8, and 1x 2-2-8's led by a 9-1, 8-0 with an LMG, 50 MTR and 1 x20L AA Gun and 1 X 75L Stug III. Not a stellar force, but Dan would deploy them very well in the coming battle.

As the scenario attacker, I would be commanding the British 2nd/6th Queen's Royal Regiment, 169th Brigade and tanks of the Scots Greys. (these tanks are supposed to enter on Turn 1...as you will see...I had them set up on the map. Dan and I must both have been distracted last night...cause we messed this scenario up pretty good!!!). I may have to check m own glasses....not sure how I missed so many rules last night. As for the Queen's Royal Regiment...these fellas go back a long way. Initially raised in 1661. Wow...hard to believe the long history associated with some of the British formations.

My force would consist of 2 x 4-5-8's, 6 x4-5-7's, led by a 9-1, 8-1, with 2 x LMG's, a 51 MTR, and 2 x Piats. My tankers would consist of 2 x 75* Sherman Tanks with a 9-1 Armor Leader. A fairly strong force, but I would have liked a couple more squads just for good measure. By the end of the scenario, I would definitely have needed them.

As noted earlier, you will see that I set up with my tanks already on the board. I still can't believe I messed that up. This would definitely cause the game to be played differently...so this AAR won't be accurate to the scenario setup requirements.

"I know that's right..."

Ok..so here we go! I went with an armored assault with my Shermans. I also had a squad of 4-5-7's on each of the Shermans as riders. Dan would reveal the location of the Stug III and roll snake eyes on the to hit roll. In an instant, my Sherman was burning, a 4-5-7 was KIA'd and my 9-1 Armor Leader was gone. UGH!!! First roll of the game...

Talk about an immediate 5 point drop in personal ELR!!! I felt like the 1987 stock market and my stock was nose diving!!!!
But...I tried to think of nice things..unicorns, daffodils...pumpkins in the fall and
this....

I danced around a bit and regained my composure and kept my attack rolling!!!! I figured I still had a chance and why not...I wasn't even playing the scenario right to begin with!!!

Despite my early loss, I did manage to get my boys into my first turn objective area.


At the start of Turn 2, I would snake the wind change and a mild breeze would result. Now the smoke would really impact the game!


My plan from the start of the scenario, was to go for a trail break and go through the woods right at the H9 building hex. Keep in mind...at this point (and throughout the game) I only thought I had to take that building to win the game. The good news...so did Dan!!!

I rarely....rarely try to bull my way through the woods with a tank. Historically, I've been very unsuccessful in my attempts. But, with one tank gone and the Stug covering the right flank...I had to go big or go home. So I went right into the woods...rolled my bog check...SNAKE EYES!! YEAH BABY!!!


My Sherman managed to DM the Germans in their front and this opened up the front door for my boys to go towards the H9 building. The Germans in the building were broken. But the Stug had other plans and fired away. Some of my boys broke, but my 9-1 went Berserk and took a squad with him.

This game was just going bananas as Dan and I continued to trade snake eyes...and yes...it was a wildly fun game!!!

My berserk 9-1 would be wounded at least three times and do a fantastic job until his final demise.

ASL at its best.

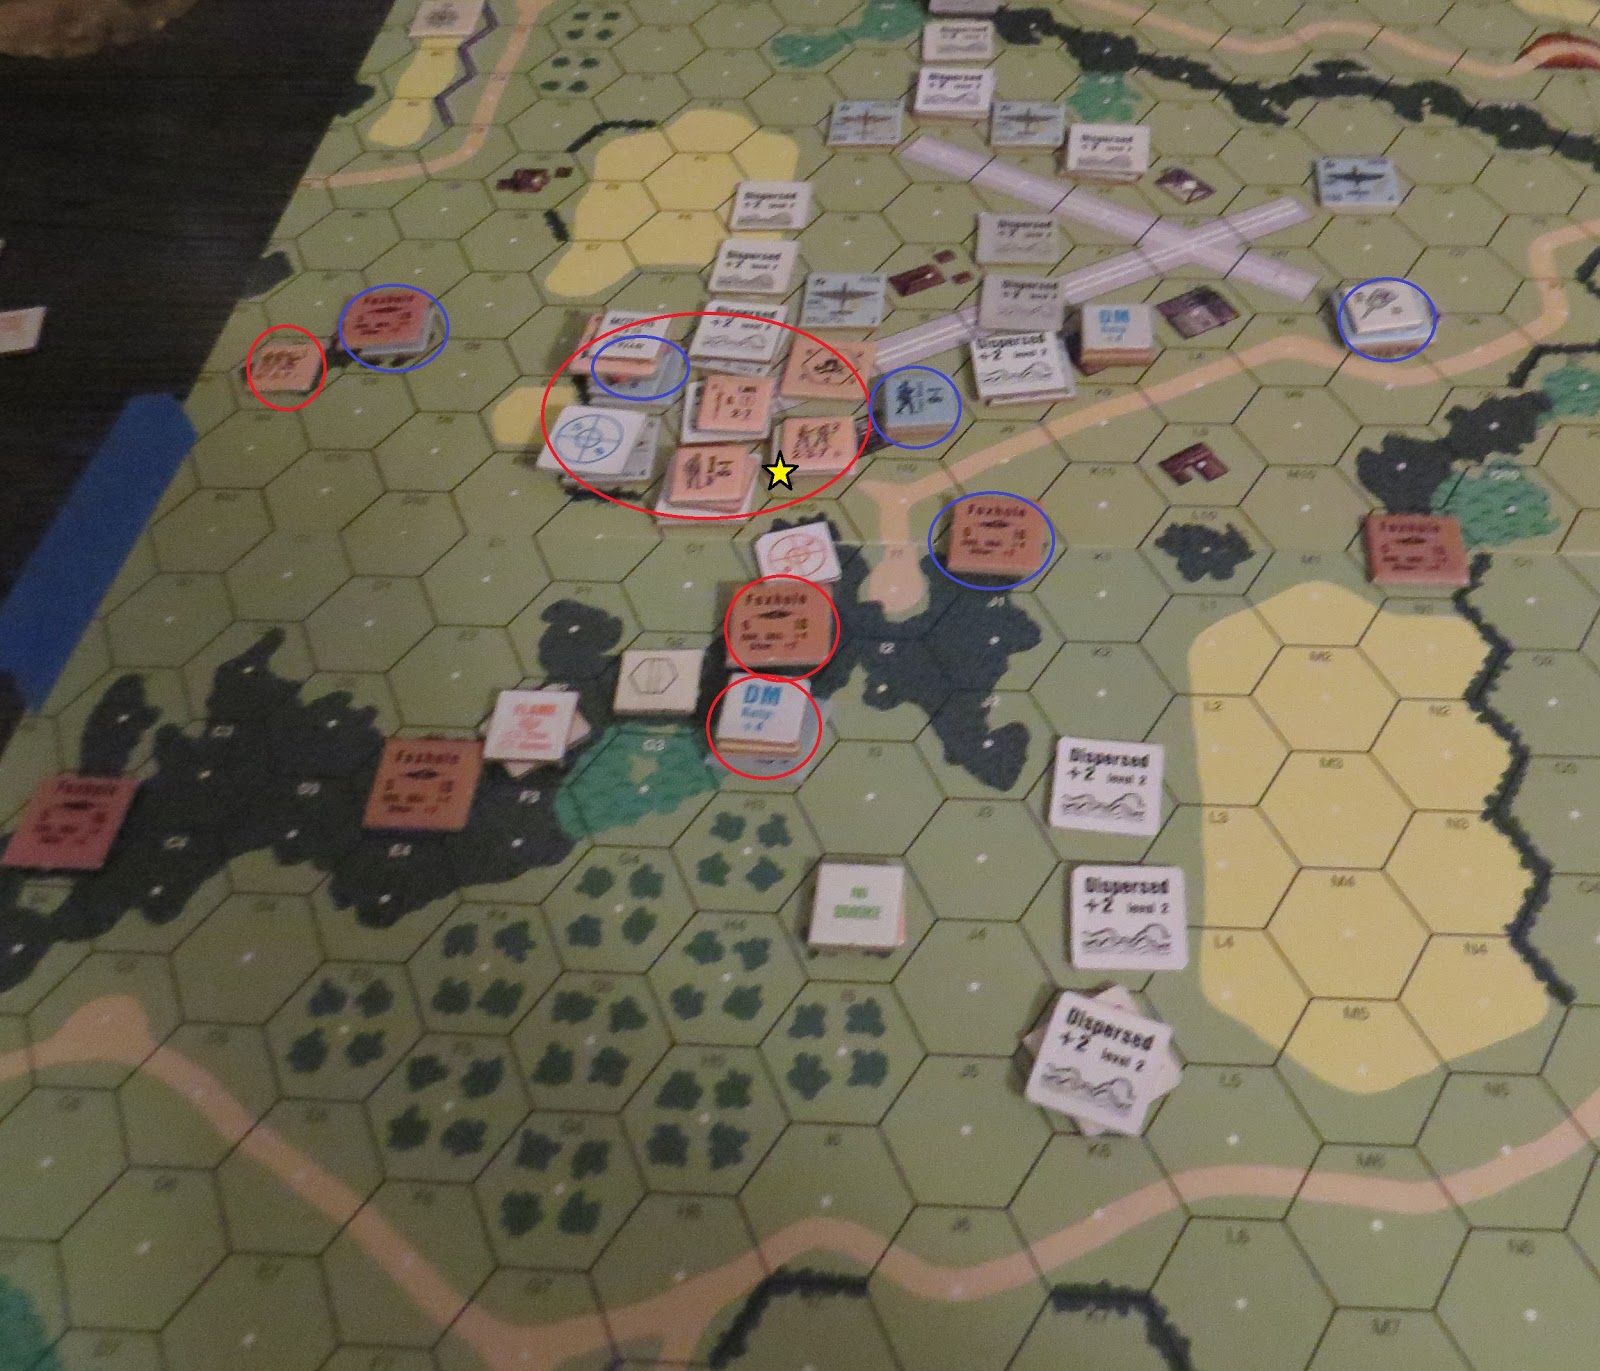
A look at the relative positions as we neared the end of Turn 3.

Unbelievably, I had my first control of the victory building H9.

I tried to pipeline more of my boys into position.

The German counter-attack was vicious and quickly evicted me from the victory hex. Dan's boys were once again in charge.

Dan's 9-1 would rally the troops and keep his grenadiers in the fight!

Despite the German counter-strike...I pushed ahead hard and fast. My Sherman moved up and found itself adjacent to the German 20L AA Gun. It peppered my Sherman in an attempt to immobilize it!


My Sherman attempted an overrun on the 20L AA gun, but couldn't get it done. One of my 2-4-7's would ultimately lock the AA Gun in Melee, as the rest of my boys went full steam ahead.

Both Dan and I were hurting each other pretty badly. We were both dying by the half-squad in a deadly brawl to the finish.


The end of Turn 3 and Dan's prepared to move his boys for the next counter-attack. And keep in mind...we both thought the H9 building was the only objective.

"I say chaps...take the building in Hex H9 and we bloody well win this game!"

"Die Englanders are trying to capture the building in Hex H9. It must be the victory location! We must not lose it. Hold it at all costs!"

Dan's Stug III was not content to sit idly by and let my surviving Sherman have its way. So it came at me hard and tried to take me down. Thank goodness I was still in motion at the time!!!


Dan's mortar team also moved and went into CC with my 4-5-7 on the left flank. My 4-5-7 would prevail.

Turn 4...I launched my next move to try and secure the H9 Building and the win. My Sherman gunned the engine and rolled right into the Stug's hex...the Stug fired and missed and I was gone baby gone!!!


The scene as we headed into the bottom of Turn 4.

In his part of Turn 4 - Dan moved the Stug after my escaping Sherman. It caught up to it and destroyed it.

My final Sherman bit the dust.
In Turn 5, I Prep-Fired the German 9-1 and 5-4-8 in the H9 Building...and they both broke. Dan and I both sighed and called it game over and a British Victory.
But wait a minute...as I was completing my research for the AAR I double-checked the map for the scenario on The ASL SCENARIO ARCHIVE (my favorite ASL site!). And lo and behold...I saw V's on all the buildings adjacent to the runway. OH NO!!...I did not win the scenario....Dan's boys had managed to keep me from taking any other buildings and therefore...Dan's Germans had the win!!!


I would too...but I don't think Steve Harvey plays ASL....does he...??

Yeah...in an alternate reality...I would have won the game...
but congrats to Dan on a great win. This scenario was a blast to play. Aggressive...risk-taking play by us both produced a an epically fun game.
Dan and I will be back next week for a playing of Critical Hit Scenario CH11 Rite of Passage! Then we'll be on a break as we will both be attending the Kanas City ASL Club's March Madness Tournament on March 16th-18th.

Hi from Down Under (Canberra, Australia). It appears you had fun with a scenario of mine, "Revenge of the Greys". I hope you have as much fun with the Flames in Hatten module I designed that MMP appears to be publishing ('in the near future'!). I look forward to your entertaining breakdown of the Hatten scenarios should you purchase the HASL module. Fun-fact ... I designed the original Hatten map during odd moments of 'down-time' in Afghanistan in 2012. Regards, Andy Rogers
ReplyDeleteAndy, I enjoyed all three of the scenarios. They all played out to the bitter end. A lot of folks are looking forward to the release of the HATTEN HASL. And you can bet, we'll do an AAR on Grumble Jones at the first opportunity! Thanks for your note and for spending time here at Grumble Jones.
Delete