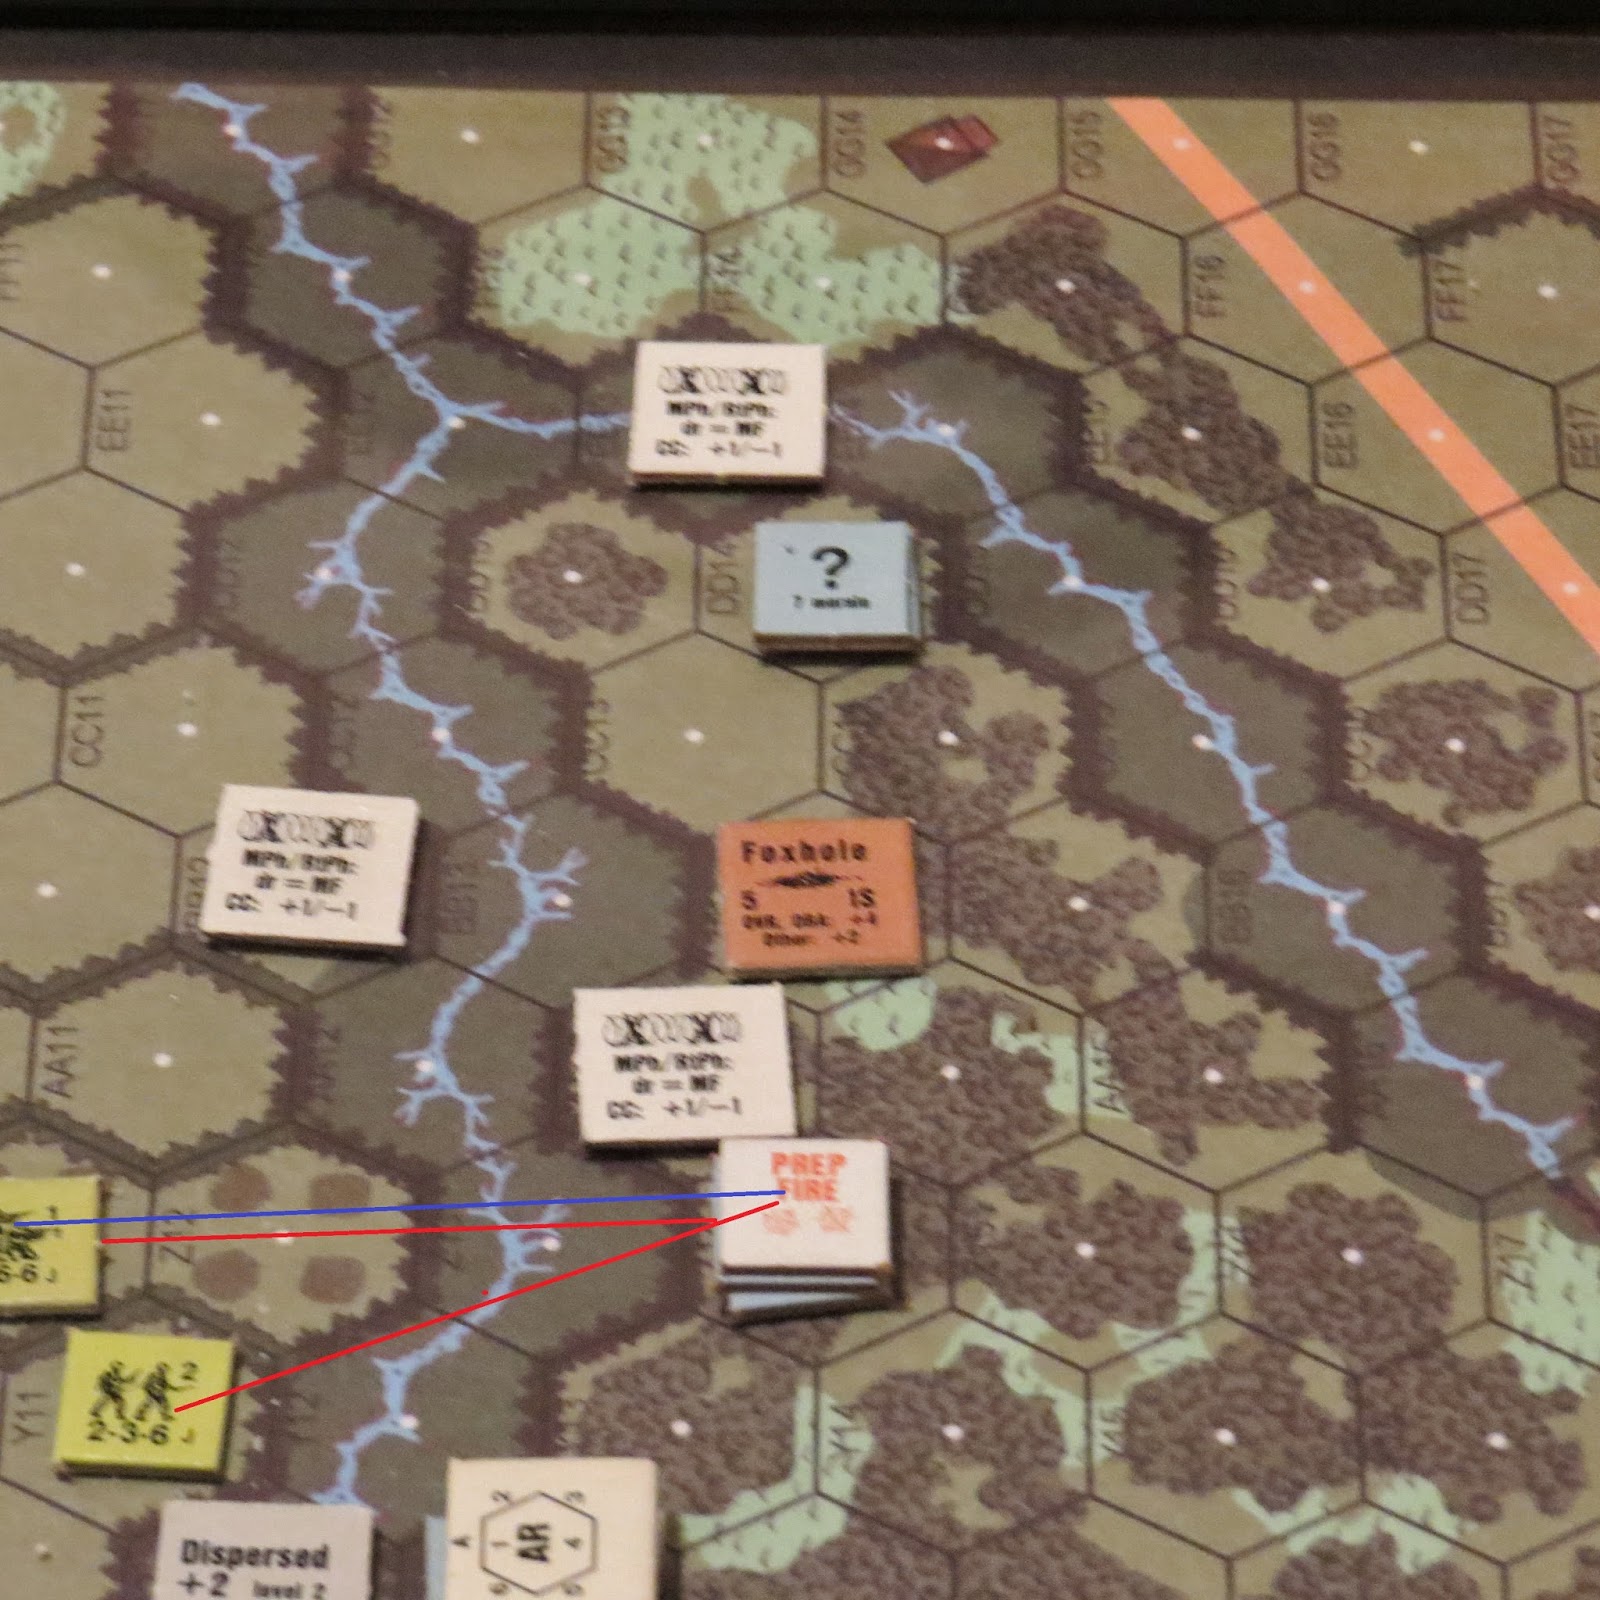
Friday night's game was the continuation of the Purple Heart Draw CG 0930 Hours Turns 3 and 4. And like Turns 1 and 2, it was a night of back and forth...seesaw action that left both sides wondering who would prevail in the bloody bocage of Purple Heart Draw.
On the American side, the US infantry would press forward despite losses, barb wire, impassable bocage and the relentless chattering of MG-42's. They would be the heart and soul of the American attack.
As for my boys, they would hang tough through two very difficult turns of ASL combat.
My opponent, Big Kansas never wastes time. His men began their assault in earnest. The right flank would once again bear the brunt of the US assault.
Back at the bridge, my 8cm Mortar went to work on the US forces across the draw.
Unfortunately, the mortar was all bark and no bite. I couldn't get rate and couldn't hit with most of the shots.
May have to rethink buying another one down the road.
May have to rethink buying another one down the road.
The US smoke in the center would be gone by the time movement phase came along. The US troops moved quickly towards my Alamo position, but the US squads near the west edge remained hung up on the wire for both Turn 3 and Turn 4. A lucky break for my Fallschirmjaeger.
Another look at the US position. Big Kansas' strongest force was still in the vicinity of my Alamo.
I had tried hard to keep distance between myself and the Americans. Unfortunately I couldn't stop a 6-6-6 that moved into F15. These GI's would go on to seal the fate of my Alamo position.
My boys in E15 would break and then be captured. Yet another 10 Germans into the POW Cage.
Some tough hombres...
The US did suffer some losses as the 7-4-7 jumped into the E15 hex, they would be cut down leaving their two demo charges lying in the field.
Demo charges definitely have value in the bocage...so the Americans would reclaim them by the end of Turn 4.
The bogged Sherman attempted to extract itself and rolled too high...it looked like it would be mired...then we realized that the 8-1 tank commander could use his leadership to affect the bog attempt. And just like that, the Sherman's engines roared back to life and it moved into L19. The Germans could only wonder who was driving that tank...hmmm....
NPH...I should've known!!!
Now one of the key aspects of fighting in bocage is the need to control wall advantage. Hex N17 would be occupied by the Amis and provide me with a real headache. My boys would end up in O17 and then P16, both would have wall advantage to O16, but the US squad that moved into N17 would have wall advantage over O17 due to the level 1 hill that they were on. AND NO...I hadn't realized that would happen. So suffice to say, my O17 boys would have to move into P17 at first opportunity. Learn my from errors young Padawans...
Yes there are...
Back at the bridge, my paras were firing what may well be the last German shots in this part of the map for the remainder of the CG...and yes...there were entirely ineffective.
As things rapidly went from bad to total crap...my boys in the Alamo made a break for the high ground. Live to fight another day...eh wot!?!
Schnell Hase...Schnell
My boys in DD13 began to bug out as well. My time in this area was up and it was time to move back. Now Big Kansas...take note of the wire in the draw...not sure you had seen that yet...but now you know...
My 8cm Mortar continued to pretend to hit the Amis...and failed pretty much entirely.
My Q13 Panzerschreck got the shot of the day, when it managed to hit the hull down Sherman in N12.
And that kill would the be the 5th Sherman lost so far in the CG. The bocage is proving yet again to be tailor made for Panzerschrecks and Panzerfausts.
The mild breeze that is still in effect quickly spread the smoke from the burning Sherman.
A look at the German positions following the Turn 3 US moves.
On the US side, the US Forward Observer would finally unleash the artillery that would crush my forces defending the bridge. An American 5-4-6 would also become DM'd, but a small price to pay for eliminating my blocking force at the bridge.
Battery..."Red Card or Black Card...c'mon what's the deal!?!"
"Black card baby...FFE time in the Bocage!!!"
My boys can only watch as the rounds walk towards them!
Critical hit on the gun and that was all she wrote...PAK 40 gone...
The US 6-6-6 in F15 became the can opener that successfully forced my Paras to yield their Alamo. My HMG couldn't break them and then the US 8-0 with the flamethrower strapped to his back forced them to rout.
Even as my Alamo position began to crumble, my efforts along the Q row were going much better. And a hero managed to join the German effort!
Over the past couple of years of playing ASL, I have really begun to appreciate the value of Heroes in the game.
Looking for big things from this dude in Turn 5.
Now up to Turn 4, my 2nd Pak 40 had remained hidden in J20 awaiting the
chance to fire at the bogged Sherman if it attempted to venture up the
road. But instead, Big Kansas had a 6-6-7 move adjacent to the AT-Gun to
DM a broken half-squad that was hiding in J20. They were caught
completely by surprise and took a devastating hit from the AT-Gun, which
broke them and left 12 residual in the hex.
The element of surprise for my gun is lost now...so it was actually good luck for the Americans to have discovered the gun without losing yet another Sherman in the process.
Back at the Alamo, the Americans moved in to mop up my 50L AT-Gun and some broken crews.
The Americans in C16 threw out some smoke grenades and made the move into D17.
The German sniper was active in both Turns 3 and 4.
A look at the opposing positions as the US phase of Turn 4 concluded.
In Turn 4, my Paras were able to get up the hill and organize a new defense with the objective of holding the I19-H20 crossroad.
Another success for the Germans came during the firefight with US forces in O16. Here an American 7-4-7 was housed. They had earlier rolled an 11 on their first attempt to fire a flamethrower, which X'd it out of the game. At any rate, my forces in O17 and P14 were able to break them out of the building and mainntain wall avantage.
My failure to stop the US 5-4-6 would have dire consequences as they routed my 8cm mortar crew.
The conclusion of Turn 4. The Americans have cleared the Alamo and eliminated the core of my defenses at the bridge. All in all two pretty productive turns for the Americans.
Nice job Amis...you know you did it...
So know my 9-1 with the HMG has the job of holding the entire right flank...
Nice job Amis...you know you did it...
So know my 9-1 with the HMG has the job of holding the entire right flank...
He's got a big task ahead of him as we head into Turn 5.
So he will begin his planning and ask himself...
Indeed....


Seems a bunch of swings there, your defence has took a big hit with the bridge force gone but you seem to have bled him some
ReplyDeleteIan
Great story!
ReplyDeleteThanks Gents!!!
ReplyDelete