Friday night's game was the start of the Purple Heart Draw CG Turn 0930 Hours. The 0600 Turn had ended with the Americans on the other side of the Draw on the right flank. As the Germans, I agonized over what reinforcements to purchase and what fortifications to place in the path of the onrushing Americans. The wrong decisions on this turn may prove to be critical in determining who wins this CG.
My boys made ready to hold the Bocage!
After a short pause...the Americans were ready to charge forward!
Just a quick note about the pictures for the Purple Heart Draw AAR's. You may have noticed there aren't a lot of big shots of the entire map board.
This is to keep safe the hiding places for a few of my Teutonic Surprises for the Amis.
So...shhh...what they don't know can hurt them...with the right rolls!!! Muhahahaahaa....
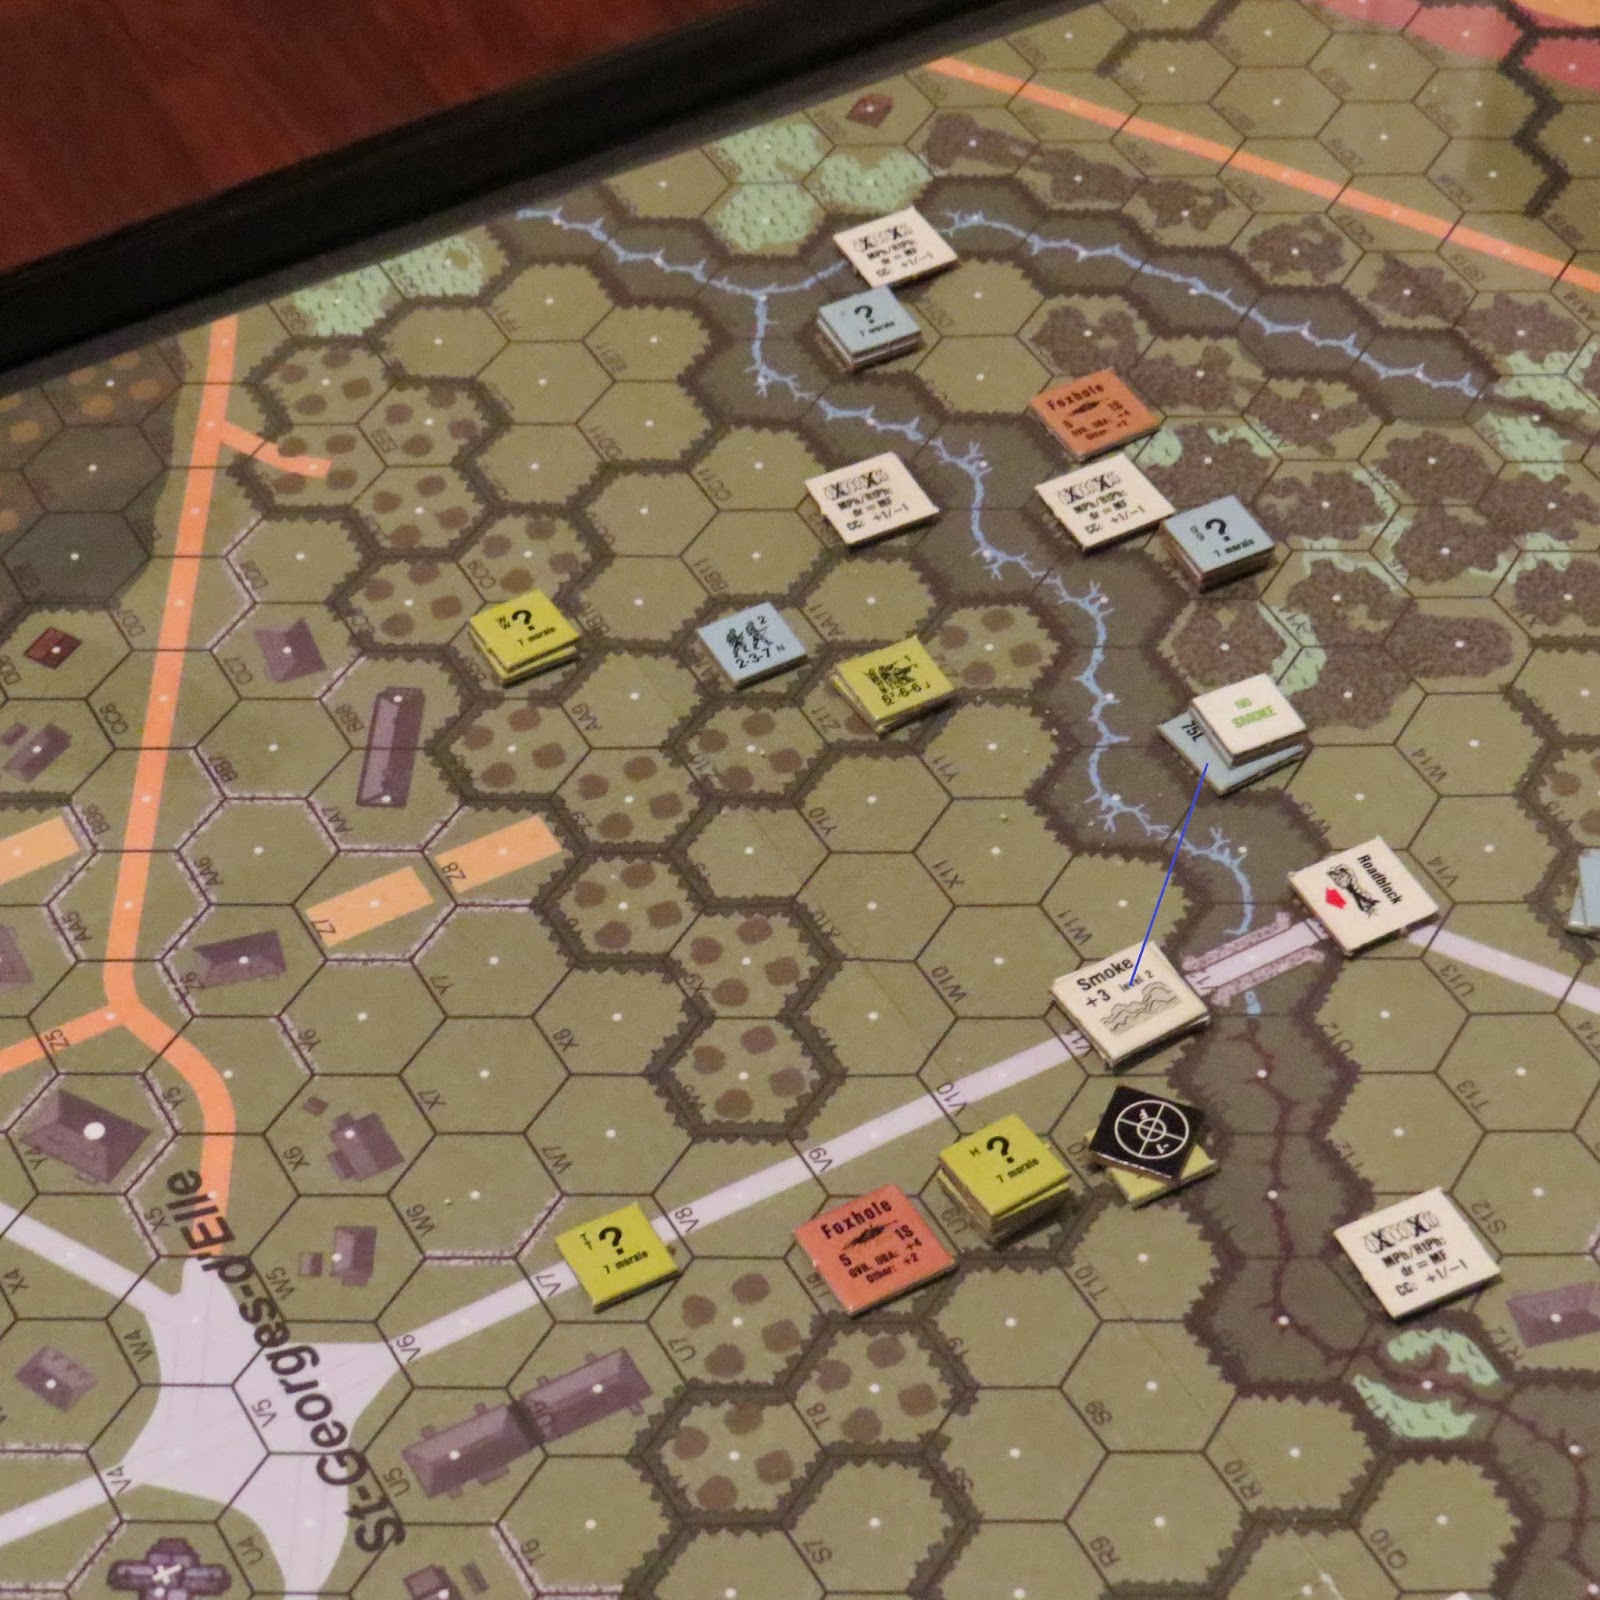
A quick look at the initial deployments before the Americans began moving. Note the question marks in the Northwest. These are cloaked reinforcements. It can be assumed that they will join the fight and head towards whatever penetration is effected on my lines.
The US added two additional Shermans to their forces in the center. UGH!!!
These bad boys scare me on Turn 2, as they could make some serious penetrations in my lines.
Back at the bridge, there were only a few additional Americans. I certainly expect them to go for the bridge...but I have a neighborhood watch in the area...so be careful Amis!!!
The battle began in earnest as US Artillery came down on Pre-Registered Hexes...that happened to be home to my Fallshirmjaegers...
Just like that Smoke blanketed my forward HMG positions. DRATS!!!!
It was a great move that blinded my boys but good.
Unbeknownst to my opponent, Big Kansas, I had once again invested heavily in wire and created a maze for his troops to navigate. I established routes through the wire for my boys to retreat back into the bocage and let the Amis walk into my fire lanes. It seemed like a good plan..
My boys were safe in their Bocage Forts...for the time being at least...
Back at the bridge, the Americans began their moves forward. My hafl-squad that led a merry game of cat and mouse in the 0600 Turn was back at it for the 0930 Turn.
Back at the center, the American Shermans moved forward with solid infantry support. The smoke all but eliminated any chance to fire at the infantry. Only my boys in the M14 building were able to DM some of the Americans as they rushed towards the building.
The Americans really laid on the fire at the M14 hex from behind the orchard walls. It would prove to be very effective.
The German line.
As the Shermans came forward, my hidden Pak 38 waited patiently for the Shermans to emerge from the smoke. I went for APCR and success got it!! I fired and missed. I didn't keep rate...and briefly contemplated going for intensive fire...but decided against it. I would wait for Prep Fire.
Back at the bridge my PAK 40 fired at the US infantry in the stone house at U9...but didn't have any effect.
As the Americans surged forward, my Germans retreated as planned to my little Alamo position. I positioned my other HMG with a 9-1 officer in F19 to cover the road. I knew the Americans would eventually cross it as they looked to flank my forces.
At the start of Turn 2...the weather took a change for the weird as Big Kansas rolled snake eyes and a mild breeze showed up.
Great....more smoke...exactly not what I needed!!!!
Now we pause this AAR for a moment. As I stated many days ago, I would introduce Lt. John Hill into our game when an American 9-1 showed up. And here he is...from my 1978 Squad Leader kit.
So let's take a moment to remember John Hill and thank him for sharing his creative talents which resulted in the finest tactical level wargame ever made.
So Mr. John Hill, this AAR blogpost is done in your honor.
Rest in Peace John Hill.
Back to France we go and to the fierce fighting in the Bocage. The US continued their advance and utilized Demo Charges to clear breaches in the Bocage. And as expected the first Americans crossed onto the road.
My HMG opened up....but what would my roll be...
My boys watched the spinning dice...but drats...I rolled too high...the Amis would escape destruction!!!
Back at the M14 House....things just went from bad to worse. The Americans entered the house and would capture the squad on level 1.
More of my boys headed for the Prisoner cage.
Led by Lt. Hill, the Americans made good progress in the farm complex.
The pockets of US forces were driving forward successfully. I was trying hard to keep my Paras out of arms length and range of the flamethrower.
One of the successes for my Paras came when one of the Shermans was successfully shocked then became an unconfirmed kill and was then eliminated.
The Americans continued their movement and my HMG with the 9-1 was forced to abandon the road and set up shop in the Bocage.
Back in the center, Lt. Hill's forces secured the M14 House and reorganized for movement in Turn 3. The Sherman that had moved the furthest South bogged itself trying to cross the Bocage. But for the moment it marks the limit of the American penetration at the end of Turn 2.
Back at the bridge, the American Artillery Observer had moved into the V7 hex to direct more arty on my Paras. My Pak 40 successfully put some smoke in his way.
The German positions at the conclusion of Turn 2. The Americans are driving in the center and making a strong push to flank me on the right again.
I reckon ol' Ulysses would be right proud of those flanking maneuvers.
Whew...another AAR in the can...wears a fella out sometimes...


.jpg)


Looks like your catching no breaks, even the wind hates you!
ReplyDeleteIan
Yes and no...at least it didn't blow over my Alamo group...that would have been disastrous.
Delete