Canadian troops inspecting the rubbled bridge at Zutphen, the Netherlands.
I selected the southern bridge for the rubbled bridge. My thinking here was to force the Canadian armor to go through the more urban northern map, where my Panzerfausts and ATM's could be used to greater effect. My 37L AA gun set up HIP to protect this potential crossing. After two turns, they have done a good job of pushing back the attacking Canadians. The German sniper managed to break two squads and was generally a severe nuisance as my opponent rolled a string of 4's.
In the far south I set up my primary infantry / MG mix in order to keep the Canadians from massing for a crossing in this area. So far so good, but Turn 4 the Canadians get a Crocodile and I certainly don't want to be too close to that beast.
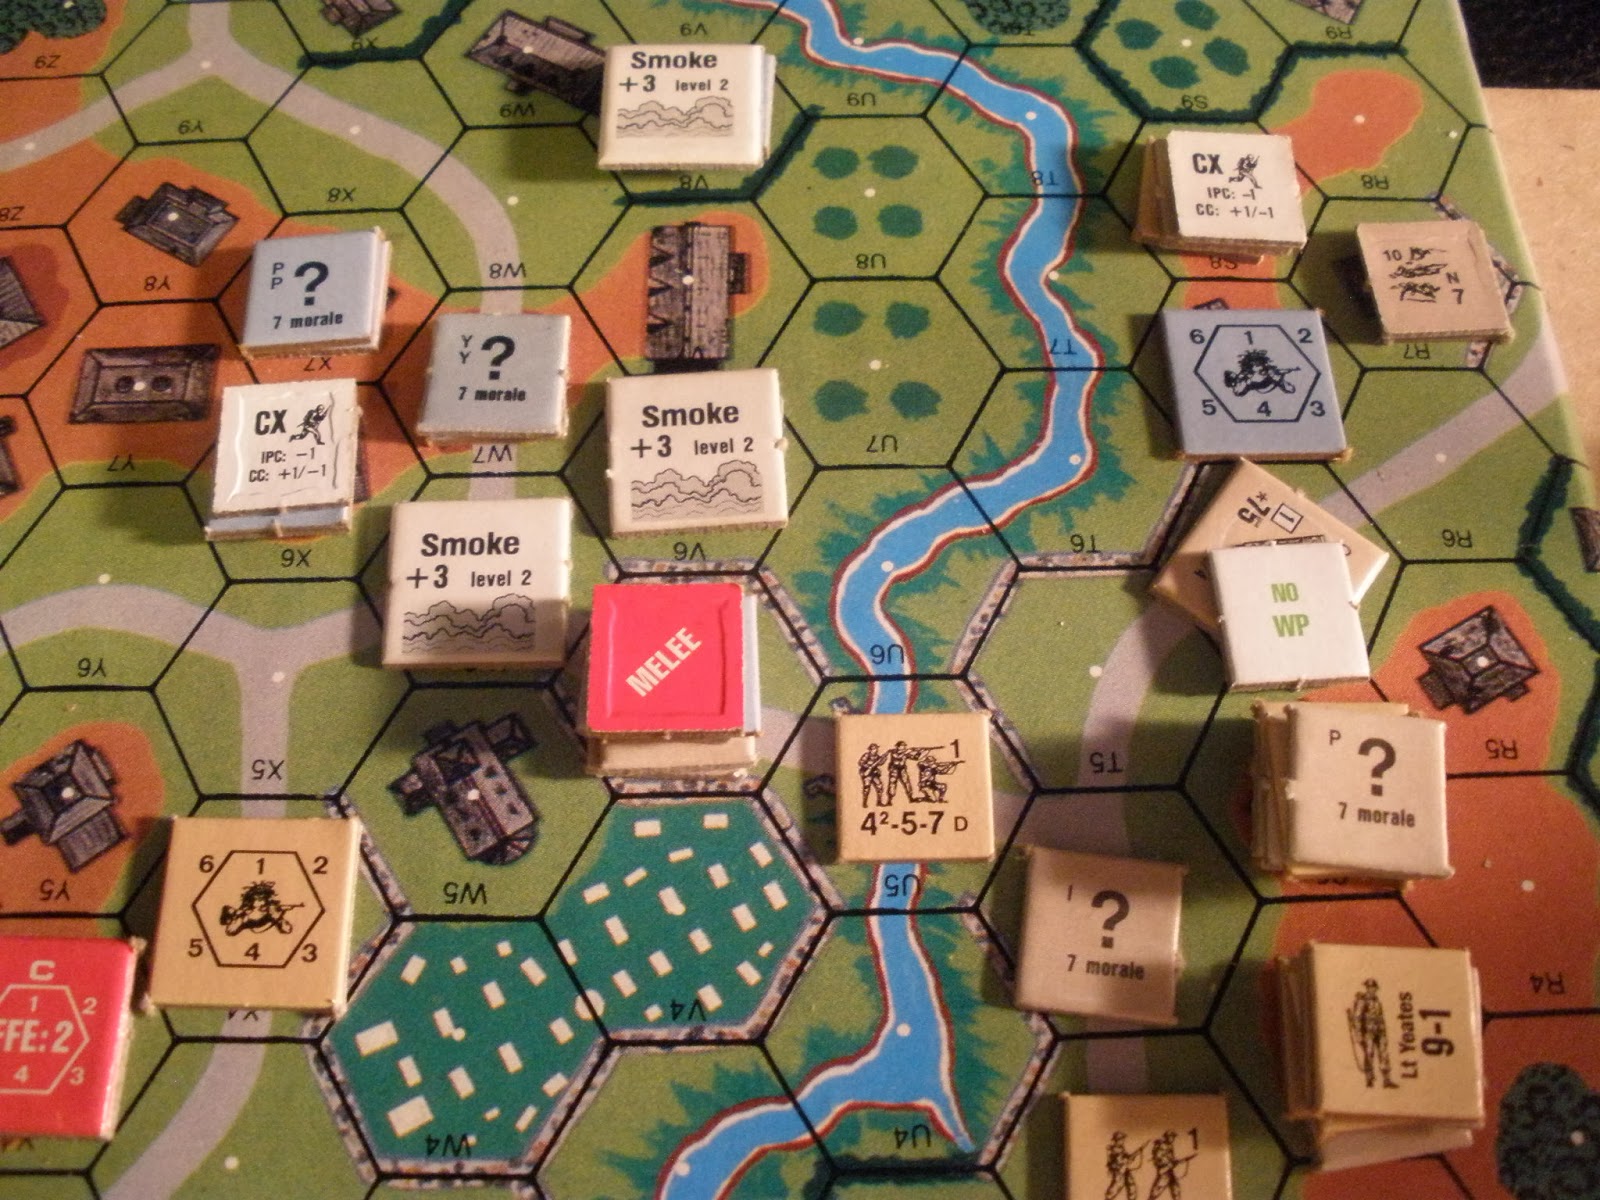
The Canadians smoked the rubbled bridge and made an assault towards it. The German 37L AA gun managed to force them back.
In the north, the Canadians smoked several hexes and the OBA landed directly on the W5 hex. The Canadians had one squad that ran across the bridge and into the OBA and survived unscathed from a 14-2 IFT. The Germans responded by jumping into close combat with the single Canadian 4-5-7 and they are currently wrapped up in a Melee that may help block the end of the bridge for another turn.
The Canadians have two primary firing positions made up of 2 x LMG's and 3 x 4-5-7's each. They are working hard to open up the bridge for the remaining infantry and tanks to cross.
The German 75L was spotted by the Canadians as they crossed the bridge. It has yet to fire and will now be a sought after target for the artillery spotter. We shall see what Turn 3 brings next Friday!


No comments:
Post a Comment