
October has continued to be a very good one for ASL Dan Best and I would play another double-header with Rally Point and March Madness scenarios. Seelowe Heights and the Ardennes would be on the docket. Late-War scenarios remain my favorites to play.

Our first game, played on Friday, would be Rally Point 101 Kibizhov's Kibosh. Designed by Evan Sherry, this is a great scenario situated at Seelowe Heights.
Rally Point II Heroes and Knights is truly an awesome pack. The scenarios are all focused on the heroic actions of both Axis and Allied figures. The Hero in our game would be Sergeant Alexander Kibizhov. Kibizhov would successfully lead his SU-100 during the fighting and knock out several German tanks and tank destroyers.
It's rare to play a scenario that features a prominent Soviet Hero. We all know far more about German tank aces. So kudos Evan Sherry for bringing Alexander's story to our attention.
ROAR has this scenario with 10 German and 7 Russian wins. Comments seem to focus on the danger posed by the German Jagdpanzer IV's Their high caliber gun, low profile and excellent frontal army make them a challenging opponent. Matching Alexander's feat won't be easy.

The maps for this scenario are well thought out and a unique combination. Such configurations speak volumes about the incredible flexibility of ASL maps.

As the Russian Player, I would command elements of the 27th Guards Motorized Rifle Regiment, 40th Guards Tank Regiment and 1454th SU Regiment. My force would consist of 6 x 4-5-8's, and 7 x 4-4-7's led by a 9-1, 8-1, and 8-0 with 6 x LMG's, an ATR, an 8-1 Armor Leader, 2 x T-34/85's, and 4 x SU-100's.

As the German Player, Dan would command Bataillon 3, Panzergrenadier Regiment 90, Panzer Division 20. Dan's force would consist of 9 x 4-6-8's and 3 x 4-6-7's led by a 9-2, 9-1, 8-1 and 8-0 with 2 x MMG's, 2 x LMG's, 2 x Panzerschrecks, 3 x Halftracks, 3 x MKIV's and 3 x Jagdpanzer IV's.

And now for Dan's Pre-Game Comments:
"The Germans must link up and exit in this scenario. The plan will be for each halftrack to be loaded with three VP of troops and while the 9-2 and 8-1 lead ground troops toward the exit. Hopefully, the blocking troops can hold off the Russians long enough for the slower troops to exit."

The setup zones are pretty tight for the German exit force. The Jagdpanzer IV force has little more ground to play with and they have a pretty clear cut mission to protect the exit zone from the advancing Russians. My plan was to send a group of three AFV's towards the German exit force. The other three and most of my infantry would head towards the exit zone.


Turn 1 Russian - My groups move to their assigned positions. Two SU-100's with infantry support head towards the German exit zone. A lone SU-100 went up on the hill and out of sight of the Jagdpanzers, but with a view of the road towards the west edge. My T-34/85's and an SU-100 went into the village to tangle with Dan's exit force. Dan would take out the SU-100 with a Panzerschreck shot. Dan and I had some confusion as to the location of the Germans. I thought everyone was in the building. Dan thought a single squad with the Panzerschreck was in the hex behind the hedge. We ended playing it that they were in all the house. The backblast would break the 9-2 and a squad with the MMG. Another squad with an LMG would PIN. All around bad result for the Germans. This is one of the instances where DASL maps have a definite advantage as to clear and precise placement of the squads within a hex.

Scratch one SU-100.
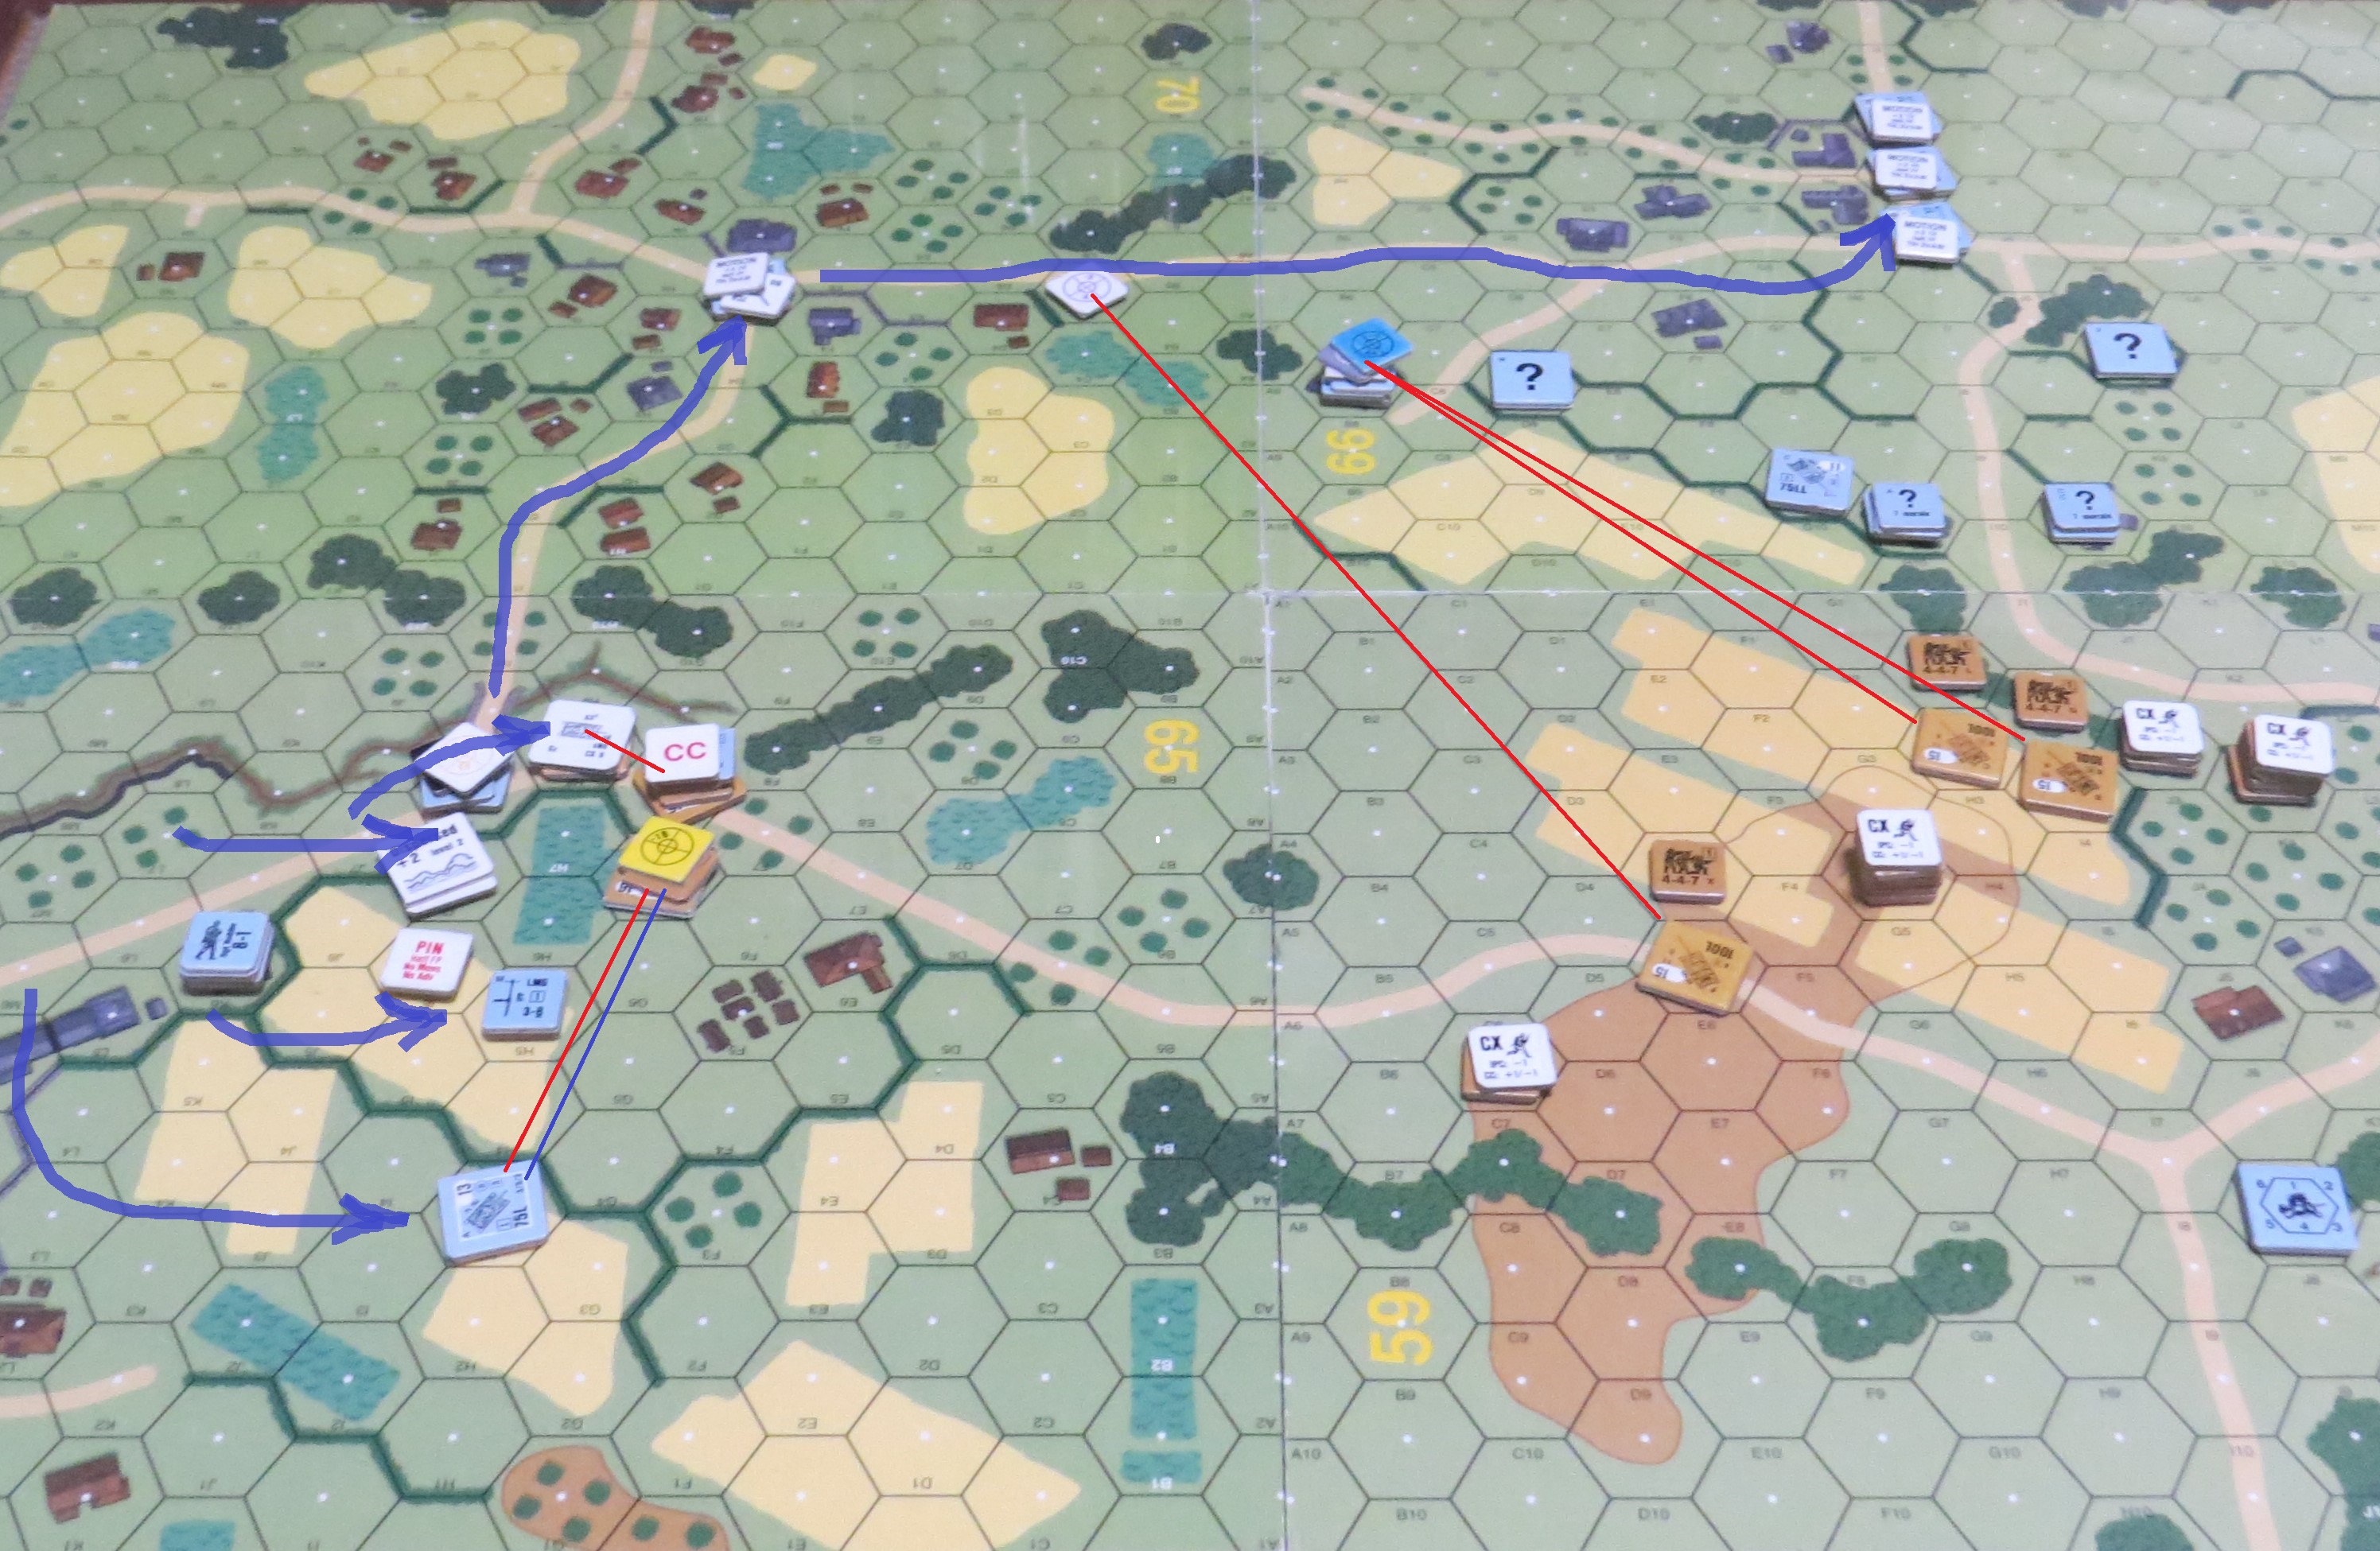
Turn 1 German - Dan's half-tracks make for the exit. They get away with ease. I simply couldn't hit them. One of his MKIV's would position itself to the east of my T-34/85's. Another would head on down the road. A third would come directly at me. I would roll snakes on the to hit...and then boxcars...go figure. But in my Rate of Fire shot, I would knock out the first MKIV. Dan's infantry would also surge towards my tanks. And things would get weird for Dan. His dice were just off nearly all night. He would get 5 Panzerfausts during the game, but not get a single hit. In CC, his infantry were killed assaulting another T-34/85. Throughout the game, Dan would miss by "1" with nearly every shot. I've never seen anything quite like it. I was of course benefitting greatly from these rolls, but it was definitely weird to see so many shots missed by "1".

Happens to the best of us...

Dan usually gets the better of me in Close Combats, but tonight the Russians would win both Close Combats.

Definitely a frustrating night for the Germans.

Turn 2 Russian - At the village, I take out another MKIV and survive all Dan's Panzerfaust activity in the area. My boys came off the hill to get into position to stop Dan's infantry from escaping. I would send my other infantry towards the exit zone to put pressure on Dan's Jagdpanzer force. My remaining SU-100's would race in front of the Jagdpanzers and go after Dan's final MKIV, while another SU-100 went after the soon to exit half-tracks. Dan's Jagdpanzers would fire and miss...by "1".


A look at Dan's exit forces.

Turn 2 German - Dan's final MKIV would be destroyed. His halftracks would successfully exit and give Dan 24 EVP. He just need 8 more to win. His Jagdpanzer got revenge on my infantry with a CRIT hit and then moved behind one of my SU-100's and knocked it out with a Bounding Fire shot. But as we headed to the top of 3, Dan gave the concession. He had 8 EVP of infantry that had escaped the village, but would soon be surrounded by the T-34/85's and oncoming infantry. Dan did the math and realized it was next to impossible to get those 8 EVP off the map intact. So that was game.
We both enjoyed this scenario and felt that it played great. Dan's poor dice rolling really impacted the game and allowed the Russians to have successes that wouldn't have been possible with closer to average dice rolling. Dan's rolls were so high that he would MALF two Panzerschrecks on their first shots. It was a bit of a maddening evening. Despite the poor dice, it was an otherwise fun game.

And now for Dan's Post-Game Comments:
"The plan did not work. The German ground troops lost both Panzerschrecks and never got a hit with a Panzerfaust. Allowing the Russian T-34/85's to get hits on the MKIV's. While the halftracks could exit, the rest were shot up. Well played by Grumble Jones. Congrats on the win."

Our second game, played on Saturday would be from the Grumble Jones March Madness Pack. Dan and I have been working our way through them and after Saturday's scenario, we only have one left to play and we had already both played it during playtesting, so we may not rush to play it in the coming weeks. But the one on deck for Saturday would be MM80 Roll Jordan Roll, which is one that I have wanted to play since I first designed it as GJ053. Set in the early days of the Ardennes Offensive, this scenario depicts the tragedy of the 333rd Field Artillery Battalion. This was an African-American artillery unit that operated the 155 Long Toms. These guns required considerable skill and the 333rd had gained a reputation for highly accurate fire support. Units needing such support were quick to request fire missions from the 333rd.

The 333rd was originally raised and trained at Camp Gruber in Oklahoma and then later at Fort Sill to hone their artillery skills.
The unit endured the racism which was unfortunately normal for that time both in the civilian and military communities. They would overcome this and other hurdles as they were deployed in Western Europe. During the Normandy campaign, they would prove their worth while providing critical fire support to the 82nd Airborne and other units. As an independent unit, their skills were in high demand. By the time of the Battle of the Bulge, the 333rd was a veteran and highly capable unit.
During the Battle of the Bulge, the 333rd was supporting the 106th Infantry Division in the Schnee Eifel. As the 106th crumbled, the 333rd would itself be overrun by units of the 18th Volksgrenadiier Division.
Unable to stand up to the attack, the 333rd initially tried to escape, but when it was clear that there was no escape, the unit surrendered. During the march to the rear, 11 men of the 333rd Field Artillery escaped into the woods. They sought refuge with a Belgian Family. They were treated well and had food and a warm place to stay. Unfortunately, other villagers informed the SS Grenadiers in the area that Americans were in the village. Captured a second time, the African-Americans were marched away. But this time, their captors massacred them. All 11 men were brutally killed near Wereth, Belgium.

Today, the only WW2 monument to African-Amerians soldiers is the Wereth Memorial, which was paid for largely by the local Belgian inhabitants.


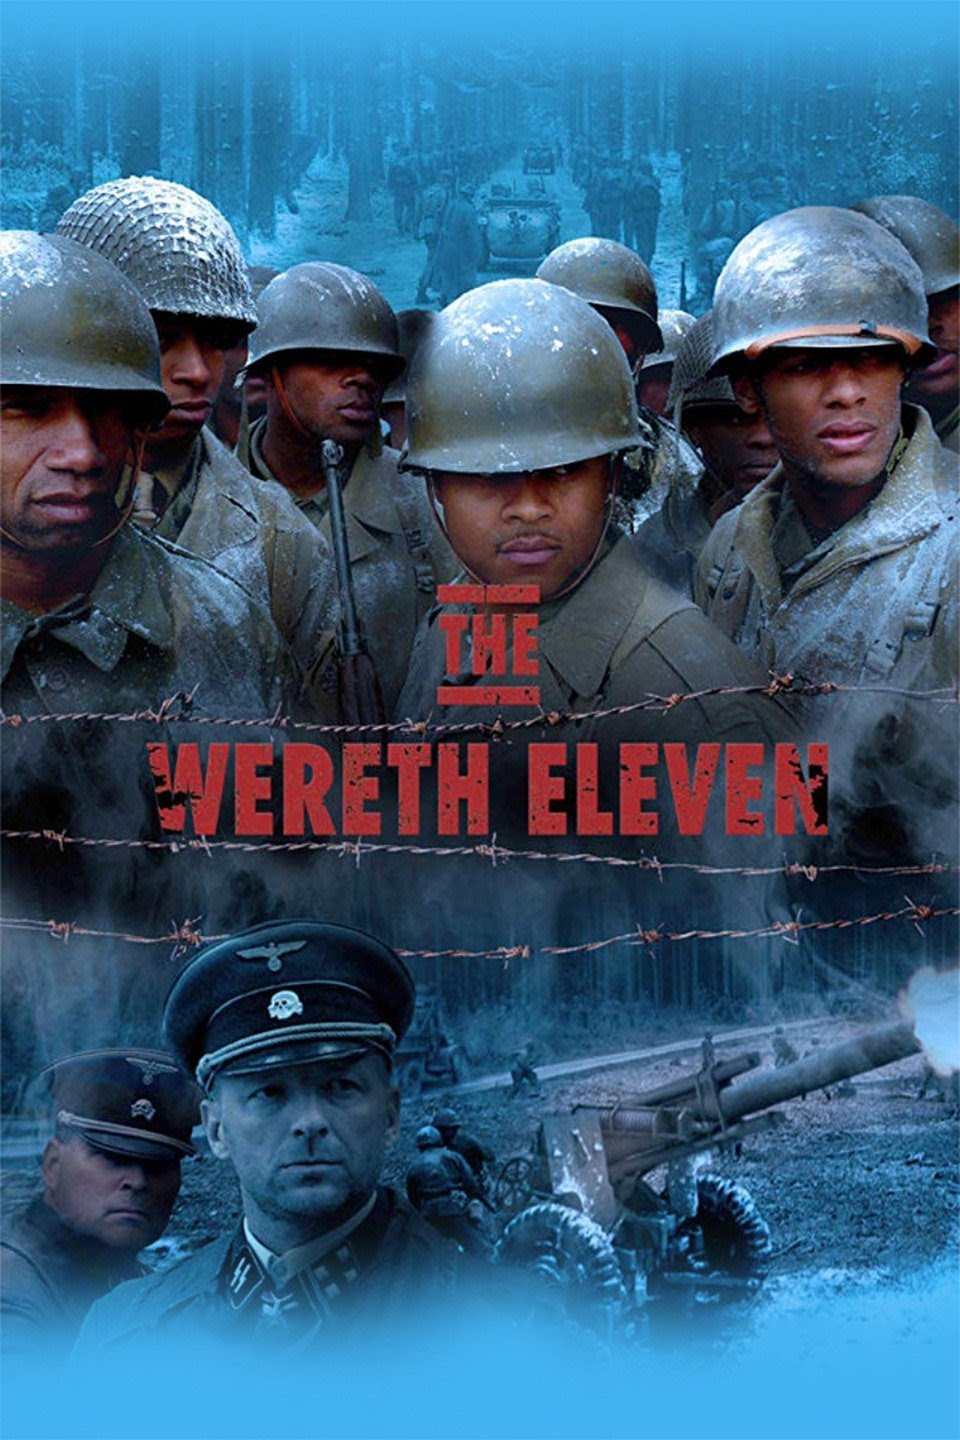
The story of the Wereth Eleven is worth your time. YouTube is a great placed to start and find some informational videos about the event and a 2011 movie also covers the tragedy.
We must not forget the outcry over the Malmedy Massacre and the sad fact, that the torture and massacre of the Wereth Eleven has been largely unknown until very recently. And of course, the perpetrators were never identified or brought to justice.

As the defending Americans, I would command the 333rd Field Artillery Battalion. My force would consist of 4 x 6-6-6's, 4 x 2-3-6's and 8 x 2-2-7's commanded by a 9-1, 8-1, and 3 x 8-0's with an HMG, 2 x MMG's, 5 x BAZ 44's, 3 x 155 ARTY's, 3 x Jeeps, and 10 x Trucks.

As the attacking Germans, Dan would command the men of the 18thh Volksgrenadier Division. His force would consist of 2 x 4-6-7's, 8 x 4-4-7's, 6 x 4-3-6's, and a 2-2-8 led by a 9-1, 8-1, 2 x 7-0's and a 6+1 with 4 x LMG's, an 81 MTR, 2 Wagons, 8 x Bicycles, and 3 x Hetzers.

The battlespace for this scenario.

And now for Dan's Pre-Game Comments:
"The Germans must assault and destroy the three guns before they exit and have a favorable CVP record. A direct attack against the guns is dangerous since a hit is very bad. So the attack will generally move along each edge of Board 19. The falling snow is some cover. The Hetzers will try to converge on the guns by Turn 3, before they can drive off. Hopefully, the Germans can hit first on the guns."

Dan's forces arrayed win three attack groups with a Hetzer supporting each group.

One major change from GJ053 to MM80 relates to the Hetzers. My original design had STUG's. The March Madness Team would change these to Hetzers. Hetzers have 14 armor vs. the STUG's 8. This dramatically reduces the effectiveness of the American Bazookas. Only side shots have any chance of getting through. Trying to hit the Hetzers during this game was maddening. I must have shot 20 times and only got two hits and only one kill with a side shot. The Unit called out is the 1818 Panzerjaeger Abteilung. I couldn't find a source material that confirmed Hetzers being in the order of battle, but similar Panzerjaeger Abteilung's at this stage of the war did show a complement of Hetzers. So historically the Hetzers might be more appropriate. But the 18th Volksgrenadier Division was also equipped with STUG's....so there's that.

Turn 1 German - Dan's groups enter and largely unchallenged. I do place an MMG fire lane that breaks a leader and two squads. Falling snow was certainly an issue throughout the game.


Turn 1 American - I run all of my trucks off the map. No point in giving the Germans the extra CVP. My guns all limber. I was going with a very risky strategy of attempting to move the guns and exit them for the big EVP. As you shall see that was not the right call.

The guns used by the 333rd were beasts and are not easy to manhandle. I would have been wiser to just shoot it out with my guns. But I was committed to seeing whether or not you could actually exit the guns.

Turn 2 German - Dan rolls forward. Again, I'm really not able to do much to impede his advance.


Turn 2 American - at this point, one of my trucks had been immobilized and the Hetzers were focusing on knocking them out. I moved my units to put as much pressure on the Hetzers as possible.

My biggest problem was my 6 morale...my boys couldn't pass PAATC's. So my officers had to go it alone and they would not roll the required snakes.

Turn 2 would end with MELEE's with two of the Hetzers.

Turn 3 American - I had lost two guns at this point and some squads. I had lost the game at this point. Dan was accumulating too much CVP for me to overcome, especially since I only got exit VP for guns and their trucks and crews. The only way for me to win would be to destroy all three Hezters. I did manage to knock one out with a Bazooka.


Turn 4 German - Dan's boys move to surround my final gun and take down my remaining infantry. As my final bazooka shots sailed into the snowy woods...I threw in the towel and gave the concession. I was definitely beaten. Dan would lose one Hetzer, a 7-0 and 2-3-7. My losses were pretty heavy. I won't lie, I was disappointed with how the game played out. Hitting little Hetzers on the move with falling snow is tough. Personally, I feel it's too tough. The Bazookas are not enough to take out the Hetzers from the front. So that leaves the 155's to do the heavy lifting. My suggestion would be to do just that. Stand and fight...do your best to take out the Hetzers with the big guns...if you can. Running away didn't work for me and it didn't historically either. My thanks to Dan for a great weekend of ASL. It was a good win for Dan as the game
elements really conspired to compliment Dan's aggressive play style.

And now for Dan's Post Game Comments:
"The plan worked. Although, the Germans had to attack direct when the guns started packing up. The American's bazookas could not geta hit and the Hetzers were able to destroy all the guns. This scenario is very hard on the Americans and a challenge for them to choose to defend or pack up and run. My thanks to Grumble Jones for a fun game!"

That's all from the Ardennes.
Dan and I will be back next week for another double-header.
We will see you then!


.jpg)


.jpg)


.jpg)


_it.svg.png)


