For our Saturday game, Dan and I tired something new. We broke out Scenario CASLO 2 The only Safe Place from Lone Canuck's Valour at Casa Berardi pack. Neither of us had had the opportunity to play anything from this pack, so we were both psyched to be playing on some new ground. After our recent trilogy of Classic Scenarios, it was a great change of pace to head to the Italian battlefields of December 1943. The battle, which followed was full of great and terrible ASL moments as Dan and I grappled for control of the Casa Berardi...which would indeed be "The only Safe Place" for my beleaguered Fallschirmjaegers!

Now a word about Dice...yes...Dice, we do have to admit sometimes, in this game that we love, that sometimes the Dice play too big a roll in creating the chaos for which ASL is both loved and hated.
In our game this night, my opponent would suffer from a large number of Boxcars, which would result in KIA's, ELR's, a host of broken armaments and in general a feeling that German saboteurs had infiltrated his ranks.
On the other side of the dice tower, my rolls were completely out of character. I rolled "3's" like a big dog and these would come at the moments where they could do the most harm to Dan's Canadians. Even the Sniper Checks went my way and Dan would lose his 9-2 and have his 8-1 wounded. With only two officers in his OOB, this would be a huge handicap for his assault.
But Dan's Canadians were never out of the fight until the very end, despite all the bad luck the dice threw at them. So kudos to George Kelln for another well constructed scenario. Dan and I both felt like this was a great scenario and I for one think it would be a nice Tournament Level Scenario.

George's map for this scenario pack is fairly compact and easy to work with. So again, I think this would work just fine as a Tournament scenario. The map size is just the right size to be used in a tournament setting as well. So...that's it for my plugging this as a future tournament scenario!!!
 As the Germans, I would be the scenario defender. I would command elements of the 3. Fallschirmjaeger-Regiment with 3 x 5-4-8's, 2 x 2-3-8's, led by an 8-1 and 7-0 with 2 x MMG's, and an 81 MTR for support. Reinforcements would be available by SSR either on Turns 2, 3, or 4. This would consist of one 120mm OBA Fire Mission to a pre-designated hex and 2 MKIV's with an 8-1 Armor Leader. Not a huge force, but just enough for the mission at hand. The Germans would have to hold the N6 Building location in order to win.
 As the Scenario attacker, my good friend, Dan Best would be commanding elements of C Company, Royal 22nd Regiment (Vandoos), 3rd Infantry Brigade supported by C Squadron, 11th Armored (The Ontario). His force would consist of 8 x 4-5-7's, led by a 9-2 and an 8-1 with an LMG, a Piat, and 2 51 Mortars. C Squadron would consist of 3 x Sherman Tanks with a 9-1 Armor Leader.
Dan's force would be numerically strong, but the lack of machine guns would definitely limit their long range reach in this scenario. The Armor reinforcements would not arrive until Turn 3, so the Canadian infantry would bear the burden of the initial attack on my Germans.

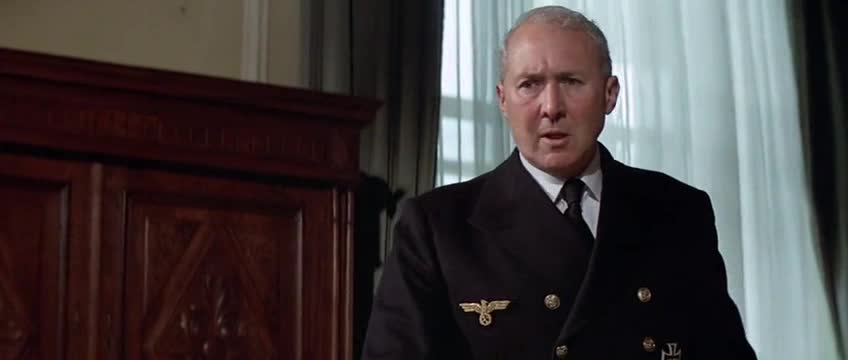
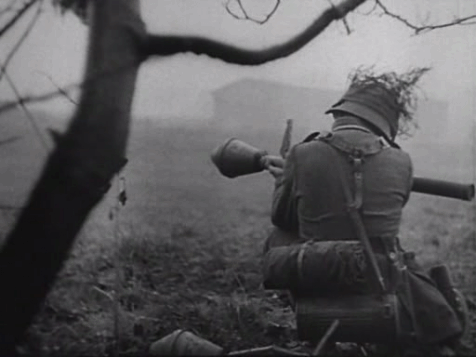
Grumble Jones staff photographers would be imbedded with the German Fallschirmjaegers for this scenario.


With such a limited force, I went ahead and deployed one of my 5-4-8's. A little risky, because due to SSR if a 2-3-8 broke over its ELR it would be disrupted. Thankfully, that never occurred during the game. I was heavy to the south and used K11 as my strongpoint to lay down a fire lane to the north. My 8-1 was on the second floor of the Casa Berardi to reveal the Canadians as they moved forward and to interdict any movement across the open ground to the north. My 81 Mortar was the only asset defending the North with the assistance of a 5-4-8, whose real mission was to hold off the tanks when Dan's Shermans made their charge for the N7 location.

Dan's Canadians the Vandoos make their way onto the field.


As I racked up the "3's", I would trigger Dan's Sniper repeatedly. They would eliminate a Dummy stack and then later hit my Sniper and reduce my SAN to 2.


Mortars would play a big role on both sides. My 81 Mortar would deal death on the advancing Canadians in the first two turns.

My gamble of putting only the 81 Mortar to cover the north paid off.

Dan's mortars would lay some much needed smoke, but then one would MALF and go on to be lost. Boxcars would continue to plague Dan as he would go on to break his LMG twice and then both machine guns on one of his tanks.


Dan's Vandoos continued their advance and came right at me. The shell holes on this map were very much appreciated. Both Dan and I made great use of them.

Going into Turn 3, I had been very fortunate to fall back to the M10 and O11 Buildings. The Casa Berardi was showing it's worth.


Dan's 9-2 had suffered with two Pins and he was finally able to rejoin his boys at the front. His modifier could make all the difference in the fight for the Casa Berardi.


I was not immune from rolling boxcars. I would go on to MALF my 81mm Mortar and would not be able to repair it. The northern approach was now open.

Turn 3 - C Squadron of the of the 11th Armored (The Ontario) come charging into the battle.

Dan's first Sherman would go for the gold and entered the debris in front of my concealed 5-4-8. He would roll the bog check and bog.

As the Canadian phase of Turn 3, ended, things were definitely looking very pro-Canadian. My boys had routed to safety in the Casa Berardi. My 8-1 would be busy trying to rally my Paras.

"Lauf Maenner!!!"

Then came one of the game changing moments...
The German sniper would find Dan's 9-2 and KIA him.

Once again, the Sniper plays a significant role in the game. And how many of my AAR's has this been true...never take the Sniper for granted.

Just as Dan's 9-2 fell to a sniper's bullet, my 5-4-8 in the north popped up from behind the stone wall...rolled for a Faust...a 4 no Faust...rolls again..a 1...fires...a hit...the first Sherman becomes a burning wreck.


Next, my 7-0 advanced against the Sherman facing the Casa Berardi. In Advancing Fire, he would pull out a Panzerfaust and destroy another Sherman tank.
Just like that the momentum swung again to my Fallschirmjaeger.

In front of the Casa Berardi, the fire from my Paras would break everyone in the N12 hex. But I would subsequent fire on them and Dan's broken 4-5-7 would roll snakes! They would rally, battle harden to a 4-5-8 and then create a hero!!! Oh no...But, I would manage to Pin them with Final Protective Fire from my boys on the ground floor. Dan would elect to self-break them and rout the 4-5-8 back to M12. The Hero tightened his chin strap, grabbed a grenade and went into close combat!!!


Before the phase had ended, my 5-4-8 in the north would destroy the last of the Sherman tanks with another dead on Panzerfaust shot. All three Shermans had been reduced to burning wrecks by Panzerfausts.

As the Shermans burned, Dan sent a 2-4-7 into close combat with my 7-0 and his Hero went into CC with my 2-3-8 on the ground floor of the Casa Berardi.

I always dread Close Combats against Dan. He has a knack for getting the ambush. And indeed his Hero would get the ambush and KIA my 2-3-8 and destroy the MMG. He would then infiltrate up to the 1st level and DM my brokies on second floor. Just a great ASL move by Dan.


The close combat against my 7-0 would not go as well. My 7-0 would win the battle. He would put in a remarkable performance by knocking out a Sherman tank with a Panzerfaust and eliminating a Canadian half-squad in close combat.

On Turn 4, I finally got my arty and my Panzer Mark IV's. With the arrival of the tanks, I would have firm control of the N7 victory location.


All that remained was the combat in the Casa Berardi. My brokies on Level 2 would be eliminated for failure to rout. In the Advance Phase, my 8-1 led the 2-3-8 into Close Combat with the Hero. This time, the Hero would go down in the fight. The Germans would regain undisputed control of the Casa Berardi.


As Turn 4 ended, Dan offered the concession. With the arrival of both the German OBA and Armor, there was virtually no chance, Dan's remaining Canadian squads would be able to achieve the scenario objective. So the concession was given and my Fallschirmjaeger would have the victory.

The Casa Berardi cellars were well stocked with some excellent Italian Vino.
So Dan and I had completed our first scenario from the Valour at Casa Berardi Pack. We both enjoyed this scenario and look forward to playing the other scenario in this excellent pack. As always, my thanks to Dan for another great Saturday of ASL.
Dan and I will be taking a break next weekend as I spend time with family next weekend.

Then the following Saturday, Dan and I will be playing face to face at the Hollis Renewal Center as the Kansas City ASL Group conducts their Columbus Day weekend ASL Retreat.
See you again in two weeks!