
For Friday's game, we picked up with the final turn of PHD CG Turn 0930 Hours. This CG Turn, the second of 5, would belong to the US Infantry skillfully played by Big Kansas over almost 7 turns of bloody bocage busting.

I spent nearly the entire CG looking down the business end of Big Kansas' M1's. And business was good for the Amis!!!

Going into last night's game, I was in a bit of a funk...I had been thinking about my potential moves for the entire week. My mind raced over the options...A. HOLD IN PLACE...and die...or B. Bug out for my pre-designated CG Turn 3 Line...and maybe be beaten to it by the Americans.
I would select option C. which would be a hybrid of both A and B...and I would be happy with the end results...against all odds.

A look at the relative positions as we began the German phase of Turn 6. My plan of action was to hold the bridge and maintain control of the house in R12. My 40 LL AT Gun would play a huge role in breaking the Americans at the other end of the bridge. Have to say, that I'm happy with the performance of that gun. I hadn't expected much from it and it has been the most successful of my AT Guns thus far.

Thank goodness Big Kansas didn't have a Balrog!!!

Again, my 40LL AT did a journeyman job of maintaining my control of the bridge. Vielen Dank Mensch!!!


The Amis would make a play on my mortar in R13. (The sangar in R15 is a shell hole marker. All my wire was in use...so no dang shell holes...since they are on the other side of the wire. I even went looking for my Squad Leader counters, but I couldn't remember what box I put them in.)

The center and west edge were my primary areas of concern. My Germans were in a tight spot. My HMG and 9-1 in F19 were quickly being flanked by the Amis. And my boys by my Pak 40 were in equal danger as the mad US flame-throwing Lt. was coming right at them.

And let me tell you...there ain't nothing funny about this dude...

Movement phase...my Germans try to make life saving...(game saving) moves. Mainly, I wanted to avoid being SHOT AT...just say'n...


Strategic retreating...yeah...that's it...as opposed to running for our lives!!!

Back at the bridge, the US shelling continued to rain down on the R16 house. When it ended there were no more Germans left. The US OBA did a real number on my forces in this game.

An expensive purchase for Big Kansas, but the return on investment was a good one!

The dreaded US movement phase in Turn 7. Still can't believe we went all the way to Turn 7...
As expected, Big Kansas turned the flank on the west edge and isolated my HMG and 9-1. My 7-0 would be DM'd, but would survive the battle and remain in the German OB...unbelievable!!

During the American wind change, they rolled a successful interrogation. This young lad revealed my concealed 9-1 and HMG to the Amis...I tried to be mad...but look at that little guy...how could I be mad...I was going to D-Fire my boys anyway...

Big Kansas' boys stormed forward to do as much damage as possible to my remaining Fallschirmjaeger.

But they were met by withering D-Fire that pretty much stopped their
assault and broke more than few squads. I had been dreading Turn 7, but
it would go much better for the Germans than I could have hoped for.
The American assault on my R12 position ended with the Amis broken. The Germans would hold the bridge sector. WOW...I was really pleased to have held the bridge for two turns. Of course Big Kansas didn't commit a large force to the effort, so I have to keep that in mind.

Die Bruecke bleibt deutsch!

Even the US effort against my unconcealed 9-1 with the HMG met with repulse. Two separate assaults were turned back. The Amis were trying to go into Close Combat with my boys. Thank goodness that didn't happen.

My 9-1 had managed to hold out.

The final positions as the US phase of Turn 7 concluded. Some good tactical locations had been gained, but the Germans managed to extract themselves. Even my 6+1 turned in good service by getting troops back to the next line of defense. Well done Klink...well done. (and in the CG Refit phase, he would become a 7-0.)

Every dog has his day!

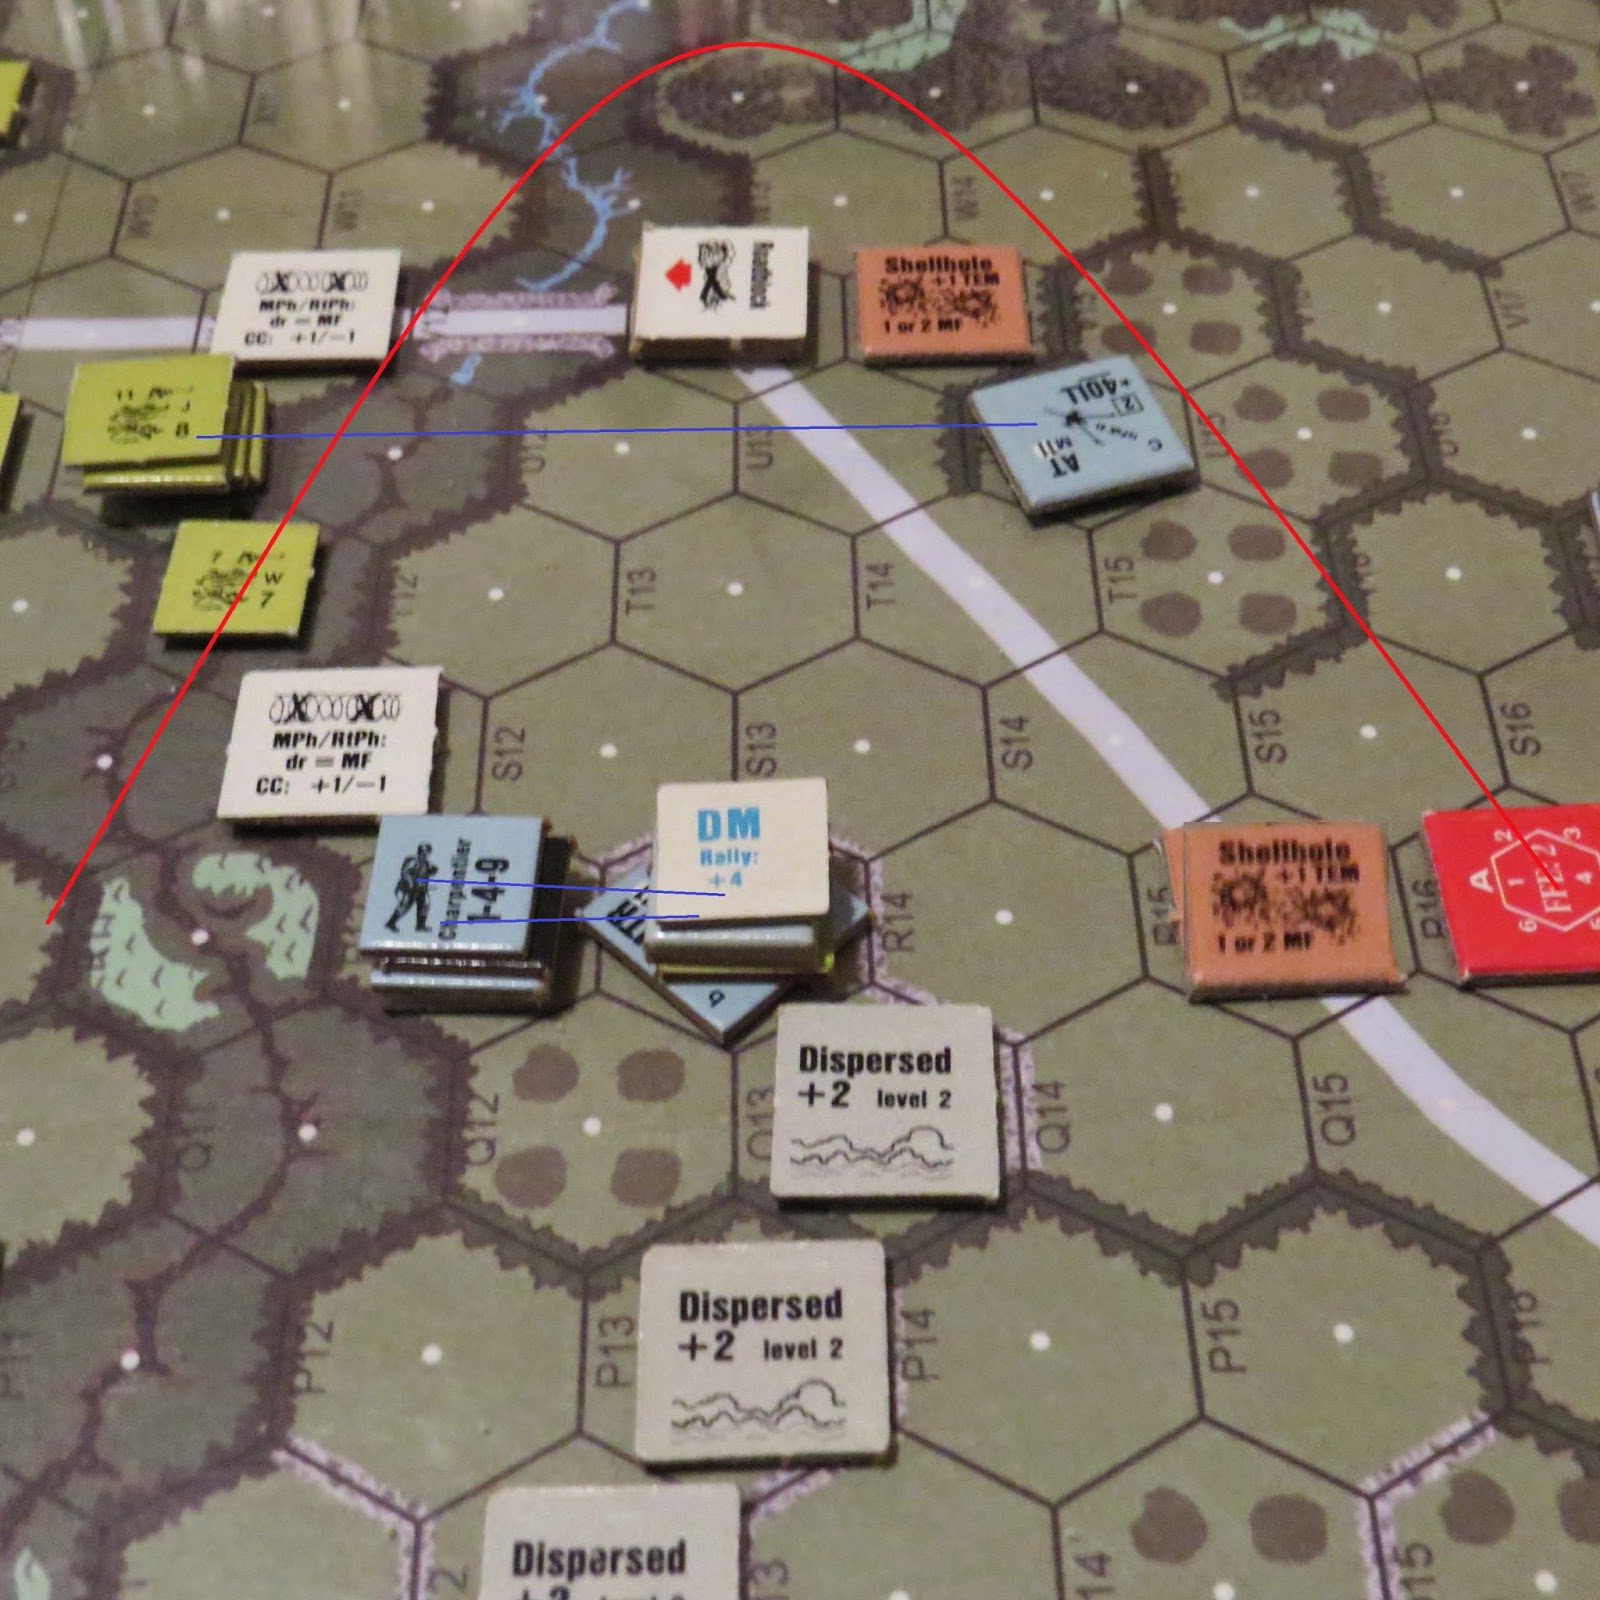
An ugly red line denoting the extent of the US advance. After two complete CG Turns, the Americans are poised to make a strike on the objective road. They don't control the bridge, but that may or may not be a meaningful factor at this stage of the game.

The Amis can relax and celebrate...two very good CG Turns thus far.

And for many other Amis...Purple Hearts are received...


The Grumble Jones Staff Photographers compare notes and get their assignments for the upcoming 1230 Hour CG Turn as we continue the Purple Heart Draw CG.


