After two great gaming sessions of Hot Zemlyankas, it was finally time for Dan and I to bring this great scenario to a conclusion. Who would win?? Both of us were in a position to win as we began Turn 5. The Partisans were still holding out in four of the six major bunker complexes. My Romanians were sitting on 53 CVP with another 52 needed for victory. There was plenty of time...but could I get my boys into position to destroy the remaining Zemlyankas...
So sit back and grab some Hot Zemlyankas!!!
As this was a Thursday night game...we are joined by Mike Tirico and Jon Gruden for tonight's post game analysis.
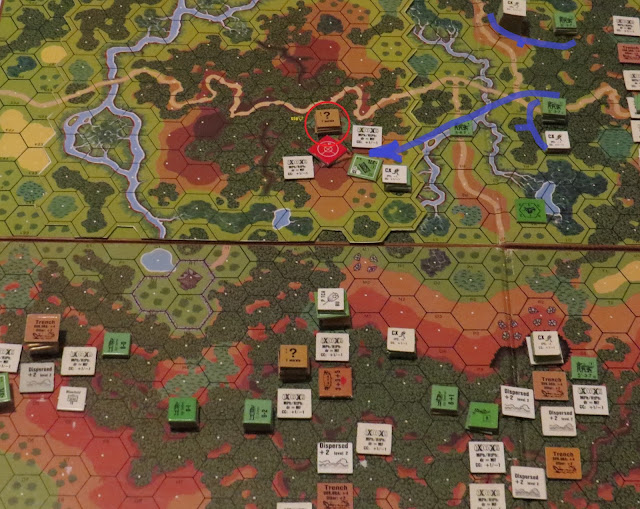
Heading into Turn 5 with an overhead view of the 6 major bunker complexes that Dan's Partisans had constructed.
Aerial coverage of tonight's AAR courtesy of the Goodyear Blimp.
Having been pushed back earlier on the far left of Board 39, I had regrouped and once again sent my boys to deal with the bunker complex.
Throughout the game, my Romanians moved as rapidly as I could have hoped in some fairly impossible terrain. I can't remember another game where I had so many squads CX at one time.
Back on the Board 36, my boys were working hard to mop up the Partisans in the #2 Bunker Complex. This particular complex was the most impressive of the six complexes. Dan's mixture of bunkers, wire, mines and trenches was best displayed here.
DC's were a big help to overcoming the Partisans in this complex.
Back on Board 39, the fighting dragged on for Bunker Complex #4. I failed to destroy some of the Zemlyankas on the first roll and had to spend an additional CC to eliminate them. Fortunately, I didn't encounter mines in this particular complex. This also allowed my boys to run down some of the broken and fleeing Partisans.
Bunker Complex #3 on Board 36 is the traditional "Alamo" for this particular scenario. One of my off board 120mm Mortars had forced out the Partisan 9-1 and HMG squad. With the residents gone, I moved a tank into position to dissuade them from returning.
I succeeded in capturing the Partisans, although some did escape to the #2 Bunker Complex.
The double value of prisoners would be critical to getting to the CVP objective.
One of Dan's DM'd Partisans rolled a snakes in the rally phase and then ended up fanatic.
Back on Board 36, I had finally broken through the #2 Bunker Complex and was pushing DM's Partisans ahead of me.
One of the bigger conundrums for me in this scenario was exactly how best to deploy my tanks. I'm not certain that I hit upon the right usages for them, but I committed to support assaults on the #3, #5 and #6 Bunker Complexes.
In the post game analysis, it was determined that the Tanks might have been better employed to deliver riders to the #3 "Alamo"Bunker complex. I honestly never considered that...but it was a great idea...!"
The fight for the #4 Bunker Complex ended up taking a bit longer than anticipated.
The #2 Bunker Complex was finally overcome and all the broken Partisans were mopped up.
Back on Board 39, my forces were converging on the #5 Bunker Complex, which would be the scene of the final combat.
The battle was grinding down to its conclusion!
After clearing the #2 Complex, my boys were moving steadily towards the #3 Alamo Complex.
As my forces began to converge on the #5 Complex...it became clear that it was bigger than initially thought. The Partisans put up some ferocious defensive fire...but high rolls...10's and 11's, allowed my Romanians the opportunity to get in close.
One of the things that you see from time to time in ASL...is the vagaries of the dice rolls that hinder either an attacker or a defender's ability to put down effective fire. In this case, the Partisans had good fire opportunities that were simply negated by high rolls. My Romanians were the beneficiaries of these high rolls.
Back at the Alamo Complex, my supporting tank went into the woods and promptly bogged. Despite bogging, its Machine Guns would do good work.
As the battle neared its end for the #5 Bunker Complex, my Romanians had amassed roughly 99 CVP.
Back at the Partisan Alamo, my forces were combining to push up the hill and get into CC with the Partisans. Again, my luck held out as high rolls in D-Fire allowed me to get up close.
One of the key elements of this game was to keep moving. The Romanians have to keep moving and not get bogged down for too long with each of the Bunker Complexes.
Back at Bunker Complex #5, I had my forces in position to begin encircling the Partisans.
Back at the Alamo, my forces were in position to begin the final assault.
Back at Bunker Complex #5, the encircling fire of my Romanians decimated the Partisans.
And lastly, back at the Alamo, the end was near for the Partisans. It was at this point, that Dan offered the concession. It was getting late in the evening and the end at Bunker Complex 3 and 5 would give the Romanians the necessary points for the win.
It had been an exhausting and mentally draining battle.
A final look at the map. The Partisans would go on to retain control of Bunker Complex #6, but all the rest had fallen to the Romanians.
My thanks to Dan for yet another great game!
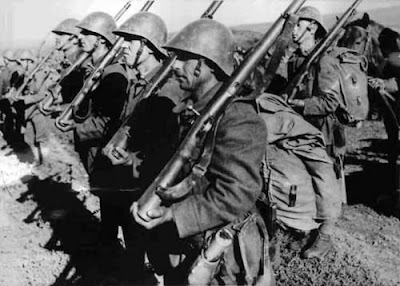
Gruden interviews some of the Romanians in the post game wrap up. "Ok...so great win for Team Romania today...but I gotta ask...what's up with those weird helmets!?!"
"Hey...he can't ask that...can he??"


No comments:
Post a Comment